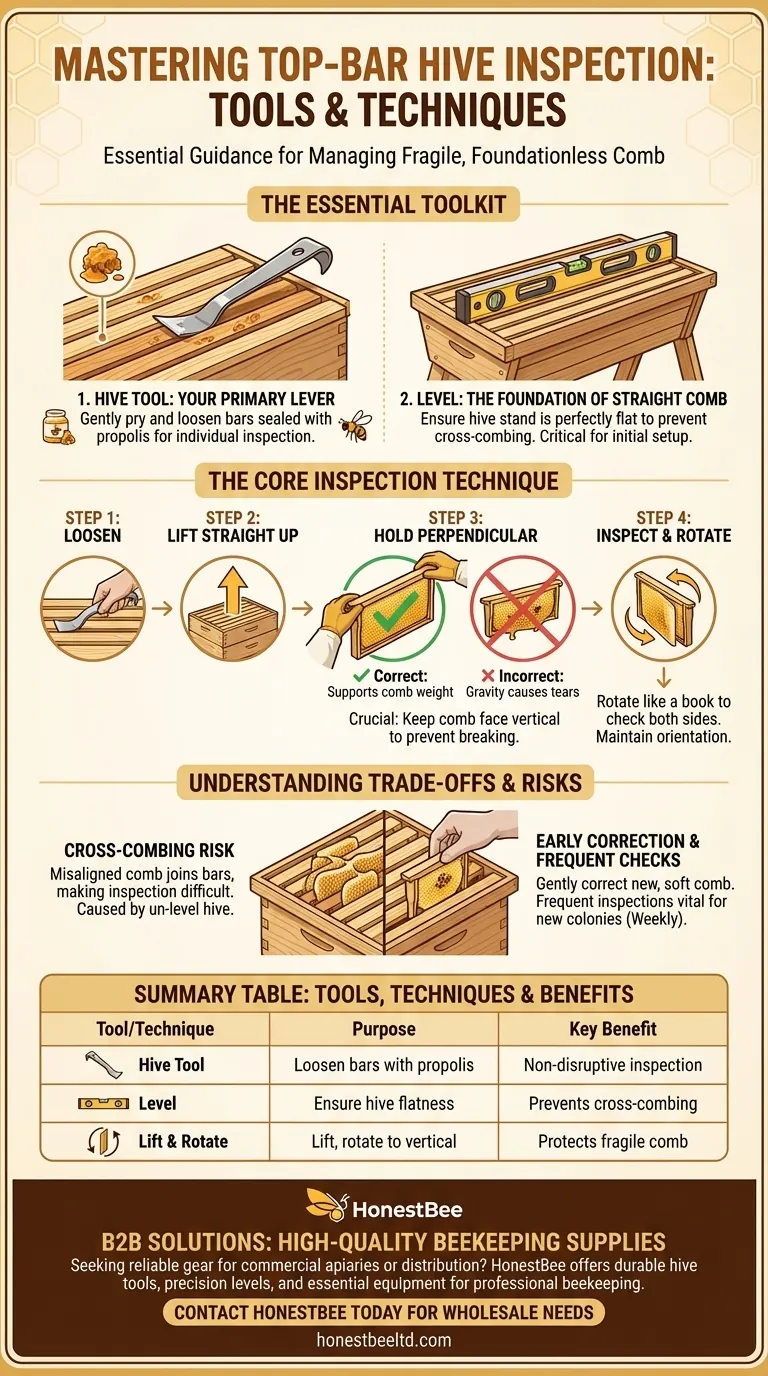
Inspecting a top-bar hive requires two primary tools and a specific handling technique to protect its unique, foundationless comb. You will need a standard hive tool to gently pry and loosen the bars, and a level to ensure the hive itself is perfectly flat, which is critical for preventing comb issues. The core technique involves lifting bars straight up and immediately turning them to a vertical position for inspection.
The central challenge of a top-bar hive is managing the fragile, foundationless comb. Success hinges on a single principle: always keep the comb perpendicular to the ground during inspection to prevent gravity from breaking it off the bar.

The Essential Toolkit for Top-Bar Inspections
The tools for a top-bar hive are simple, but their proper use is non-negotiable for the health and stability of the colony.
The Hive Tool: Your Primary Lever
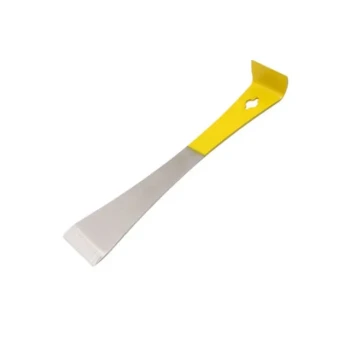
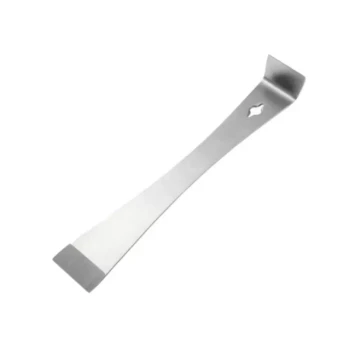
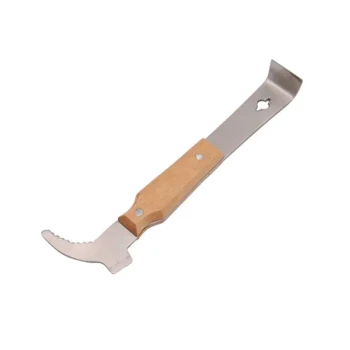
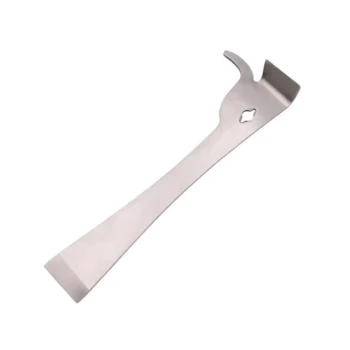
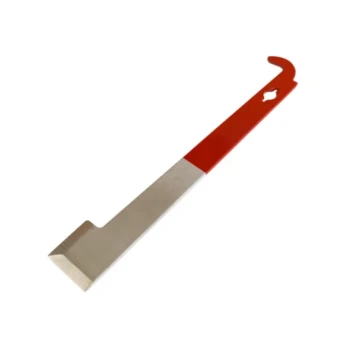
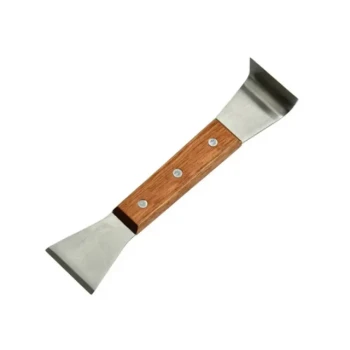
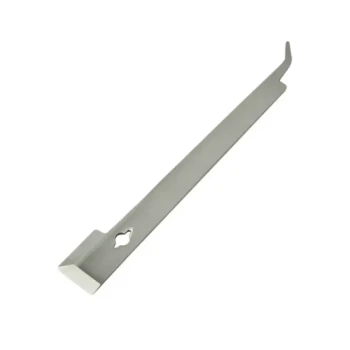
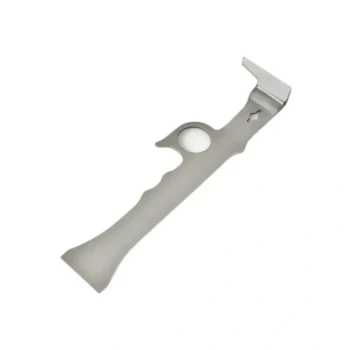
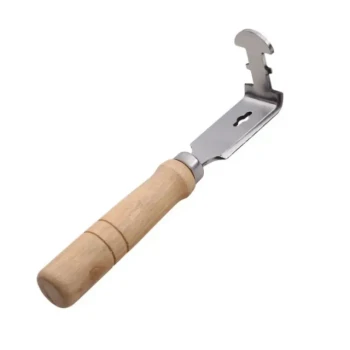
A hive tool is a small, crowbar-like piece of metal essential for any beekeeper. Bees use a sticky substance called propolis to seal every crack in their hive, including the gaps between top bars.
You will use the hive tool to gently pry between the bars, breaking this propolis seal. This allows you to lift a single bar without disturbing the ones next to it.
The Level: The Foundation of Straight Comb
Unlike other hive types, a top-bar hive's structure depends entirely on the bees building straight combs down from the bars. A level is your most important tool for ensuring this happens.
Before installing bees, you must use a level to confirm the hive stand is perfectly flat, both side-to-side and front-to-back. If the hive is tilted, the bees will still build their comb straight down in response to gravity, causing it to attach to the neighboring comb (cross-combing) or the hive wall.
The Core Inspection Technique: A Step-by-Step Guide
Handling foundationless comb requires a deliberate and gentle approach. The goal is to keep the comb, especially when warm and soft, from shearing off the top bar under its own weight.
Step 1: Loosen the Bar
Select a bar and use your hive tool to gently pry it loose from its neighbors on both sides. Work slowly to avoid jarring the hive.
Step 2: Lift Straight Up
Once loose, grasp the bar at both ends and lift it straight up and out of the hive. A smooth, vertical motion minimizes contact with the adjacent combs.
Step 3: Hold the Comb Perpendicularly
This is the most critical step. As soon as the comb clears the hive body, rotate the bar 90 degrees so the flat face of the comb is vertical, like a plate held on its edge.
In this position, the comb's weight is supported by its connection along the entire length of the top bar. If you hold it flat (horizontally), gravity will pull on the face of the warm, heavy wax, causing it to tear and fall.
Step 4: Inspect Both Sides
To inspect the opposite side of the comb, do not flip the bar over. Instead, keep the comb in its vertical orientation and simply rotate it as you would a page in a book. This maintains the structural integrity of the comb throughout the inspection.
Understanding the Trade-offs: Managing Fragile Comb
The natural, foundationless comb of a top-bar hive is one of its main benefits, but it introduces a key management challenge: the risk of poorly built comb.
The Risk of Cross-Combing
Cross-combing occurs when bees build a single comb across multiple top bars. This welds the bars together, making inspection impossible without destroying the comb and potentially harming the queen. This is most often caused by an un-level hive.
Correcting Misaligned Comb
If you catch a misaligned comb early, when it is new, small, and soft, you can sometimes gently push it back into its proper central alignment under the bar.
However, do not attempt this with large, established, or honey-filled combs. The comb will break. In those cases, the comb must be cut out and removed.
The Importance of Frequent, Early Checks
For a new colony, frequent inspections (e.g., weekly) are vital. This allows you to monitor the first few combs and ensure they are being built straight. Guiding the initial combs correctly sets the pattern for the rest of the hive.
Making the Right Choice for Your Goal
Your inspection frequency will change based on the maturity and goal of your hive.
- If your primary focus is establishing a new hive: Inspect weekly to guide the initial comb construction and ensure the bees are drawing it out straight.
- If your primary focus is maintaining an established hive: Reduce inspections to every 2-4 weeks, focusing on checking for brood health, pest signs, and honey stores.
Mastering this gentle handling technique is the key to working in harmony with your bees and ensuring a productive, healthy top-bar hive.
Summary Table:
| Tool/Technique | Purpose | Key Benefit |
|---|---|---|
| Hive Tool | Gently pry and loosen bars sealed with propolis. | Allows for non-disruptive inspection of individual combs. |
| Level | Ensure the hive stand is perfectly flat. | Prevents cross-combing by ensuring bees build straight combs. |
| Lift & Rotate Technique | Lift bar straight up, then rotate to a vertical position. | Protects fragile, foundationless comb from breaking under its own weight. |
Are you a commercial apiary or distributor seeking reliable, high-quality beekeeping supplies? Mastering top-bar hive management requires the right tools. HONESTBEE supplies durable hive tools, precision levels, and other essential equipment designed for the demands of professional beekeeping. Our wholesale-focused operations ensure you get the gear you need to maintain healthy, productive hives. Contact HONESTBEE today to discuss your supply needs and elevate your beekeeping operations.
Visual Guide
Related Products
- HONESTBEE Classic Pry Bar Hive Tool with High Visibility Finish for Beekeeping
- Professional Stainless Steel Pry-Bar Hive Tool
- HONESTBEE Professional Multi-Functional Hive Tool with Ergonomic Wood Handle
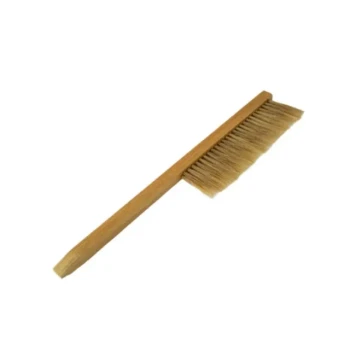
- Classic Wooden Bee Brush with Double-Row Boar Bristles
- Professional Multi-Function Stainless Steel Hive Tool
People Also Ask
- Why are professional beekeeping tools necessary for pine forest regions? Master Mediterranean Colony Management
- What are some essential tools for beekeepers? Start Your Apiary with the Right Gear
- Why is it important for beekeepers to be prepared with the necessary tools before the beekeeping season begins? The Key to Proactive Success
- What specific challenges do beekeeping hive tools address during hive maintenance? Essential Solutions for Apiaries
- How do modern beekeeping tools protect bee populations? Combat Global Colony Decline with Precision Equipment