The Last 1%: A Ritual of Preservation
The harvest is done. The air is thick with the sweet, heavy scent of honey. Every muscle aches from lifting frames and turning the crank. The last thing any beekeeper wants to do is face the sticky, wax-flecked interior of the honey extractor.
The temptation is immense: leave it for tomorrow.
But this final task isn't just a chore. It's the closing ritual of the harvest. It’s a commitment to the future—to the longevity of your equipment and the unblemished purity of next season's honey. How you handle this final one percent of the job says everything about your operation.
The Psychology of the Clean Extractor
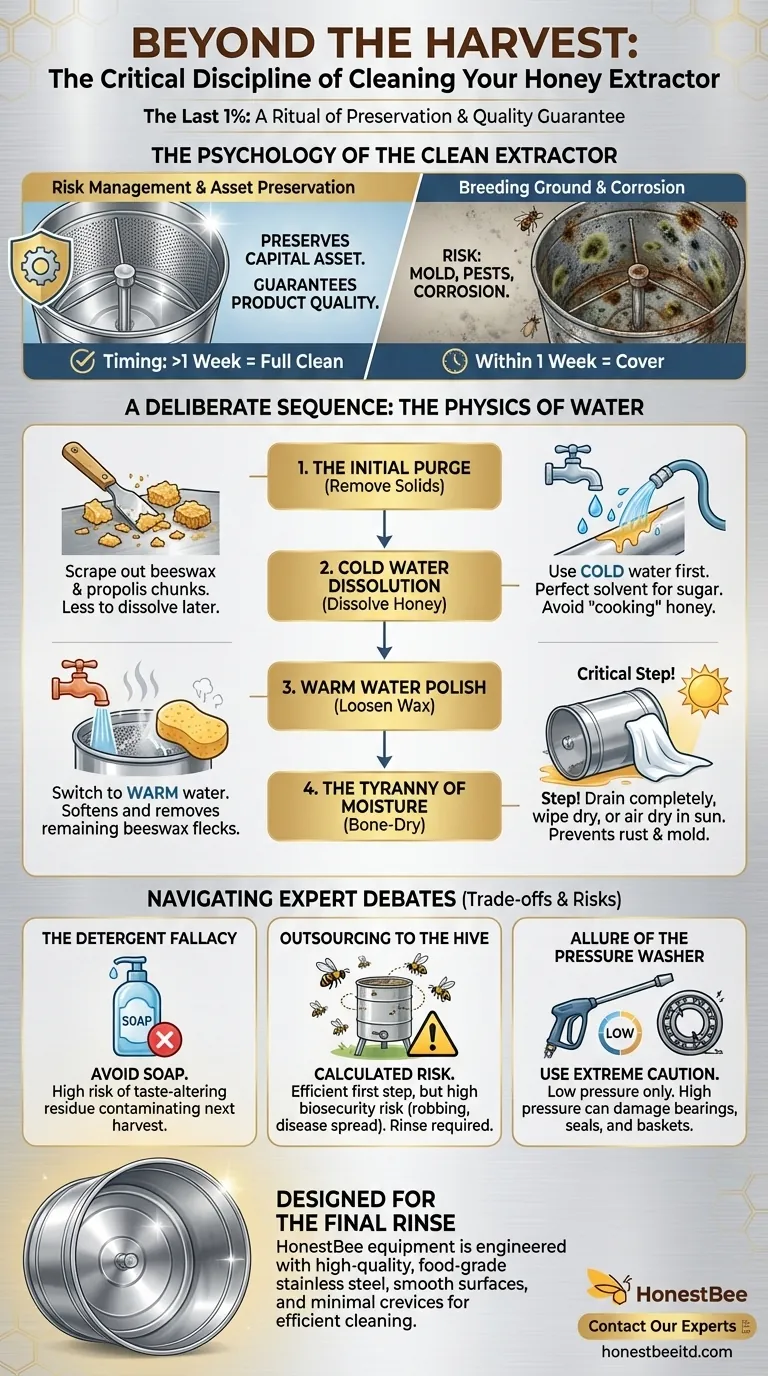
Cleaning isn't about tidiness; it's a function of risk management. A poorly cleaned extractor left for months becomes a breeding ground for mold and a magnet for pests. More insidiously, imperceptible corrosion begins to eat away at the metal, compromising the machine.
The mental model shouldn't be "I'm cleaning a machine." It should be "I'm preserving a capital asset and guaranteeing my product's quality." This shift in perspective turns a tedious task into a critical business decision.
The first decision point is timing.
- For Long-Term Storage: A full, meticulous cleaning is non-negotiable. This is for the end of the season or any period longer than a week.
- For Use Within a Week: If another extraction run is imminent, a full cleaning is often unnecessary. Simply covering the unit to keep out dust and insects is sufficient. The thin film of honey won't harm the next batch.
A Deliberate Sequence: The Physics of Water
The most effective cleaning method is an elegant application of physics, using nothing more than water at two different temperatures. It's a process of mechanical and chemical simplicity.
Step 1: The Initial Purge
Before water ever touches the steel, remove the gross solids. Use a soft spatula or hive tool to scrape out significant chunks of beeswax and propolis. Every piece you remove now is a piece you don't have to dissolve later.
Step 2: The Cold Water Dissolution
Start with cold water. This seems counterintuitive, but it's crucial. Hot water can "cook" honey, making it stickier before it dissolves. Cold water, however, is the perfect solvent for sugar.
Hose down the interior, letting the cold water run over the surfaces. Let it sit for a few minutes to dissolve the sticky film, then flush the honey-water mixture out through the gate.
Step 3: The Warm Water Polish
With the honey gone, the enemy is now wax. This is where warm water excels. It softens and loosens any remaining flecks of beeswax. A soft sponge or cloth can be used to wipe down the drum and baskets, ensuring every surface is clear.
Step 4: The Tyranny of Moisture
This is the most critical step for equipment longevity. Any water left behind is an invitation for rust and mold.
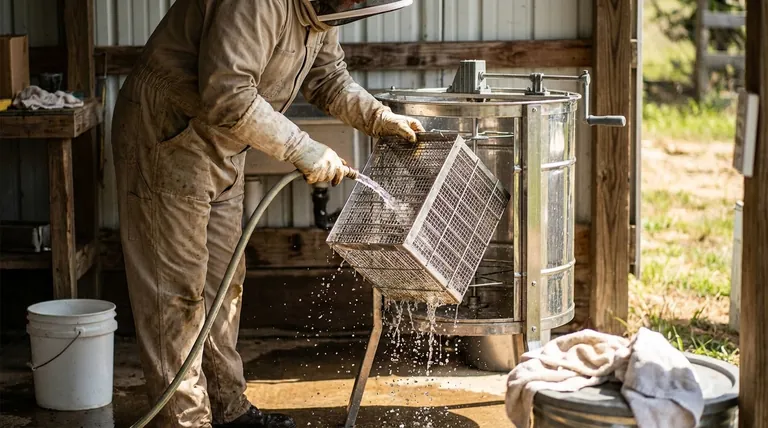
Tip the extractor on its side or upside down to drain completely. Follow up by wiping every accessible surface with a clean, dry cloth. If possible, letting it air dry in the sun is an excellent final step. The goal is absolute, bone-dry steel.
Navigating the Expert Debates
In beekeeping, there are always trade-offs. Understanding them separates the novice from the professional.
The Detergent Fallacy
It is almost always a mistake to use soap. The risk of leaving behind a microscopic, taste-altering residue is too high. That residue will inevitably contaminate your next harvest, compromising the pure flavor you worked all season to achieve. Plain water, used correctly, is all you need.
Outsourcing to the Hive: A Calculated Risk
Some beekeepers place the extractor outdoors, a safe distance from their hives, and let the bees "rob" it clean. The bees are remarkably efficient.
The trade-off, however, is biosecurity. This act can incite a robbing frenzy between hives and, more dangerously, attract bees from other apiaries, potentially spreading diseases like American Foulbrood. It’s an efficient first step, but a final water rinse and inspection are still required.
The Allure of the Pressure Washer
A pressure washer is a powerful tool, but like all power tools, it demands respect. High pressure can destroy bearings, warp delicate baskets, or force water into the sealed motor of an electric extractor, causing catastrophic failure. If you use one, select the lowest pressure setting and exercise extreme caution.
Designed for the Final Rinse
The difficulty of this final, critical task is often determined on the day the equipment is purchased. An extractor designed with complex seams, hard-to-reach corners, and low-grade materials will fight you every step of the way.
In contrast, a well-engineered extractor is designed for the entire process, including disassembly and cleaning. Commercial-grade equipment from HONESTBEE is built with high-quality, food-grade stainless steel and designed with smooth surfaces and minimal crevices. This isn't a luxury; for a commercial apiary, it's a core requirement for efficiency and quality control. Investing in equipment that is easy to clean is an investment in reducing labor and protecting your product.
For equipment designed with the entire harvesting lifecycle in mind, from extraction to the final, critical rinse, Contact Our Experts.
Visual Guide
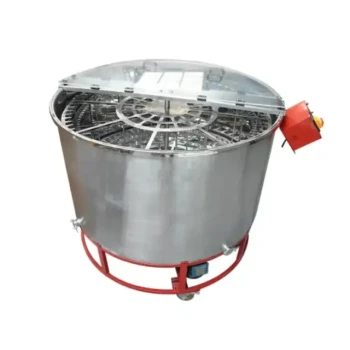
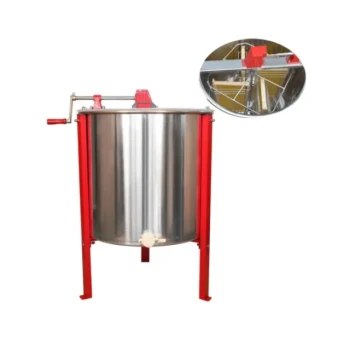
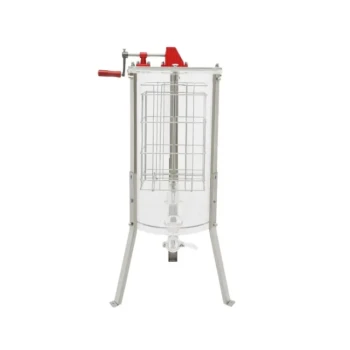
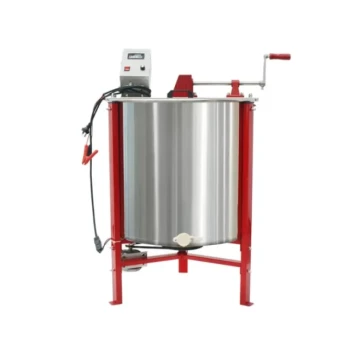
Related Products
- HONESTBEE 72 Frame Industrial Electric Honey Extractor for Beekeeping
- Commercial Electric 12 Frame Honey Extractor Spinner Motorized Honey Extractor
- HONESTBEE 3-Frame Manual Acrylic Honey Extractor
- electric honey extractor honey centrifuge 3 frame honey extractor stainless steel honey frame extractor
- HONESTBEE 6 Frame Self Reversing Electric Honey Extractor for Beekeeping
Related Articles
- How Honey Extractors Revolutionize Sustainable Beekeeping
- Guide to Choosing the Best Honey Extractor for Beekeeping
- How to Choose the Right Honey Extractor for Your Beekeeping Scale
- Tangential vs Radial Honey Extractors: How to Choose for Your Beekeeping Needs
- How to Choose the Perfect Honey Extractor for Your Beekeeping Needs