To properly secure the wire at the bottom of the frame, you must prioritize removing all slack from the internal strands before locking the wire in place. The process involves drawing the excess wire through the final eyelet, using a temporary loop to hold tension while tightening the frame, and finally securing the wire by wrapping it tightly around the bottom nail.
The critical success factor is tension management. Simply tying the wire is insufficient; you must draw all slack out of the frame's internal spans before securing the final loop to ensure structural integrity.
Initial Setup and Temporary Anchoring
Positioning the Wire
Begin by pulling the wire through the eyelet located near the bottom nail.
Ensure you have drawn the excess wire completely out of the frame interior to prepare for tightening.
The Loose Wrap
Wrap the wire loosely around the bottom nail.
Do not hammer the nail in yet; this loose wrap serves only as a temporary anchor while you adjust the rest of the frame.
Eliminating Slack from the System
Tightening the Frame Interior
With the end loosely anchored, turn your attention to the wire spans inside the frame.
Pull the wire very tight through the frame, working from top to bottom.
This step is essential to remove any slack that may have accumulated during threading.
The Final Tensioning
Once the internal wires are taut, unloop the wire from the bottom nail.
Pull this free end as tight as possible to capture the tension you created in the previous step.
Locking and Finishing
Securing the Connection
Immediately re-loop the wire multiple times around the same bottom nail.
Maintain constant tension during this wrapping process to ensure the wire does not slip back through the eyelet.
Clamping the Loop
Drive the nail completely into the wood with a hammer.
The head of the nail will act as a clamp, compressing the wire loop against the frame for a permanent hold.
Understanding the Trade-offs: Finishing the Wire
Cutting vs. Breaking
You must remove the excess wire tail after hammering the nail.
Cutting with pliers is the standard method mentioned in primary documentation. It is fast and effective, but it may leave a small, sharp burr.
Fatigue breaking (wiggling the wire) involves bending the wire back and forth against the nail until it snaps. This often results in a cleaner break flush with the nail head, reducing the risk of snagging or injury later.
Making the Right Choice for Your Goal
When finalizing your frame, choose the finishing method that aligns with your workflow:
- If your primary focus is speed: Cut the excess wire with pliers immediately after wrapping.
- If your primary focus is a smooth finish: Wiggle the wire against the nail until it breaks to avoid sharp edges.
Proper tensioning at this stage ensures the durability and utility of the frame for its entire lifespan.
Summary Table:
| Step | Action | Key Goal |
|---|---|---|
| 1. Initial Setup | Thread through final eyelet & loose wrap | Prepare for tensioning |
| 2. Tensioning | Pull internal spans top to bottom | Remove all slack from interior |
| 3. Locking | Wrap tightly around nail & drive home | Permanent, slip-free anchor |
| 4. Finishing | Cut with pliers or wiggle to snap | Clean finish & snag prevention |
Scale Your Apiary with Professional-Grade Equipment
At HONESTBEE, we understand that every detail—down to the tension of a frame wire—matters for the success of commercial apiaries and distributors. We provide a comprehensive wholesale solution, supplying the full spectrum of beekeeping tools, machinery, and essential industry consumables.
From high-precision hive-making and honey-filling machines to specialized hardware and honey-themed cultural merchandise, we help you optimize your operations and product offerings.
Ready to upgrade your beekeeping inventory or production line?
Contact HONESTBEE Today to discuss our wholesale opportunities and how our specialized equipment can bring unparalleled value to your business.
Related Products
- Stainless Steel Bee Hive Frame Wire for Beekeeping
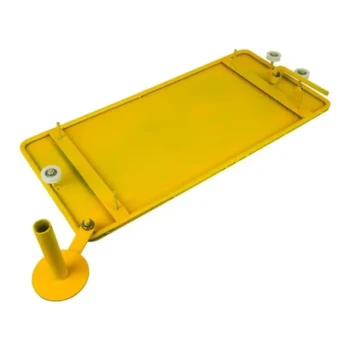
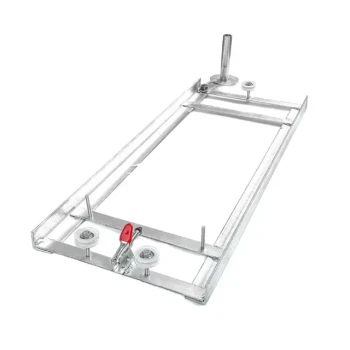
- HONESTBEE Durable Frame Wiring Board with Integrated Tensioner
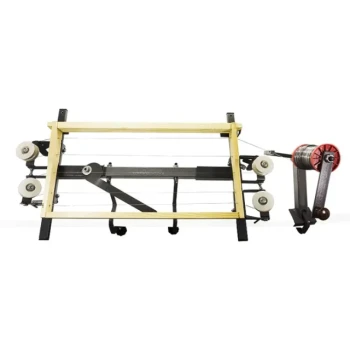
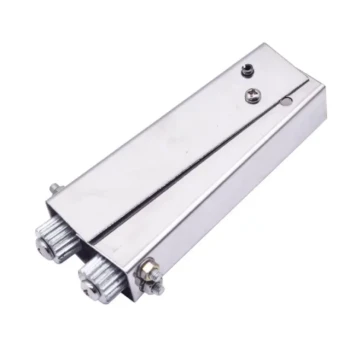
- Professional Pneumatic Wire Embedder for Beehive Frames
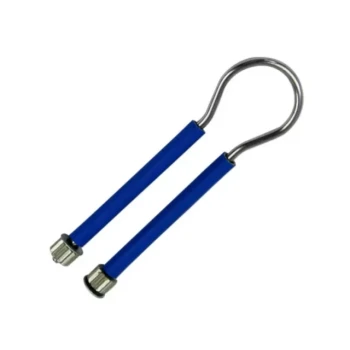
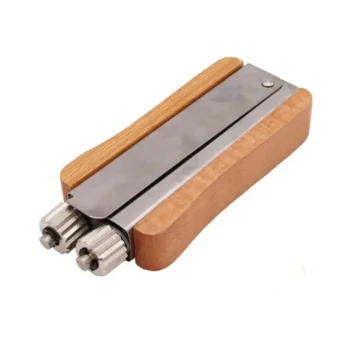
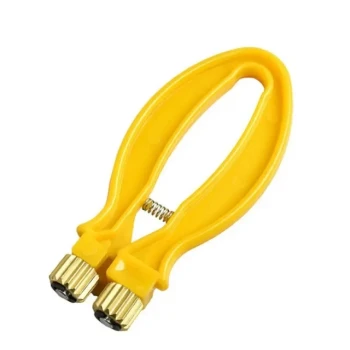
- HONESTBEE Loop Handle Frame Wire Crimper
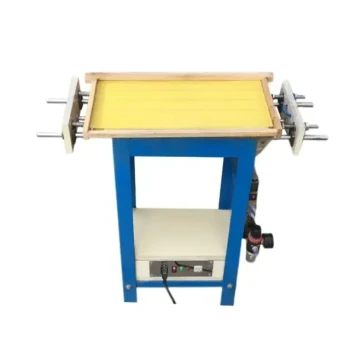
- Professional Bee Frame Wiring Tool with Integrated Tensioning System by HONESTBEE
People Also Ask
- How is the wire secured at the top of the frame after being threaded? Master the Clamp and Break Technique
- What tools are needed to wire a beehive frame? Essential Equipment for Durable Frame Construction
- How is the wire tightened in a beekeeping frame? Expert Techniques for Durable Hive Frames
- What are the drawbacks of wiring beehive frames? Key Limitations and Structural Trade-offs Revealed
- What precautions should be taken when wiring beehive frames? Essential Steps for Comb Durability