As the weather warms and colony activity increases, frame rearrangement is essential to guide growth and maximize space usage. The process begins by placing two empty frames directly between the central brood nest and the outer food stores; later, you must interleave the remaining empty frames directly into the brood nest once the bees have begun drawing new comb.
Core Takeaway To successfully expand a hive, you must progressively integrate empty space from the periphery into the active center. This two-phase approach stimulates comb production while maintaining the critical "food-on-edges, brood-in-center" configuration that protects the colony’s warmth and resources.
Executing the Frame Rotation Strategy
Phase One: Flanking the Brood
When the colony first becomes active in the spring, you must bridge the gap between their resources and their nest. Identify the frames containing the brood (eggs, larvae, and pupae) and the frames containing food (honey and pollen).
Take two empty frames and position them strategically. Place them exactly where the brood nest ends and the food storage begins—one on each side of the brood cluster.
Phase Two: Interspersing the Core
The second phase relies on the bees' reaction to the first move. Monitor the two empty frames you previously inserted; wait until the bees start actively building honeycomb on them.
Once construction is underway, you can act more aggressively to expand the nest. Take any remaining empty frames and insert them directly between the existing brood frames. This spaces out the brood and encourages rapid comb drawing in the center of the hive.
The Target Configuration
Regardless of how you shuffle the internal frames, the final goal for the hive body layout remains constant.
You must ensure that food frames always remain at the very ends of the hive body. Simultaneously, the brood frames should be concentrated in the center, insulated by the food stores on the perimeter.
Understanding the Prerequisites
Weather Dependency
This manipulation is not for the dormant season. The reference emphasizes that this process begins strictly "as the weather warms." Attempting to separate brood frames or expand the nest area during cold snaps can likely compromise the colony's ability to thermoregulate.
The Construction Indicator
You cannot rush from Phase One to Phase Two based on a calendar date. The transition is dictated by the bees' behavior.
You must verify that the bees have started building honeycomb on the initial flanking frames. This indicates the colony has the resources and population density required to support further expansion into the brood nest.
Making the Right Choice for Your Goal
## How to Apply This to Your Project
- If your goal is initial spring stimulation: Place two empty frames at the "seams" between the brood nest and the honey stores to encourage initial expansion.
- If your goal is rapid nest growth: Wait for comb building to begin, then insert empty frames directly between brood frames to maximize laying space.
- If your goal is colony stability: Always verify that the final arrangement keeps honey stores on the far edges and the brood cluster consolidated in the center.
Successful frame management is a matter of timing—move the empty space inward only as fast as the bees can draw the comb to fill it.
Summary Table:
| Phase | Strategy | Hive Positioning | Indicator for Success |
|---|---|---|---|
| Phase 1: Flanking | Bridge brood and food | Place 2 empty frames at the edges of the brood nest | Increasing colony activity as weather warms |
| Phase 2: Interspersing | Rapid nest expansion | Insert empty frames directly between existing brood frames | Bees actively building comb on Phase 1 frames |
| Target Layout | Insulation & Resource | Food frames on outer edges; brood frames consolidated in center | Balanced thermoregulation and resource access |
Scale Your Beekeeping Operations with HONESTBEE
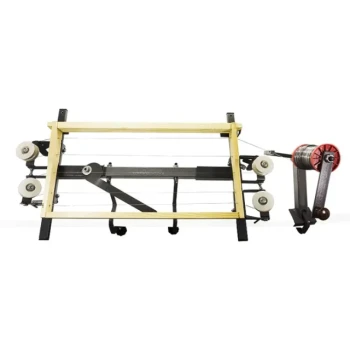
Optimizing your hive layout is just the first step toward a productive season. At HONESTBEE, we empower commercial apiaries and distributors with the high-performance tools needed to manage growth at scale. From precision hive-making machinery and automated honey-filling systems to a complete range of wholesale beekeeping tools and consumables, our solutions are designed to maximize your efficiency and yield.
Whether you are expanding your commercial colonies or sourcing premium supplies for your distribution network, HONESTBEE delivers the quality and reliability your business demands.
Ready to elevate your honey production? Contact us today for wholesale inquiries and expert equipment solutions!
Related Products
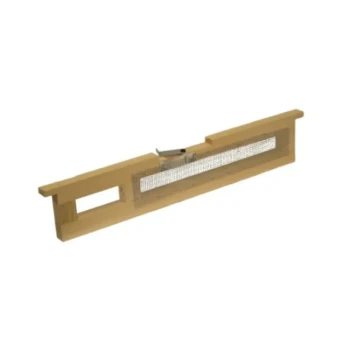
- Assembled Wooden Bee Frames with Plastic Foundation for Durability and Convenience by HONESTBEE
- Assembled Wooden Bee Frames with Beeswax Foundation Ready to Use by HONESTBEE
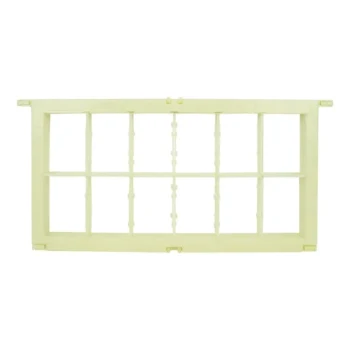
- Plastic Bee Frame Beekeeping Hive Frames for Wholesale
- Wooden Bee Hive Frames for Beekeeping and Wholesale
- HONESTBEE Wired and Assembled Wooden Bee Frames Foundation for a Thriving Hive
People Also Ask
- What types of bee frames can be cleaned and returned to service? A Guide to Safe Apiary Refurbishment
- How do you re-wax bee frames? A Simple Guide to Faster Comb Building
- When should frames with new foundation be given to colonies? Master Timing for a Thriving Hive
- Do bee frames need foundation? Choose the Right Approach for Your Apiary
- Can beekeepers switch between wooden and plastic frames? Optimize Your Hive's Performance