To successfully transfer honey bees from a shipping package, you must create a physical void in the hive body and use a specific shaking technique to relocate the colony. The procedure involves removing four to five center frames, misting the bees to prevent flight, removing the feeder and queen, and then inverting the package to dump the bees directly into the open space.
Core Takeaway The goal is to move the biomass of the colony quickly and safely into their new home while minimizing stress. By creating a large central space and settling the bees with a sugar water mist, you facilitate a smooth transfer that allows the colony to immediately focus on releasing the queen and drawing comb.
Preparing the Hive Environment
Creating the Necessary Void
To begin, you must physically modify the receiving hive body. Remove four to five frames from the center of the box.
This step is critical because the volume of bees in a package requires significant open space during the initial transfer. Attempting to install a package into a fully framed box will result in overflow and injury to the bees.
Calming the Cluster
Before opening the package, mist the bees through the screen using sugar water.
This encourages the bees to groom themselves and each other, which distracts them and makes their wings sticky to limit flying. Note that this should only be done if the outdoor temperature is above 40°F.
Preparing the Package for Opening
Tap the package firmly against the ground or a solid surface to knock the cluster of bees to the bottom.
Once the bees have settled at the bottom, use your hive tool to remove the lid, then pull out the feed can and the queen cage. This clears the exit path for the rest of the colony.
Executing the Transfer
The Inversion and Dump Method
Immediately after removing the obstructions, invert the shipping package directly over the empty space you created in the hive body.
You must be decisive here. Rock the package back and forth and tap it vigorously to shake the bees out of the package and into the void between the remaining frames.
Reassembling the Hive
Once the bulk of the bees are in the hive body, carefully return the frames you previously removed.
You must be gentle to avoid crushing the bees that are now covering the bottom board. Ensure you leave adequate space between frames to hang or position the queen cage safely.
Critical Considerations and Trade-offs
Temperature vs. Technique
While misting with sugar water is highly effective for keeping bees calm, it presents a thermal risk in cold weather.
If the temperature is below 40°F, wetting the bees can lead to hypothermia. In these conditions, you must skip the misting step and rely solely on the mechanical tapping to keep the cluster manageable.
The Queen's Acclimation
It is vital that you do not release the queen immediately during this process.
The worker bees need time to accept her pheromones, or they may view her as an intruder and kill her. Ensure her cage is plugged with a "candy cork" so the bees release her slowly over several days.
Handling Residual Bees
It is inefficient and unnecessary to try to shake every single bee out of the shipping package.
Instead, place the nearly empty package on the ground near the hive entrance. Any remaining bees will naturally detect the colony's scent and migrate into the hive on their own.
Ensuring a Successful Colony Start
To tailor this procedure to your specific context, consider the following approach:
- If your primary focus is speed and efficiency: Pre-stage your hive by removing the 4-5 center frames before you even pick up the shipping package.
- If your primary focus is queen acceptance: Verify the candy cork is exposed and position her cage centrally within the cluster of transferred bees to maximize pheromone distribution.
By following this mechanical transfer method and respecting the colony's need for gradual acclimation, you ensure the bees settle quickly into their new architecture.
Summary Table:
| Step | Action | Key Tool/Material |
|---|---|---|
| 1. Preparation | Remove 4-5 center frames to create a void | Hive Tool |
| 2. Calming | Mist bees with sugar water (if >40°F) | Spray Bottle |
| 3. Clearing | Remove feed can and queen cage | Hive Tool |
| 4. Transfer | Invert and shake package into the void | Decisive Motion |
| 5. Finishing | Re-insert frames and position queen cage | Hive Body |
| 6. Cleanup | Place empty package near entrance for stragglers | N/A |
Scale Your Apiary Operations with HONESTBEE
Transitioning bees is just the beginning. At HONESTBEE, we specialize in empowering commercial apiaries and distributors with the high-performance tools necessary for industrial-scale success. From precision honey-filling machines and hive-making equipment to durable wholesale beekeeping hardware and essential consumables, our portfolio is designed to maximize your productivity and colony health.
Whether you are expanding your commercial fleet or stocking a distribution network, we offer the comprehensive supply chain support you need. Contact HONESTBEE today to discuss our wholesale offerings and discover how our expertise can streamline your beekeeping enterprise!
Related Products
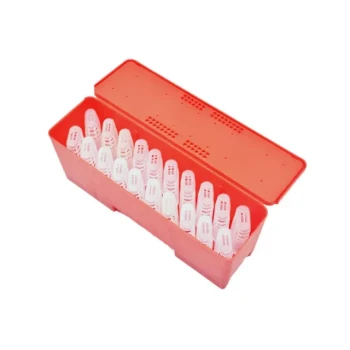
- Plastic Transporting Bee Packages and Nuc Boxes for Beekeeping
- JZBZ Style Professional Battery Box with 20 Shipping Cages
- Langstroth Honey Bee Box Hive Boxes for Different Depths
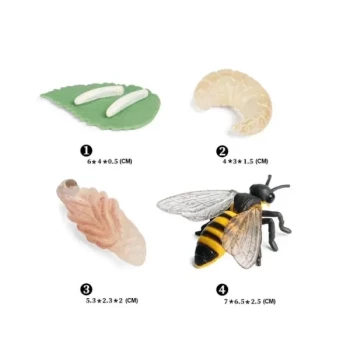
- Honey Bee Life Cycle Model 4 Stage Educational Set for Kids Learning
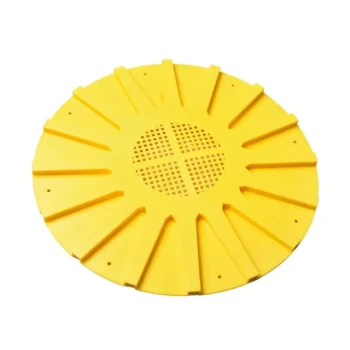
- Durable 16 Way Circular Bee Escape for Efficient Honey Harvesting
People Also Ask
- How do standardized bee packages serve as a recovery mechanism for commercial beekeeping? Ensure Business Continuity
- What is the commercial value of using standardized bee packages? Drive Scalability in Large-Scale Apiaries
- What role do bee package boxes play in the commercial transport and expansion of honeybee colonies? - Logistic Essentials
- What measures can be taken during the installation of a honey bee package to prevent the bees from leaving? Pro Tips
- What is the typical worker bee population in package bees vs nucleus colonies? Choose the Right Start for Your Hive