For centuries, beeswax candles have illuminated homes, sacred spaces, and royal courts. Today, they’re experiencing a resurgence as people seek natural, sustainable alternatives to paraffin and soy candles. But what makes pure beeswax candles truly special? And how can you craft them at home? This guide explores their historical legacy, unique benefits, and a step-by-step method to create your own.
Pure Beeswax Candles: A Timeless Craft
The Historical Legacy of Beeswax Candles
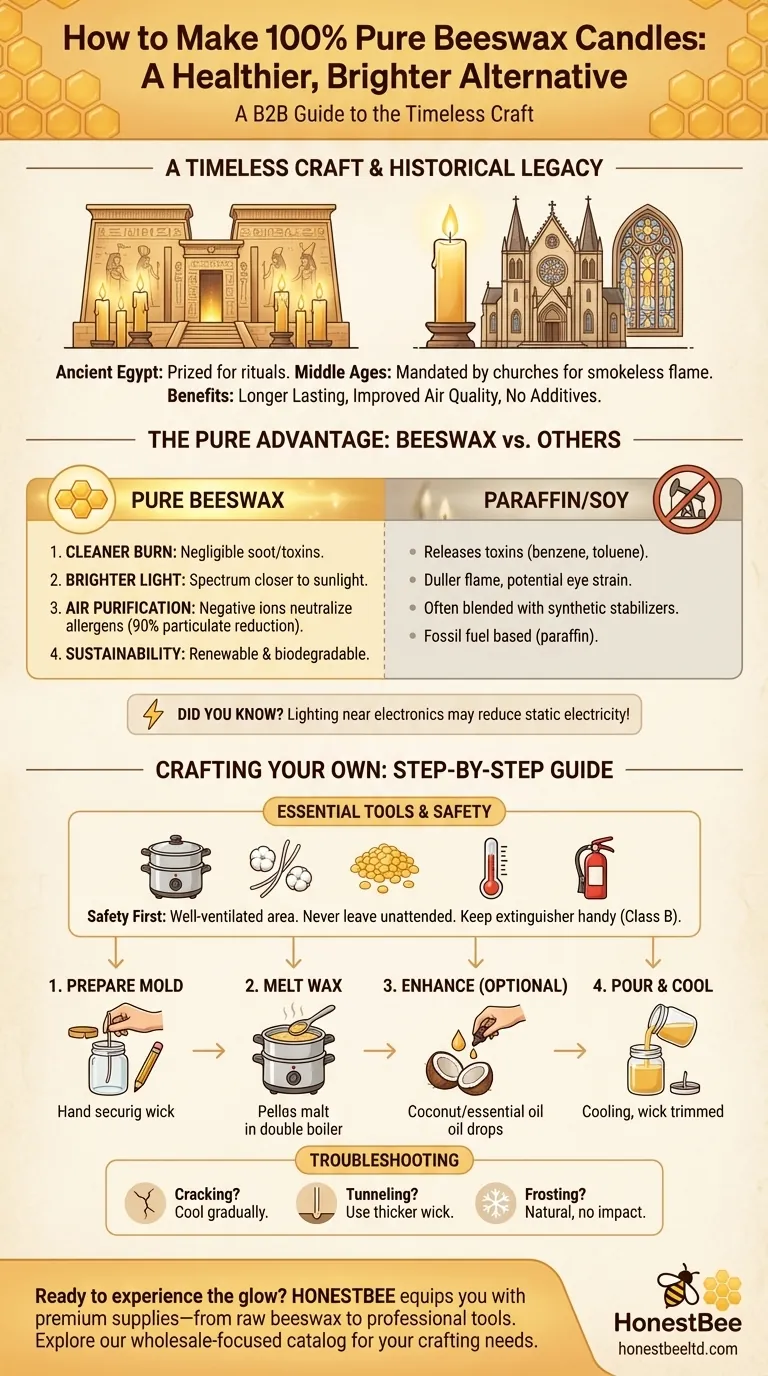
Beeswax candles date back to ancient Egypt, where they were prized for temple rituals and elite households. Unlike tallow (animal fat) candles, beeswax burned cleanly and emitted a subtle honey-like fragrance. By the Middle Ages, European churches mandated their use for ceremonies, valuing their smokeless flame and symbolic purity.
This historical preference wasn’t arbitrary. Beeswax candles:
- Lasted longer than alternatives due to their high melting point.
- Improved air quality by releasing negative ions that bind to pollutants.
- Required no additives, unlike paraffin (a petroleum byproduct) or soy (often blended with synthetic stabilizers).
Key Advantages Over Paraffin and Soy Candles
Modern research confirms what ancient cultures observed:
- Cleaner Burn: Beeswax candles produce negligible soot and toxins. Paraffin, in contrast, can release benzene and toluene—compounds linked to respiratory issues.
- Brighter Light: Their flame emits a spectrum closer to sunlight, reducing eye strain.
- Air Purification: The negative ions neutralize airborne allergens like dust and mold. A 2007 Atmospheric Environment study found ionizing effects reduced particulate matter by over 90%.
- Sustainability: Beeswax is renewable and biodegradable, while paraffin relies on fossil fuels.
Did you know? Lighting a beeswax candle near electronics may reduce static electricity—a quirky benefit of those negative ions.
Crafting Your Own 100% Beeswax Candles
Essential Tools and Safety Considerations
You’ll need:
- Double boiler (or a heatproof bowl over simmering water)
- 100% cotton wicks (pre-waxed for easier use)
- Beeswax pellets (easier to measure than blocks)
- Thermometer (beeswax ignites at ~400°F; keep below 180°F when melting)
- Pencil/clothespin to secure wicks
Safety first:
- Work in a well-ventilated area away from flammable materials.
- Never leave melting wax unattended.
- Keep a fire extinguisher nearby (Class B for grease/chemical fires).
Step-by-Step Guide for Beginners
- Prepare the mold: Secure a wick to the bottom of your container (jar, tin) with hot glue. Wrap the top around a pencil to center it.
- Melt the wax: Fill the boiler’s bottom pot with 2–3 inches of water. Add pellets to the top pot, stirring until fully liquefied (~15 mins).
- Optional enhancements: Stir in 1 tsp coconut oil per cup of wax for smoother texture, or a few drops of essential oil for fragrance.
- Pour carefully: Fill the mold slowly to avoid air bubbles. Let cool for 24 hours before trimming the wick to ¼ inch.
Troubleshooting Common Challenges
- Cracking wax? Cool it more gradually (e.g., place the mold in warm water first).
- Tunneling (uneven burn)? Use a wick slightly thicker than recommended.
- Frosting (whitish bloom)? This natural crystallization doesn’t affect performance.
Ready to experience the glow of pure beeswax? HONESTBEE equips beekeepers and distributors with premium supplies—from raw beeswax to professional dipping tools. Whether you’re a hobbyist or a commercial apiary, our wholesale-focused offerings ensure you craft candles as nature intended. Explore our catalog to start your beeswax journey today.
Final thought: In a world of synthetic shortcuts, beeswax candles reconnect us to a tradition where light meant purity, craftsmanship, and a touch of honeyed magic.
Visual Guide
Related Products
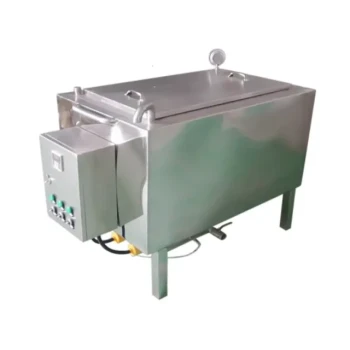
- Beeswax Melter for Candle Making Honey Bee Wax Melter
- 3D Square Honeycomb Pillar Silicone Candle Molds for Making Beeswax Candles
- 3D Beehive Silicone Skep Wax Candle Molds for Candles
- Bee Floral Relief Silicone Mold for Artisan Soap Candle Making
- Professional Stainless Steel Wax Melter for Beekeeping and Crafts
Related Articles
- How to Melt Beeswax Safely: Expert Methods to Avoid Fire Risks
- How to Optimize Industrial Beeswax Melting: Key Parameters for Quality & Efficiency
- How to Separate Pure Beeswax from Honey Residues: Efficient Methods for Reuse
- How to Melt Beeswax Safely: Temperature-Controlled Methods for Any Setting
- How to Melt Beeswax Safely: Preserving Quality While Avoiding Hazards