Proper queen bee marking isn’t just about organization—it’s a critical practice for hive longevity and productivity. Whether you’re a commercial beekeeper or a distributor supplying equipment, mastering low-stress techniques ensures colony stability and simplifies management. Here’s how to choose and execute methods that prioritize safety for both bees and beekeepers.
Queen Bee Marking Essentials for Hive Health
Why Proper Marking Matters for Apiary Management
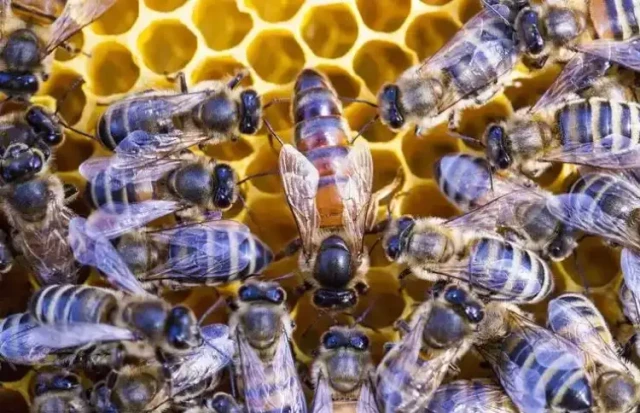
Marking queens allows beekeepers to:
- Track queen age and performance (queens decline in productivity after 2 years)
- Prevent accidental supersedure during inspections
- Reduce hive disruptions by quickly locating the queen
Research shows that colonies with marked queens experience fewer stress-induced disruptions, as workers adapt faster to routine inspections.
On-Frame Marking: Tools and Techniques for Low-Stress Application
Best for: Beekeepers prioritizing minimal handling and hive integration.
Tools You’ll Need:
- Water-based acrylic paint (non-toxic, ASTM-compliant for bee safety)
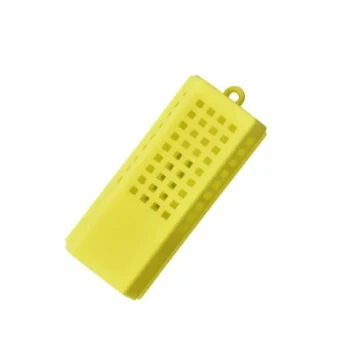
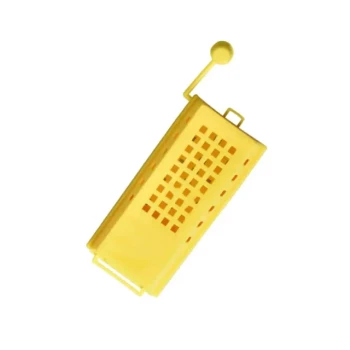
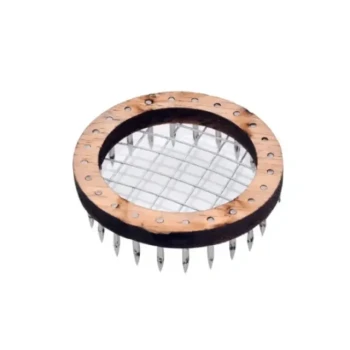
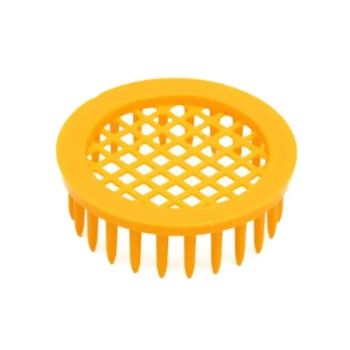
- Press-in marking cage – Secures the queen against the comb without isolation
- Fine-tip art pens – High pigmentation ensures visibility without smearing
Step-by-Step:
- Identify the queen during a low-activity period (early morning or cooler days).
- Gently press the cage over her on the frame, immobilizing her thorax.
- Apply a dot to her thorax using quick-drying paint.
- Release immediately—she remains surrounded by workers, reducing disorientation.
Pro Tip: Use color-coded systems (e.g., Blue for 2025) to denote queen age at a glance.
Manual Restraint Method: Step-by-Step Safe Handling
Best for: Experienced beekeepers needing precision in high-population hives.
Tools You’ll Need:
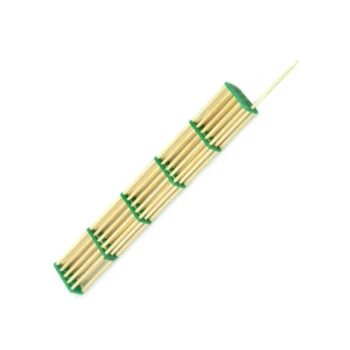
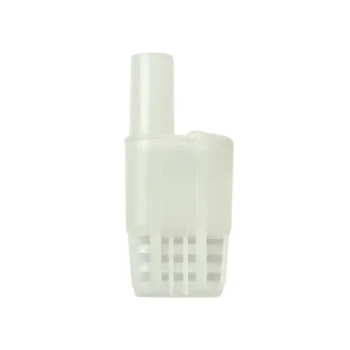
- Queen catcher tube – Improves visibility and reduces worker interference
- Soft-grip tweezers – For stabilizing wings if needed
Safety-First Approach:
- Isolate the queen using the catcher tube, avoiding contact with her abdomen.
- Restrain gently between thumb and index finger, exposing the thorax.
- Mark swiftly
- Return her to the frame near worker clusters for reassurance.
Caution: Avoid squeezing—queens are fragile. Practice with drones first to refine technique.
Selecting the Right Method: Hive Conditions and Beekeeper Expertise
| Factor | On-Frame Marking | Manual Restraint |
|---|---|---|
| Beginner-Friendly | ✅ Low-risk | ❌ Skill-dependent |
| Hive Temperament | ✅ Aggressive colonies | ❌ Calm colonies only |
| Speed | ⏱️ Slower (30+ sec) | ⏱️ Faster |
Key Consideration: A handheld marking cage bridges both methods, offering control without direct handling.
Post-Marking Best Practices: Ensuring Queen Survival and Colony Stability
- Monitor for 24 hours: Check for worker acceptance (rejection risks include balling or aggression).
- Avoid over-marking: Thick paint layers can impair movement or pheromone dispersal.
- Record details: Log marking dates and colors in hive notes for future reference.
Did You Know? Colonies with marked queens show faster recovery post-inspection, as workers resume normal activities sooner.
Elevate Your Apiary Management with HONESTBEE
For commercial apiaries and distributors, HONESTBEE’s beekeeping supplies deliver reliability at scale. From ASTM-certified marking paints to ergonomic cages, our wholesale-focused solutions help you safeguard hive health while streamlining operations.
Ready to optimize your queen marking process? Explore HONESTBEE’s equipment today—because thriving colonies start with precision care.
Visual Guide

Related Products
- Queen Bee Marking Pen POSCA Queen Marking Pens for Beekeeping Bee Markers
- Queen Bee Marking Pen UNI Medium Point for Queen and Bee Marking
- Queen Bee Marking Tube Cage Bottle Catcher Holder with Clear Plastic Plunger Marker
- Professional Engraved Round Hive Number Tags for Beekeeping
- Professional Galvanized Hive Strap with Secure Locking Buckle for Beekeeping
Related Articles
- Preserving the Golden Harvest: The Gentle Engineering of Honey Pumps
- How Beeswax Foundations Enhance Colony Health and Beekeeping Efficiency
- The Geometry of Safety: Deconstructing the Engineering of a Beekeeper's Veil
- How to Mark Queen Bees Without Stressing Your Colony: Precision Techniques for Beekeepers
- Comprehensive Guide to Installing a Queen Bee
