A laying-worker colony is identified by abnormal brood and egg placement, then managed by separating or removing laying workers before requeening. During inspections, look for multiple eggs per cell, eggs attached to cell walls, scattered brood, and small drone brood in worker-sized cells. The practical correction is a controlled shake-out, rapid restoration of queen pheromones, and close follow-up.
A laying-worker problem is usually the result of prolonged queenlessness, not simply a poorly performing queen. Confirm the diagnosis first, because introducing a queen into a colony that still contains laying workers often results in queen rejection or death.
How to Identify a Laying-Worker Issue
Start with External Hive Observations
Before opening a colony, compare it with neighboring hives. Useful indicators include:
- Low or irregular flight activity
- Few returning bees carrying pollen
- Dead or crawling bees near the entrance
- Increased defensiveness or unusual agitation
- Reduced apparent population
- Abnormal hive weight or declining stores
These signs indicate colony stress but do not prove a laying-worker condition. They should trigger a systematic frame inspection.
Inspect the Broodnest Carefully
Remove frames from the center of the broodnest with a hive tool. Work slowly and avoid crushing the queen or dislodging eggs.
Hold each frame at eye level with the sun over your shoulder. Tilt it slightly in different directions so shadows make eggs easier to see at the bottoms and walls of cells.
A normal queen typically lays one small, white egg centered at the bottom of each cell. Laying-worker colonies commonly show:
- Several eggs in one cell
- Eggs placed high on the cell walls
- Eggs scattered irregularly rather than centered
- Spotty, uneven brood patterns
- Excessive drone brood
- Small, rounded drone cappings in worker-sized cells
Distinguish Laying Workers from an Ordinary Queenless Colony
A queenless colony may have no new eggs or larvae, but it does not necessarily contain laying workers yet. Other queenless signs include declining adult population, nectar and honey being stored in brood areas, and emergency queen cells on young brood.
The presence of multiple eggs and drone brood in worker cells is much more specific to laying workers.
Use a Test Frame Before Requeening
If the diagnosis is uncertain, place a frame containing very young brood and eggs from a healthy colony into the suspect hive.
Inspect it after several days:
- Queen cells started on the test frame: strong evidence that the colony is queenless.
- No queen cells, but abnormal eggs continue: laying workers are likely present, although colony condition and timing should also be considered.
This test prevents unnecessary purchases of replacement queens and reduces the risk of introducing a queen into an unsuitable colony.
Equipment Required for the Correction
Inspection and Handling Equipment
Prepare the following before beginning:
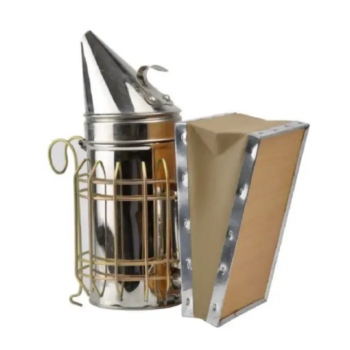
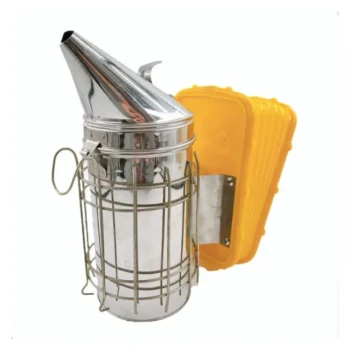
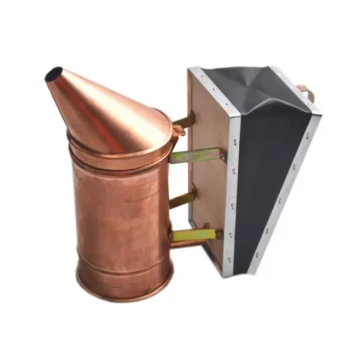
- Smoker and fuel
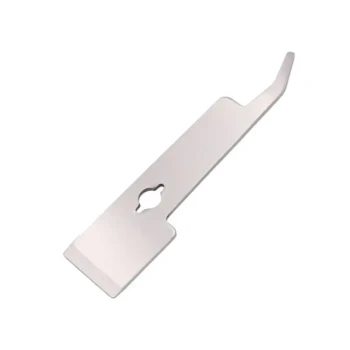
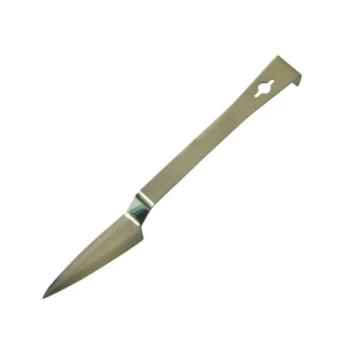
- Hive tool
- Protective clothing and veil
- Soft bee brush
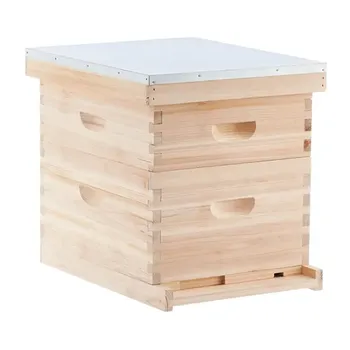
- Spare brood chambers or empty hive bodies
- Bottom board, inner cover, and outer cover
- Hive stand or replacement stand
- Clean frames
- Frame containing young brood, a queen cell, or a caged queen
- Internal or enclosed feeder
- Entrance reducer or robber screen
- Labels or records for tracking the colony
A soft brush is preferable to rough handling. The objective is to remove bees from frames without damaging comb or causing excessive colony disruption.
Replacement and Sanitation Supplies
Also have equipment available for:
- Cleaning propolis and wax from reusable hardware
- Replacing heavily contaminated or damaged comb
- Isolating suspect frames
- Recording the treatment date and introduction method
- Combining the colony with a stronger colony if recovery is not practical
Commercial operations should stage these materials at the apiary before opening the hive. A delayed response can leave a queen or queen cell exposed to rejection, robbing, or weather stress.
Step-by-Step Management Method
1. Confirm the Problem and Evaluate Colony Value
Verify the brood pattern and egg placement before dismantling the hive. Estimate the remaining adult population, food reserves, disease status, and quality of the comb.
A weak, heavily depleted colony may not justify requeening. In that case, combining it with a viable colony may be more reliable than attempting recovery.
2. Prepare the Destination Hive
At the original hive position, prepare the brood chamber or hive body that will receive the returning bees.
Install:
- Empty or cleaned frames
- A frame of young brood, where appropriate
- A queen cell or caged queen
- An internal feeder
- An entrance reducer or robber screen if robbing pressure is present
A caged queen generally gives the colony time to encounter her pheromones before direct contact. A viable queen cell may also be used, but it requires suitable timing and acceptance conditions.
3. Move the Affected Hive Body Away
Move the affected hive body away from its original position, approximately 200 meters where site conditions allow.
The exact distance is less important than creating adequate separation from the original flight path. The method is intended to let normal flying bees navigate back to the old location while reducing the number of laying workers that return.
4. Remove Every Frame
Take out all frames and inspect them as needed. Do not leave bees clustered on frames inside the displaced hive body.
Frames can be brushed or swept clean over grass or another safe surface. Use a soft bee brush and avoid crushing large numbers of bees.
5. Shake or Brush All Bees onto the Ground
Shake or brush every bee from the frames and hive components. This is the critical separation step.
Do not assume that moving the hive a short distance alone will solve the problem. The frames must be cleared so that returning field bees and non-laying workers can reoccupy the equipment without simply carrying the laying-worker population back with them.
6. Return the Hive Structure to Its Original Site
Reassemble the hive body, bottom board, covers, and prepared frames at the original location.
The returning bees use their established orientation flights and field-site memory to find this position. Any remaining bees in the displaced area should not be casually returned to the hive.
7. Introduce Queen Pheromones Carefully
Place the selected reproductive material in the prepared hive:
- Caged mated queen: appropriate when a replacement queen is available and the colony has been thoroughly shaken out.
- Queen cell: useful when timing and cell maturity are suitable.
- Young-brood frame: supports queen rearing but does not immediately restore egg production.
Do not release a caged queen immediately unless the introduction protocol specifically supports direct release. Allow the bees time to accept her through the cage.
8. Feed and Protect the Colony
Use an internal or enclosed feeder rather than exposing syrup near the hive. Exposed feed can trigger robbing, especially when the colony is temporarily weak.
Install an entrance reducer or robber screen when appropriate. Monitor for fighting, chaotic entrance traffic, or bees attempting to enter through cracks.
9. Reinsert Cleaned Brood Frames
After the bees have been shaken out, cleaned brood frames can be returned if they are structurally sound and free of suspected disease.
Do not automatically reuse every frame. Comb showing serious contamination, excessive drone production, or disease symptoms should be isolated and handled according to the apiary’s sanitation procedures.
10. Reinspect and Record the Outcome
Inspect the colony after the introduction period and again as part of the normal queen-evaluation schedule.
Look for:
- Acceptance of the queen
- New eggs centered in cells
- A progressive improvement in brood pattern
- Reduced drone production in worker-sized cells
- Stable population and normal foraging
- No renewed evidence of multiple eggs
Record the date, queen source, introduction method, frame treatment, and inspection result. These records help identify recurring queenlessness, equipment problems, or seasonal patterns across the operation.
Understanding the Trade-offs
The Shake-Out Method Is Not Guaranteed
The method relies on different flight and orientation behavior, but it is not an absolute separation. Some laying workers may return, particularly if they are capable of flight or if the displacement is inadequate.
For that reason, a shake-out should be treated as a risk-reduction procedure, not a guarantee that every laying worker has been removed.
Requeening May Fail in a Strong Laying-Worker Colony
Laying workers can cause a newly introduced queen to be rejected or killed. Releasing a queen into the colony without first reducing the laying-worker population is a common and expensive mistake.
If repeated abnormal laying continues, combining the population with a strong queenright colony may be the more dependable commercial decision.
Queen Cells and Open Brood Have Different Timelines
A queen cell does not provide immediate egg production. A frame of young brood only allows the colony to raise a queen, assuming the brood is suitable and the colony has enough healthy workers to support the process.
A caged mated queen can restore reproductive capacity faster, but only if the colony accepts her.
Weak Colonies Are Vulnerable to Robbing
A colony undergoing treatment may have fewer guard bees and exposed honey or syrup. Robbing can rapidly worsen the situation and may spread disease between colonies.
Keep feeding enclosed, reduce entrances, and avoid leaving comb or syrup exposed during inspections.
Salvageable Equipment Still Requires Judgment
Hive bodies, frames, and hardware can often be cleaned and reused. However, equipment associated with suspected infectious disease should not be returned to service without appropriate inspection and sanitation.
The priority is not merely saving boxes and frames; it is preventing a compromised colony or contaminated equipment from affecting the wider apiary.
Making the Right Choice for Your Goal
Select the response according to colony strength, diagnostic confidence, and the value of the available equipment and bees.
- If your primary focus is rapid colony recovery: Confirm laying workers, perform a complete shake-out, return the equipment to the original site, and introduce a caged queen with enclosed feed.
- If your primary focus is diagnostic accuracy: Use a young-brood test frame and inspect egg placement, brood pattern, queen-cell production, and drone brood before purchasing replacement queens.
- If your primary focus is minimizing labor and queen loss: Combine the remaining bees with a strong queenright colony rather than repeatedly attempting to requeen a severely depleted hive.
- If your primary focus is equipment reuse: Clean sound hive bodies and frames, isolate questionable comb, and maintain clear treatment records before redeploying the equipment.
- If your primary focus is commercial continuity: Keep inspection tools, spare chambers, feeders, queen-introduction equipment, and replacement frames staged so corrective work can be completed in one visit.
A disciplined diagnosis followed by complete bee separation, protected queen introduction, and documented follow-up gives commercial apiaries the best chance of restoring productivity while limiting avoidable losses.
Summary Table:
| Step | Action | Key Equipment | Critical Notes |
|---|---|---|---|
| 1 | Confirm diagnosis | Hive tool, smoker, protective gear | Look for multiple eggs per cell and drone brood in worker cells. |
| 2 | Prepare destination hive | Brood chamber, frames, feeder, entrance reducer | Install queen cage or cell, feed, and reduce entrance. |
| 3 | Move affected hive away | Hive stand, moving equipment | Move at least 200 meters from original site. |
| 4 | Remove all frames | Hive tool, bee brush | Avoid leaving bees on frames. |
| 5 | Shake bees onto ground | Bee brush, grass surface | Critical separation step. |
| 6 | Return hive to original site | Hive bodies, covers | Flying bees return to original location. |
| 7 | Introduce queen pheromones | Caged queen or queen cell | Allow acceptance through cage. |
| 8 | Feed and protect | Internal feeder, robber screen | Prevent robbing. |
| 9 | Reinsert cleaned frames | Clean frames | Do not reuse contaminated comb. |
| 10 | Inspect and record | Records, inspection tools | Monitor acceptance and brood pattern. |
Ensure the productivity of your apiary with reliable equipment and expert guidance. Contact HONESTBEE today to explore our full range of beekeeping supplies, from hive tools to queen introduction cages. Our team is ready to help you maintain healthy colonies and maximize your operation's efficiency. Contact us now for personalized support and wholesale solutions.
Related Products
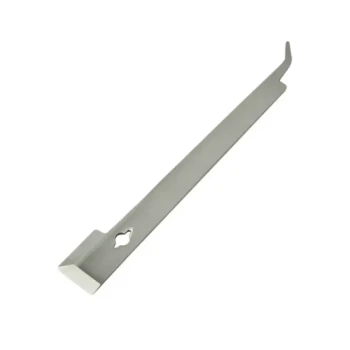
- Stainless Steel J Hook Hive Tool for Beekeeping
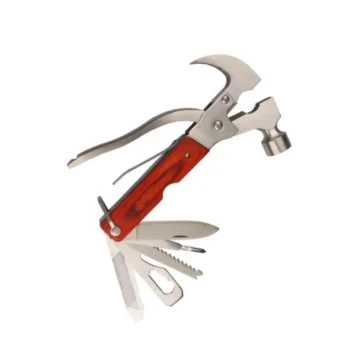
- HONESTBEE 15-in-1 Beekeeper Multi-Tool with Hammer and Pliers for Beekeeping
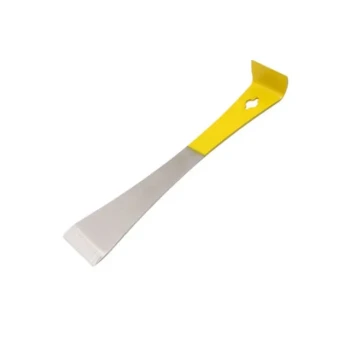
- HONESTBEE Classic Pry Bar Hive Tool with High Visibility Finish for Beekeeping
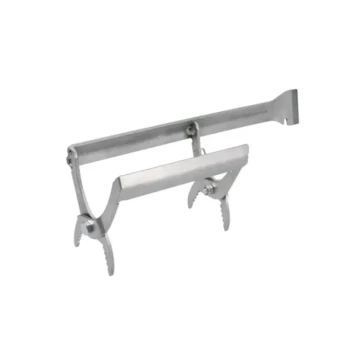
- Multi-Function Plier-Style Frame Grip Hive Tool
- HONESTBEE Professional Mini J-Hook Hive Tool for Beekeeping
People Also Ask
- What specific challenges do beekeeping hive tools address during hive maintenance? Essential Solutions for Apiaries
- What is a J-hook hive tool and why is it favored by some beekeepers? Master Gentle Frame Handling
- What are the features of a J-hook hive tool? Effortlessly Lift Frames with Superior Leverage
- What is the purpose of the J-hook hive tool? Effortlessly Lift Frames with Superior Leverage
- How is a J-hook hive tool designed and what is its primary use? Master Effortless Hive Inspections