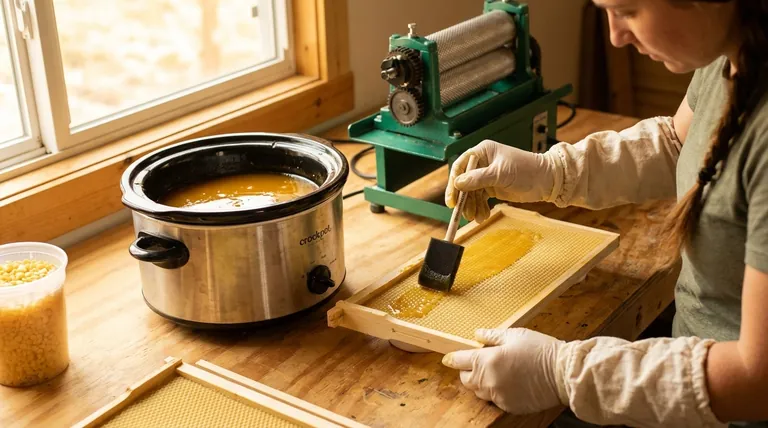
To re-wax bee frames, you melt clean beeswax in a low-temperature heater like a crockpot and use a disposable foam brush to apply a thin, even coat. The key is to paint the wax systematically across the plastic foundation in multiple directions to ensure the raised cell edges are covered, which encourages bees to begin building comb.
The objective of re-waxing is not simply to cover the plastic, but to apply the natural scent and texture of fresh beeswax onto the embossed ridges of the foundation. This provides the essential starting signal your bees need to begin drawing out the cells.
Why Re-Waxing is a Critical Step
Many beekeepers find that bees are reluctant to build on new plastic foundation. This hesitation is almost always due to the thin, and often old, factory-applied wax coating.
The Problem with Factory Coatings
The wax applied at the factory is often sprayed on as thinly as possible to save cost. Over time, especially during shipping and storage, this thin layer loses the natural, inviting scent of fresh beeswax.
How Bees 'Read' the Foundation
Bees are driven by scent and texture. A foundation that smells and feels like real, workable beeswax is one they will immediately accept and begin to work. A bare or scentless plastic surface is a foreign object they may ignore or be slow to utilize.
The Benefit: Faster Comb Drawing
A properly waxed frame is drawn out significantly faster by the bees. For the beekeeper, this means a quicker expansion of the brood nest for the queen to lay in and more available cells for storing honey during a nectar flow.
The Step-by-Step Re-Waxing Process
This process is simple and highly effective. Prepare your workspace in an area that can tolerate wax drips, such as a garage or outdoors on a calm day.
Step 1: Prepare Your Materials
You will need a slow-heating source like a crockpot, clean beeswax (pellets or blocks), and a disposable foam paint brush. Do not use a heat source with a direct flame.
Step 2: Melt the Beeswax
Place your clean beeswax into the crockpot on its lowest setting. Allow the wax to melt completely. The ideal temperature is just above the melting point (around 150°F / 65°C), hot enough to flow but not so hot that it produces smoke or could melt the plastic foundation.
Step 3: The Application Technique
Dip the foam brush into the melted wax, getting a moderate amount on the brush. You do not need to have it dripping. The goal is a light, efficient coat.
Step 4: Use a 'Cross-Hatch' Pattern
To ensure you cover the critical ridges, apply the wax with four distinct strokes:
- One pass across the foundation in the long direction.
- One pass across the foundation in the short direction.
- One pass on one diagonal.
- One final pass on the opposite diagonal.
This method ensures the raised edges of the hexagons are coated from every angle without filling the bottom of the cell. The frame should have a fresh, milky-yellow appearance and a strong beeswax scent when you are finished.
Common Pitfalls to Avoid
Success with re-waxing lies in avoiding a few common mistakes. Understanding these will ensure your efforts are productive.
Pitfall: Applying Too Much Wax
The most common error is applying a thick, heavy coat. This wastes wax and, more importantly, can fill the bottom of the cells. The bees then have to waste time and energy removing your excess wax before they can draw the comb properly. The foam brush is ideal for preventing this, as it doesn't hold as much wax as a roller or bristle brush.
Pitfall: Using Old or Contaminated Wax
Only use clean, disease-free beeswax. Old, dark comb from a deadout may contain pathogens like American Foulbrood spores, which are not destroyed by melting temperatures. Using such wax can spread disease to a healthy colony. Cappings wax or new wax pellets are the safest choices.
Pitfall: Overheating the Wax
If your wax is smoking, it is too hot. Overheated wax can lose some of its aromatic properties that attract bees. More critically, excessively hot wax can easily warp or melt the plastic foundation you are trying to coat.
Making the Right Choice for Your Goal
Applying this technique strategically will help you meet specific colony management objectives.
- If your primary focus is encouraging a new colony: A fresh, fragrant coat on brood frames is your highest priority to stimulate fast comb building for the queen to begin laying.
- If your primary focus is preparing honey supers: A light, consistent re-waxing ensures bees move up into the supers and start storing honey quickly when the nectar flow begins.
- If your primary focus is reusing old equipment: Re-waxing plastic frames that bees have previously ignored makes them highly attractive and productive again, saving you the cost of replacement.
By mastering this simple technique, you can directly and reliably influence your colony's growth and productivity.
Summary Table:
| Step | Key Action | Why It's Important |
|---|---|---|
| 1. Prepare | Use a crockpot & clean beeswax. | Ensures safe, even melting and prevents disease. |
| 2. Melt | Heat wax to ~150°F (65°C). | Wax flows without smoking or damaging plastic. |
| 3. Apply | Use a foam brush in a cross-hatch pattern. | Covers all cell ridges, encouraging immediate bee acceptance. |
| 4. Avoid | Apply a thin coat, not a thick one. | Prevents bees from wasting energy removing excess wax. |
Ready to equip your apiary for maximum productivity? HONESTBEE supplies commercial apiaries and beekeeping equipment distributors with the high-quality, wholesale-priced supplies needed for efficient operations—from foundation and frames to the wax melters and tools that make tasks like re-waxing simple. Let us help your business thrive. Contact our wholesale team today to discuss your needs!
Visual Guide

Related Products
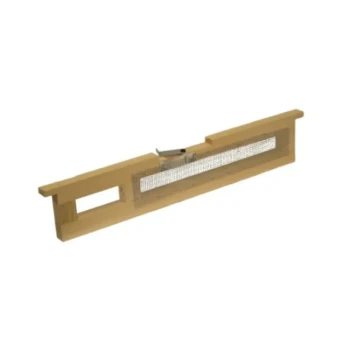
- Assembled Wooden Bee Frames with Plastic Foundation for Durability and Convenience by HONESTBEE
- Assembled Wooden Bee Frames with Beeswax Foundation Ready to Use by HONESTBEE
- Plastic Bee Frame Beekeeping Hive Frames for Wholesale
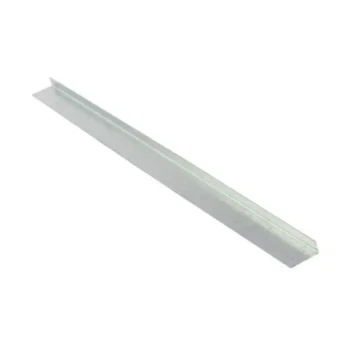
- Wooden Bee Hive Frames for Beekeeping and Wholesale
- HONESTBEE Wired and Assembled Wooden Bee Frames Foundation for a Thriving Hive
People Also Ask
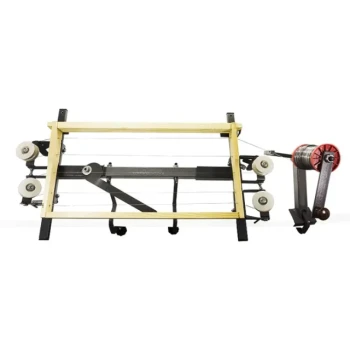
- Do you have to wire bee frames? Essential Guide to Frame Strength & Honey Harvesting
- When should frames with new foundation be given to colonies? Master Timing for a Thriving Hive
- When should bee frames be thrown away? A Beekeeper's Guide to Hive Health & Biosecurity
- Can beekeepers switch between wooden and plastic frames? Optimize Your Hive's Performance
- How should frames be rearranged as a bee colony grows? Master Hive Expansion and Nest Management