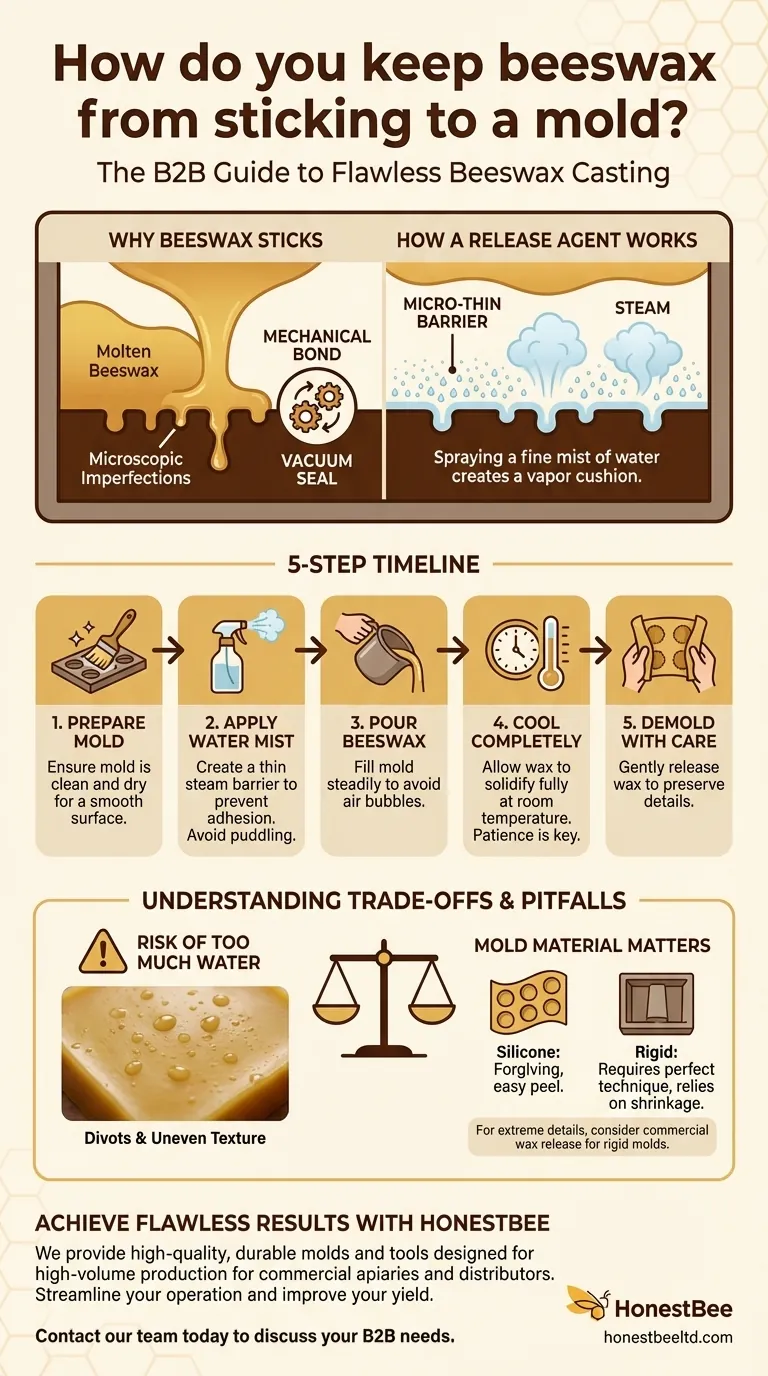
The most effective way to prevent beeswax from sticking to a mold is to create a micro-thin barrier between the mold's surface and the hot wax. The simplest and most common method is to spray the mold with a fine mist of water just before pouring. This prevents the beeswax from adhering directly to the mold, ensuring a clean and easy release once it has cooled.
The core challenge is not just choosing a release agent, but mastering the entire process. A clean release depends on a combination of proper mold preparation, correct wax temperature, a patient cooling period, and careful demolding technique.

The Principle: Creating a Separation Barrier
Why Beeswax Sticks
When you pour hot, liquid beeswax, it flows to fill every microscopic imperfection on the mold's surface. As the wax cools, it shrinks slightly, but it can still form a strong mechanical bond, almost like a vacuum seal, making it difficult to remove without causing damage.
How a Release Agent Works
A release agent is simply a substance that prevents this bond from forming. It acts as a separating layer between the wax and the mold. For beeswax, you do not need complex chemical agents; a simple, inert barrier is all that is required.
The Water Mist Method
Spraying a fine mist of water into the mold creates the ideal barrier. When the hot beeswax hits the cool water, it instantly turns the droplets into a thin layer of steam. This vaporous cushion prevents the wax from ever making direct contact with the mold surface itself.
A Step-by-Step Guide to a Clean Release
Step 1: Prepare Your Mold
Before you begin, ensure your mold is completely clean and dry. Any dust, debris, or residue from a previous pour can interfere with the final product's surface and cause sticking.
Step 2: Apply the Release Agent
Using a spray bottle that produces a fine mist, lightly coat the entire interior surface of your mold with water. Avoid letting the water pool or form large droplets, as this can mar the surface of your final beeswax product. A single, even spritz is usually sufficient.
Step 3: Pour the Beeswax
With your mold prepared, carefully pour the melted beeswax. Fill the mold to the top to ensure a complete shape. Work steadily to avoid introducing air bubbles.
Step 4: Let It Cool Completely
This is a critical step that requires patience. Allow the beeswax to cool and solidify fully at room temperature. Rushing the process by placing it in a freezer or refrigerator can cause the wax to crack or shrink unevenly, which can increase the risk of it sticking or breaking during removal.
Step 5: Demold with Care
Once the beeswax is completely hard, it's time to remove it. If you are using a flexible mold, gently peel the sides away from the beeswax first to break the seal. Carefully and slowly work the beeswax out of the mold to avoid damaging fine details or thin edges.
Understanding the Trade-offs and Common Pitfalls
The Risk of Too Much Water
While water is an excellent release agent, using too much is a common mistake. Large water droplets will create divots or an uneven texture on the surface of your beeswax. The goal is a microscopic barrier, not a wet surface.
The Importance of Mold Material
Flexible silicone molds are by far the most forgiving and easiest to work with. Their pliability allows you to peel the mold off the beeswax, rather than pulling the beeswax out of the mold. Rigid molds made of plastic or metal require a more perfect technique, as you must rely entirely on the wax shrinking away from the sides during cooling.
When Water May Not Be Enough
For extremely detailed or complex rigid molds, a simple water mist may not be sufficient. In these professional applications, a commercial mold release spray designed for waxes might be necessary, but for the vast majority of projects, water is the superior choice.
Making the Right Choice for Your Goal
The best approach depends entirely on the materials you are working with.
- If your primary focus is working with flexible silicone molds: A fine mist of water is the only release agent you will likely ever need for a perfect result.
- If your primary focus is creating items with intricate details: Ensure your mist is extra-fine and demold very slowly, allowing the most delicate parts to release without stress.
- If your primary focus is using rigid plastic or metal molds: Your success hinges on allowing the beeswax to cool completely so it shrinks away from the mold walls naturally.
Ultimately, a well-prepared mold is the simple foundation for a flawless and professional result.
Summary Table:
| Step | Key Action | Purpose |
|---|---|---|
| 1 | Prepare Mold | Ensure mold is clean and dry for a smooth surface |
| 2 | Apply Water Mist | Create a thin steam barrier to prevent adhesion |
| 3 | Pour Beeswax | Fill mold steadily to avoid air bubbles |
| 4 | Cool Completely | Allow wax to solidify fully at room temperature |
| 5 | Demold Carefully | Gently release wax to preserve details |
Achieve flawless beeswax casting results with professional-grade supplies from HONESTBEE. We provide commercial apiaries and beekeeping equipment distributors with high-quality, durable molds and tools designed for high-volume production. Let our wholesale-focused expertise help you streamline your operation and improve your yield. Contact our team today to discuss your specific needs and discover how our beekeeping supplies can enhance your business.
Visual Guide
Related Products
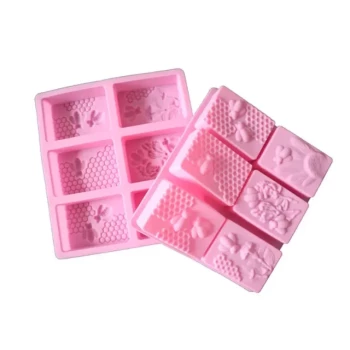
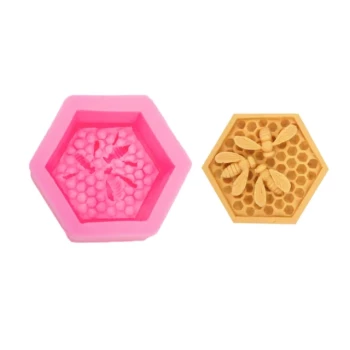
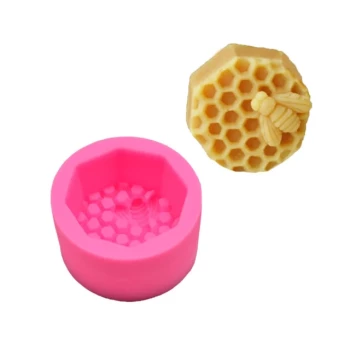
- Colorful Silicone Beeswax Foundation Mold Mould for Beekeeping
- Notebook Style Beeswax Foundation Mould Wax Foundation Mold
- High-Efficiency 20-Cell Silicone Mold for Beeswax Bee Queen Cup Production
- 3D Square Honeycomb Pillar Silicone Candle Molds for Making Beeswax Candles
- 10-Cell Silicone Beeswax Bee Queen Cups Forming Mold
People Also Ask
- How do beeswax foundation molds facilitate the construction of standardized honeycombs? Optimize Your Apiary Efficiency
- How can beeswax value-addition processes be utilized to increase beekeeping revenue? Boost Your Apiary Profitability
- What is a foundation mold used for? Turn Your Wax Cappings into High-Quality Foundations
- What types of molds can be used for pouring melted beeswax? Choose the Right Mold for a Perfect Release
- What is the first tip for pouring beeswax into a silicone mold? Ensure a Perfect Release