To secure the wire at the top of the frame, you must anchor the end of the wire to the specific nail located near the top bar immediately after threading the final eyelet. Wrap the wire around this nail several times to create a secure hold, then hammer the nail completely into the wood to mechanically clamp the wire against the frame. Finally, remove the excess wire by wiggling it back and forth until it snaps off cleanly.
A secure frame depends on the "clamp and break" technique. By driving the nail flush against the wood, you create a permanent mechanical lock that prevents the wire from slipping under tension.
The Securing Process
Anchoring the Wire
Once the wire has been threaded through all eyelets, locate the 5/8 inch nail positioned near the top bar. Take the end of the wire and tie a few tight loops around the shaft of this nail.
It is critical to use multiple loops. A single pass may not provide enough friction to hold the wire in place while you prepare to hammer it down.
Clamping the Connection
With the wire looped securely, use a hammer to drive the nail in completely.
The goal is not just to sink the nail, but to use the nail head to clamp the wire loops firmly against the wooden side bar. This compression prevents the wire from unraveling over time.
Removing Excess Material
To finish the connection, do not simply snip the wire with cutters. Instead, take the excess length of wire and gently move it back and forth against the nail.
This motion fatigues the metal at the stress point. The wire will eventually break off cleanly right at the nail head, leaving a smooth finish without sharp barbs.
Common Pitfalls to Avoid
Avoiding Sharp Edges
Using pliers to cut the wire at the nail often leaves a sharp, jagged spike. This can tear protective gloves or injure you during hive inspections. The fatigue method (wiggling the wire) ensures the break is flush and safe.
Preventing Slippage
If you do not hammer the nail flush with the wood, the wire relies solely on the friction of the loops to hold. Under the high tension required for beeswax foundation, the wire can slip off the nail head. Always ensure the nail head is tight against the wood.
Making the Right Choice for Your Goal
Properly securing the top nail provides the necessary anchor point to tension the rest of the frame later.
- If your primary focus is safety: Break the wire by wiggling it against the nail rather than cutting it to eliminate sharp, dangerous points.
- If your primary focus is durability: Drive the nail completely flush to the wood to create a mechanical clamp that withstands high tension.
A properly clamped top wire creates the immovable anchor required for a rigid, long-lasting frame.
Summary Table:
| Step | Action | Purpose |
|---|---|---|
| 1. Anchoring | Wrap wire around 5/8" nail multiple times | Creates initial friction and hold |
| 2. Clamping | Drive nail completely flush into the wood | Mechanically locks wire against the frame |
| 3. Finishing | Wiggle excess wire until it snaps | Removes sharp edges and ensures a clean break |
| 4. Inspection | Verify nail head is tight against wood | Prevents wire slippage under high tension |
Elevate Your Apiary Operations with HONESTBEE
Building durable frames is the foundation of a productive apiary. At HONESTBEE, we specialize in supporting commercial apiaries and distributors with premium-grade beekeeping solutions. From high-tensile wire and essential consumables to advanced hive-making and honey-filling machinery, our comprehensive wholesale offering is designed to scale your business.
Why partner with HONESTBEE?
- Full Spectrum Supply: Access everything from specialized hardware to honey-themed cultural merchandise.
- Industrial Efficiency: Our machinery ensures precision and longevity for high-volume operations.
- Dedicated Support: We understand the unique needs of large-scale distributors.
Contact us today to explore our wholesale catalog and enhance your efficiency!
Related Products
- Stainless Steel Bee Hive Frame Wire for Beekeeping
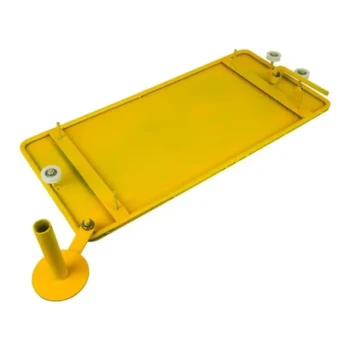
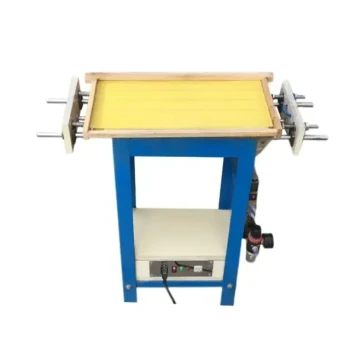
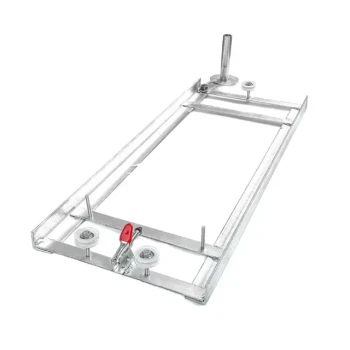
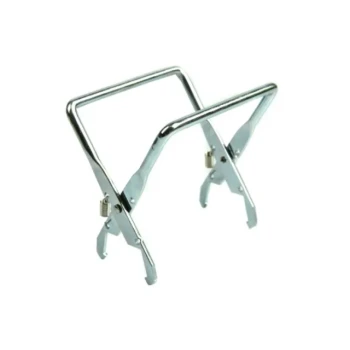
- HONESTBEE Durable Frame Wiring Board with Integrated Tensioner
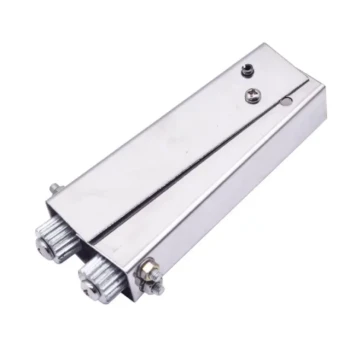
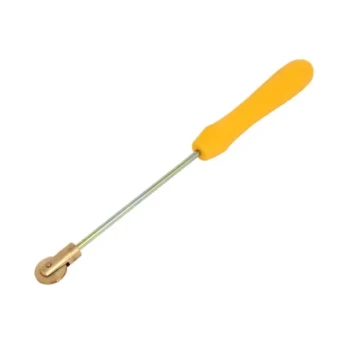
- Professional Pneumatic Wire Embedder for Beehive Frames
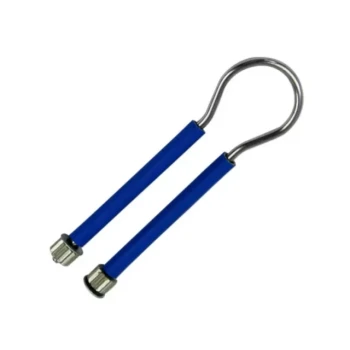
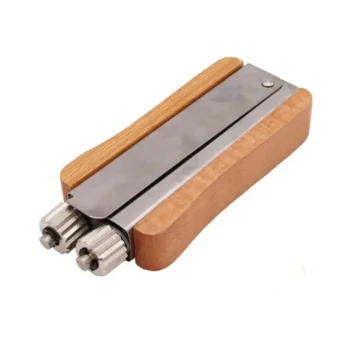
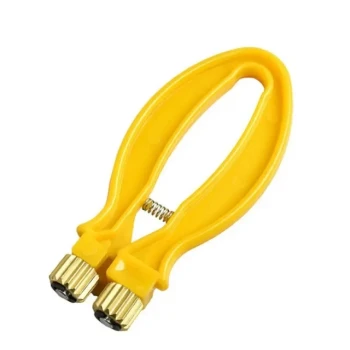
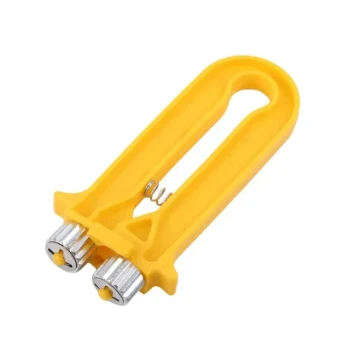
- HONESTBEE Loop Handle Frame Wire Crimper
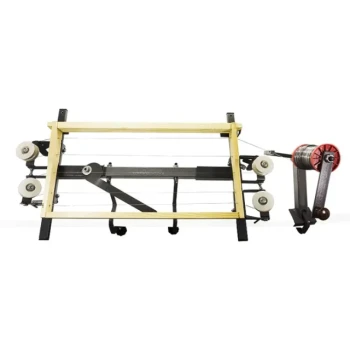
- Professional Bee Frame Wiring Tool with Integrated Tensioning System by HONESTBEE
People Also Ask
- What are the arguments for and against wiring beehive frames? Balance Durability and Management Flexibility
- What factors determine the amount of wiring needed in beehive frames? Tailor Your Strategy for Your Climate
- What precautions should be taken when wiring beehive frames? Essential Steps for Comb Durability
- What is the process for tightening and securing the wire at the bottom of the frame? Expert Beekeeping Tips
- What tools are needed to wire a beehive frame? Essential Equipment for Durable Frame Construction