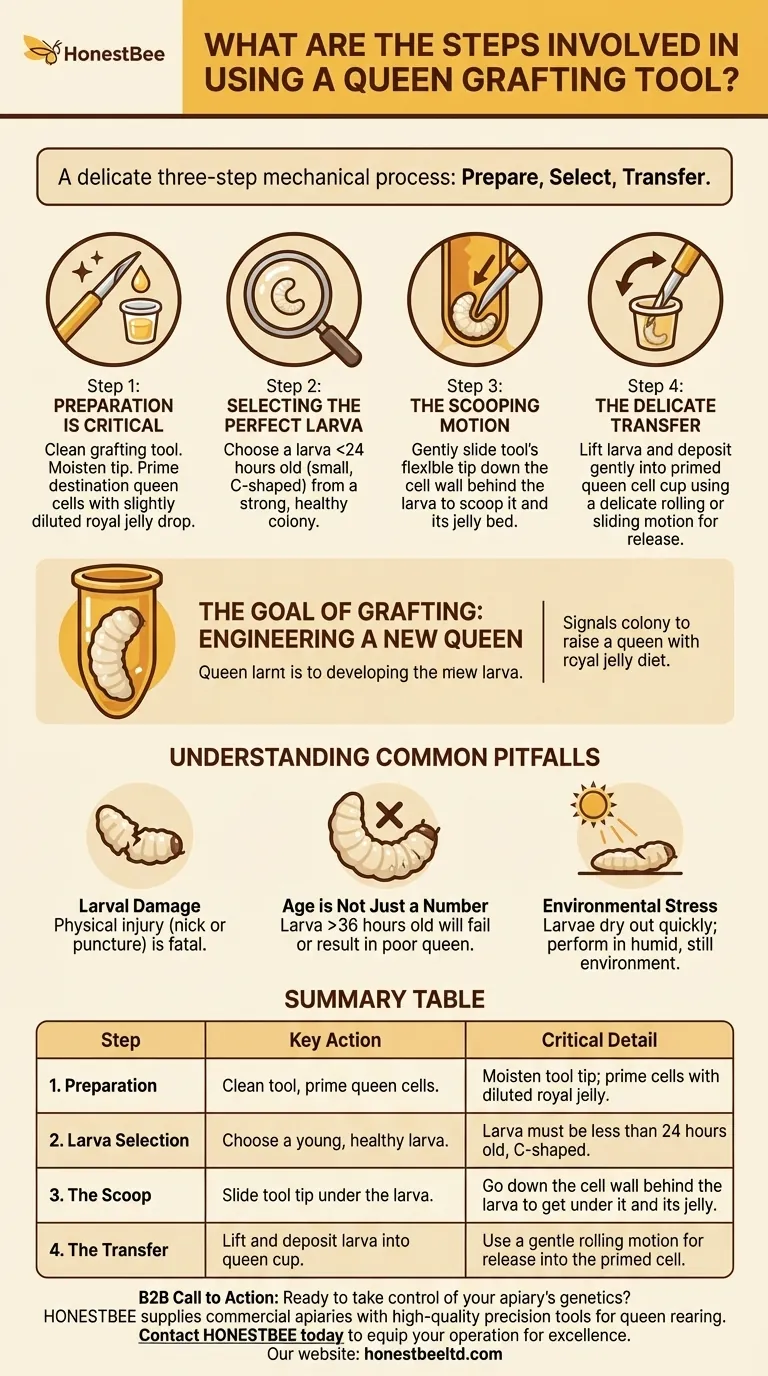
At its core, using a queen grafting tool is a three-step mechanical process. First, you prepare the tool and queen cells. Second, you select a suitable larva and gently slide the tool's tip underneath it. Finally, you lift the larva out and delicately transfer it into a prepared queen cell cup with a rolling motion.
Queen grafting is more than a mechanical task; it is a delicate procedure where success depends equally on the precise use of the tool, the health of the selected larva, and the careful preparation of the new environment. The tool is simply the instrument for a much larger biological process.
The Goal of Grafting: Engineering a New Queen
Queen rearing is a foundational skill in beekeeping, allowing you to propagate genetics from your best colonies. Grafting is the most common and scalable method for this process.
What is Queen Grafting?
Grafting is the manual transfer of a very young female larva from a standard worker cell into an artificial, vertically-oriented queen cell cup. Placing the larva in this new environment signals the colony to raise it as a queen, feeding it a specialized diet of royal jelly.
Why Use a Grafting Tool?
A honey bee larva is incredibly fragile and microscopic. A specialized grafting tool, with its fine and flexible tip, is designed for the express purpose of scooping and transferring this larva without causing injury. It provides the precision and gentleness that is impossible to achieve with other implements.
A Step-by-Step Guide to the Grafting Process
Success in grafting is a game of millimeters and minutes. Each step must be performed with care to ensure the larva remains viable.
Step 1: Preparation is Critical
Before you even approach a frame of brood, your equipment must be ready. Ensure your grafting tool is clean. Some beekeepers moisten the tip with water or royal jelly to prevent the larva from sticking.
Critically, the destination queen cells should be "primed" with a small drop of slightly diluted royal jelly. This priming helps the larva settle into the cell and provides immediate nourishment.
Step 2: Selecting the Perfect Larva
This is the most important factor for success. You must choose a larva that is less than 24 hours old, ideally as young as 12-18 hours. These will be the smallest, C-shaped larvae you can see, barely larger than an egg.
Select larvae from a strong, healthy colony that exhibits the traits you wish to propagate, such as gentleness, productivity, or disease resistance. For beekeepers over 40, a magnifying headset (3x-4x) and a headlamp are invaluable aids.
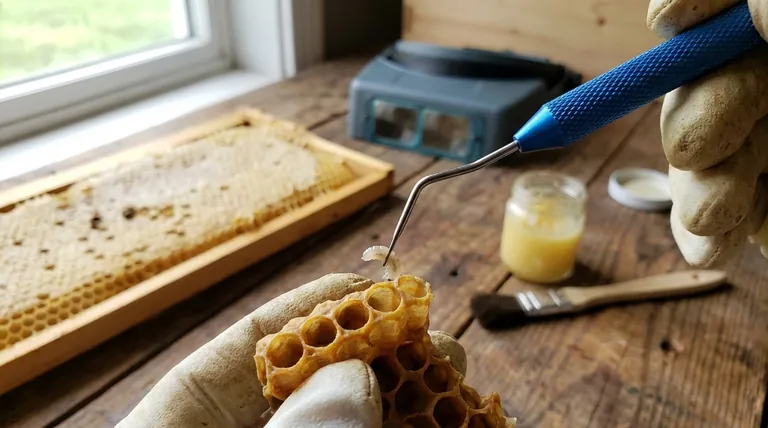
Step 3: The Scooping Motion
Take the frame of selected larvae to a well-lit, draft-free area. Identify your target larva.
Gently slide the flexible tip of the grafting tool down the inside wall of the worker cell, behind the curve of the larva. The goal is to get the tool's tip underneath both the larva and the small amount of royal jelly it is floating in.
Step 4: The Delicate Transfer
With the larva and its jelly bed on the tool, lift it straight up and out of the cell. Move smoothly and carefully to the prepared queen cell cup.
To release the larva, gently lower the tool into the center of the cup. Use a delicate rolling or sliding motion to deposit the larva off the tool's tip. The surface tension from the primed royal jelly in the cup will help pull the larva from the tool.
Understanding the Common Pitfalls
Grafting has a steep learning curve. Understanding what can go wrong is key to improving your success rate.
The Risk of Larval Damage
The primary cause of failure is physical injury to the larva. A slight nick or puncture is fatal. The entire process, from scooping to transfer, must be exceptionally gentle.
Age is Not Just a Number
Grafting a larva older than 36 hours will likely result in failure or a poorly developed queen. The bees can recognize the larva's age and may not accept it for queen-rearing. The youngest possible larvae are always the best choice.
Environmental Stress
Larvae are sensitive and can dry out quickly. Perform your grafting in a humid, still environment, out of direct sun and wind. Work efficiently to minimize the time the larvae are outside the protection of the hive.
How to Apply This to Your Project
Your approach to grafting can be tailored to your specific beekeeping goals.
- If your primary focus is maximum queen production: Your process should be an assembly line. Prepare multiple bars of cell cups at once and place them into a strong, well-fed "cell builder" colony.
- If your primary focus is the highest acceptance rate: Concentrate on selecting the absolute youngest larvae and perfectly priming your cells with fresh royal jelly.
- If your primary focus is learning the skill: Practice the physical motions on drone larvae. They are larger, more robust, and their loss has no impact on the colony, making them ideal for developing muscle memory.
Mastering the use of a grafting tool empowers you to take direct control over the genetic improvement of your apiary.
Summary Table:
| Step | Key Action | Critical Detail |
|---|---|---|
| 1. Preparation | Clean tool, prime queen cells. | Moisten tool tip; prime cells with diluted royal jelly. |
| 2. Larva Selection | Choose a young, healthy larva. | Larva must be less than 24 hours old, C-shaped. |
| 3. The Scoop | Slide tool tip under the larva. | Go down the cell wall behind the larva to get under it and its jelly. |
| 4. The Transfer | Lift and deposit larva into queen cup. | Use a gentle rolling motion for release into the primed cell. |
Ready to take control of your apiary's genetics?
Mastering queen rearing is essential for propagating your best colonies. HONESTBEE supplies commercial apiaries and beekeeping equipment distributors with the high-quality, precision tools needed for success, including reliable grafting tools. Our wholesale-focused operations ensure you get the professional-grade equipment your project demands.
Contact HONESTBEE today to discuss your queen rearing needs and equip your operation for excellence.
Visual Guide
Related Products
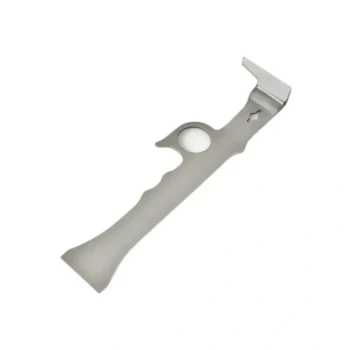
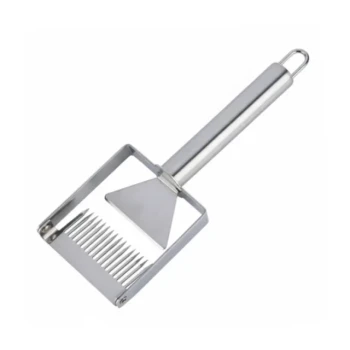
- Stainless Steel Queen Grafting Tool for Beekeeping and Bee Queen Grafting
- Stainless Steel Beekeeping Queen Grafting Tool for Honey Bee Rearing
- Plastic Chinese Queen Grafting Tool for Bee Queen Rearing
- Black 2 Pack Beekeeper Queen Grafting Tool for Bee Queen Larva Transferring Needle
- Retractable Chinese Queen Rearing Grafting Tools Equipment
People Also Ask
- What is the primary function of beekeeping grafting tools? Enhance Queen Rearing Efficiency for Commercial Apiaries
- What is the primary function of a beekeeping grafting tool in larvae collection? Precision Tips for Queen Rearing
- What is the primary function of a queen grafting tool? Master Precise Larval Transfer for High Queen Acceptance
- What is the recommended method for storing beekeeping tools? Expert Vertical Storage Solutions for Your Apiary
- What are the benefits of using a queen grafting tool for queen rearing? Master Precision for Superior Bee Genetics