For a first honeybee colony, prepare the hive, safety gear, inspection tools, feed, and bee yard before the bees arrive. The essential setup includes a standardized hive with a stand, bottom board, brood box, frames, inner cover, and outer cover; protective clothing with a veil and gloves; a smoker with fuel; and a hive tool. A feeder, initial feed, entrance reducer, and basic learning materials complete a practical beginner setup.
The most reliable approach is to source a complete, standardized hive system and all safety and inspection equipment before installation. Good preparation protects the beekeeper, reduces colony stress, and creates a foundation that can be expanded efficiently.
Build the Hive Before the Bees Arrive
Start with a Standardized Hive
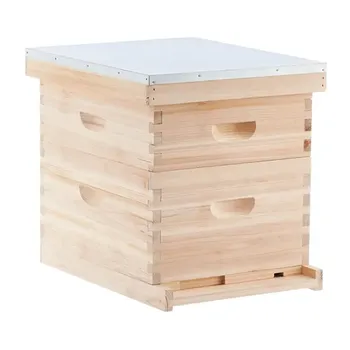
A beginner colony needs a properly assembled hive system rather than an improvised box. Core components include a hive stand, bottom board, hive body or brood box, frames, inner cover, and outer cover.
Standardized dimensions make frames and replacement parts easier to source, inspect, and exchange. This is particularly important for distributors, resellers, and beekeepers planning to manage multiple colonies.
Prepare Frames and Hive Boxes
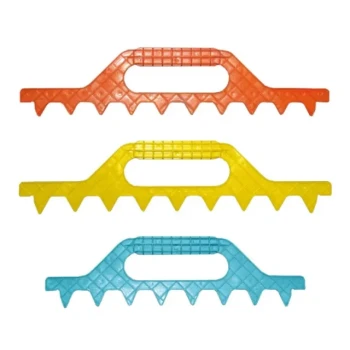
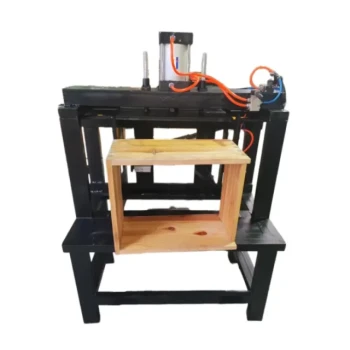
Frames provide the bees with a structured space for comb, brood, pollen, and honey. Install the correct number of frames in each box and confirm that the components fit securely before placing the colony inside.
Hive boxes and wooden components should be assembled and painted before installation. Paint protects exterior wood from weather, while the interior should remain suitable for bee occupancy and free from contaminants.
Position the Hive Stand and Bottom Board
Place the hive on a stable stand in the prepared bee yard. The stand helps keep the hive elevated and supports a cleaner, more manageable working environment.
A screened bottom board can support ventilation and routine hive management. Confirm that the hive is stable and that the entrance is accessible before the bees arrive.
Protect the Beekeeper During Every Inspection
Use a Veil and Protective Clothing
A protective jacket or full bee suit with a properly fitted veil is essential beginner equipment. The veil protects the face and neck, which are especially vulnerable during inspections.
Clothing should fit securely at the wrists, ankles, and neckline. Loose openings can allow bees inside the clothing and turn a routine inspection into a safety problem.
Choose Gloves Based on Control and Comfort
Bee gloves provide additional protection, especially for new beekeepers who are still learning how colonies respond to handling. They should allow enough flexibility to manipulate frames and tools safely.
Some experienced beekeepers eventually use lighter protection for greater dexterity, but beginners should prioritize confidence and safe handling. Clean, intact protective gear should be ready before the colony is installed.
Assemble the Essential Inspection Tools
Keep a Hive Tool at the Hive
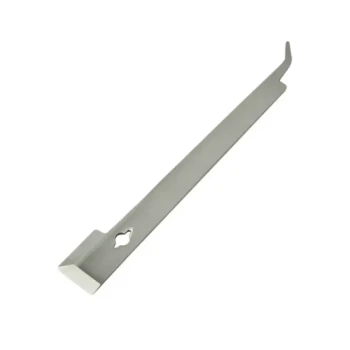
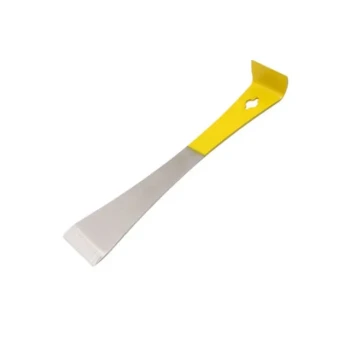
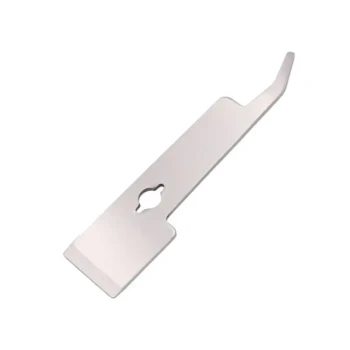
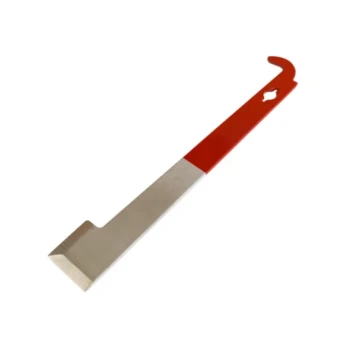
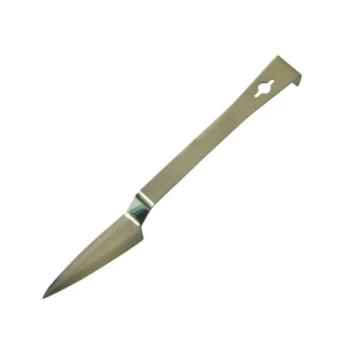
A hive tool is used during nearly every inspection. It helps separate propolis-sealed boxes, loosen frames, and remove components without excessive force.
A good-quality hive tool is a small but critical investment. Its design should match the beekeeper’s preferred hive system and withstand repeated use.
Use a Smoker Correctly
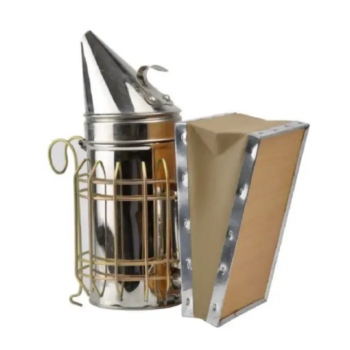
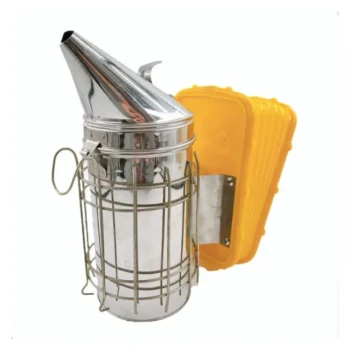
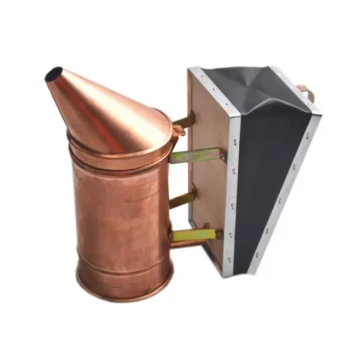
A bee smoker produces cool smoke that helps calm the colony during inspections. The smoker must be paired with a suitable, controllable fuel supply and kept functional before opening the hive.
The objective is not to fill the hive with smoke. Use smoke deliberately and sparingly, since excessive smoke can disrupt the colony and make inspection less effective.
Add a Bee Brush for Gentle Bee Movement
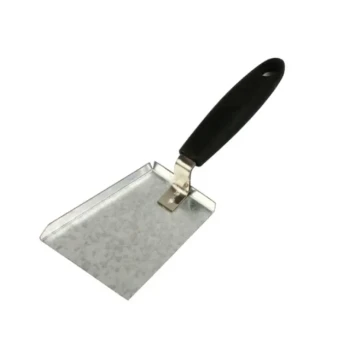
A bee brush can gently move bees from frames or hive components when necessary. It should be used carefully and only when needed to avoid harming or unnecessarily agitating the bees.
For many routine inspections, controlled frame handling is preferable to frequent brushing. Nevertheless, a bee brush is useful equipment for beginners and should be included in a complete starter kit.
Consider a Queen Catcher for Specific Tasks
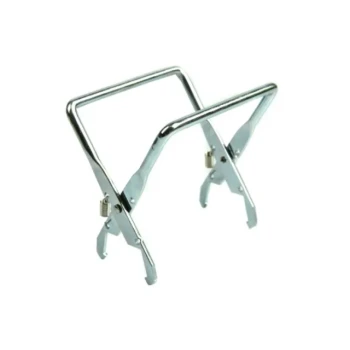
A queen catcher, including a suitable hair-clip style catcher, can help secure the queen temporarily during certain management tasks. It is not required for every inspection, but it can be valuable when the queen must be protected from accidental handling.
Beginners should learn how to identify and handle the queen before relying on this tool. The equipment should support careful management rather than encourage unnecessary disturbance.
Prepare Feed and Colony-Establishment Supplies
Provide a Feeder and Initial Feed
A bee feeder allows the beekeeper to provide liquid feed when the newly installed colony requires support. The feeder should be compatible with the hive design and positioned to minimize access by pests.
Have feed available before the bees arrive rather than waiting until the colony appears stressed. Follow established local beekeeping guidance for the appropriate feed and feeding conditions.
Keep Pollen Substitute Available When Needed
A pollen substitute may support colony establishment when natural pollen resources are inadequate. It should be treated as a supplemental management resource, not a replacement for suitable forage.
The decision to use it depends on local conditions, colony strength, and professional guidance. Stocking it in advance gives the beekeeper a response option during challenging establishment periods.
Install an Entrance Reducer
An entrance reducer limits the hive opening while a new colony establishes itself. The smaller opening can make it easier for the colony to defend the entrance during its first week.
Install the reducer before or during colony installation, using the smallest practical opening for the new colony. Adjustments should be based on colony development and local conditions.
Prepare the Bee Yard and Operating Process
Position All Equipment in Advance
The hive, frames, feeder, entrance reducer, and protective equipment should be assembled and positioned before the bees arrive. This avoids rushed installation and reduces the time the colony remains exposed.
A prepared bee yard also helps the beekeeper work consistently. For suppliers and commercial buyers, complete kits reduce missing-item problems and simplify fulfillment for new customers.
Check Access and Working Space
The hive should be positioned where the beekeeper can safely approach, open the boxes, and lift frames. The work area must provide enough room for protective equipment, tools, and temporary placement of hive components.
Avoid creating a setup that requires awkward lifting or obstructed inspections. Good access improves safety and makes regular colony monitoring more likely.
Learn Before the First Inspection
Educational books, reputable training, and practical instruction help beginners understand bee behavior and inspection procedures. Equipment alone cannot replace knowledge of how to open, examine, and close a colony.
Before installation, learn the purpose of each hive component and practice handling empty frames. This reduces fumbling and unnecessary colony disturbance during the first live inspection.
Select Equipment for Reliable Expansion
Prefer Interchangeable Components
Standardized boxes, frames, bottom boards, and covers simplify future purchases and maintenance. Interchangeability also allows a beekeeper to replace damaged components or expand the apiary without changing systems.
For distributors and B2B resellers, a standardized product portfolio supports repeat orders and reduces inventory complexity. Customers are more likely to remain with a supplier when replacement parts are consistently compatible.
Build a Complete Product Portfolio
A practical supply program should cover hive hardware, protective gear, smokers, hive tools, feeders, consumables, and replacement parts. Offering only hive boxes can leave beginners unable to operate safely on installation day.
One-stop sourcing is especially valuable for seasonal demand. Rapid response, dedicated product guidance, and efficient order fulfillment can help customers assemble complete setups without fragmented purchasing.
Understanding the Trade-offs
Complete Kits Versus Individual Components
A complete hive kit reduces omissions and makes first-time purchasing easier. Individual components can offer more flexibility, but they require the buyer to verify compatibility and often create a higher risk of missing essential items.
For beginners, a complete standardized kit is usually the simpler starting point. Experienced beekeepers or resellers may prefer component-level purchasing for customization and inventory control.
Maximum Protection Versus Dexterity
Full protective clothing provides greater confidence and reduces exposure risk, but heavier gear can make fine frame handling more difficult. Lighter protection may improve dexterity while offering less coverage.
Beginners should prioritize secure coverage and gradually refine their equipment choices as their handling skills develop. Protective equipment should never be selected solely for appearance or convenience.
More Equipment Does Not Mean Better Management
Buying specialized tools before learning their purpose can increase cost and clutter without improving colony care. The essential foundation remains the hive, protective gear, smoker, hive tool, feeder, and appropriate preparation.
Add equipment when a clear management task justifies it. This keeps the initial investment focused while preserving the option to scale later.
Improvised or Nonstandard Equipment
Low-quality or incompatible components can make inspections difficult and complicate replacement orders. Unstable hive stands, poorly fitting covers, or unsuitable frames can undermine an otherwise sound setup.
Standardized, durable equipment is generally the better long-term choice. The initial purchase should be evaluated by reliability, compatibility, safety, and serviceability—not only by unit price.
Making the Right Choice for Your Goal
A successful first colony begins with a complete setup, not merely the purchase of bees.
- If your primary focus is beginner safety: Prioritize a well-fitting suit or jacket with veil, suitable gloves, a dependable smoker, and a hive tool before installing the colony.
- If your primary focus is colony establishment: Prepare the hive stand, bottom board, brood box, frames, feeder, initial feed, entrance reducer, and bee yard in advance.
- If your primary focus is future apiary expansion: Choose standardized, interchangeable hive components and maintain a reliable supply of replacement frames, boxes, covers, and consumables.
- If your primary focus is distribution or resale: Offer complete, compatible starter packages supported by rapid response, technical guidance, dependable quality, and efficient order fulfillment.
- If your primary focus is responsible management: Combine the right equipment with practical education, careful inspections, and a clear understanding of bee behavior.
With standardized equipment, proper preparation, and informed handling, a beginner can establish a safer and more scalable foundation for healthy honeybee colonies.
Summary Table:
| Category | Essential Equipment | Purpose |
|---|---|---|
| Hive | Hive stand, bottom board, brood box, frames, inner cover, outer cover | Provides a structured home for the colony |
| Safety | Protective veil/suit, gloves | Protects beekeeper from stings |
| Tool | Hive tool, smoker, bee brush, queen catcher (optional) | Facilitates inspection and management |
| Feeding | Feeder, feed, pollen substitute (optional) | Supports colony establishment |
| Yard | Entrance reducer, stable positioning, access space | Prepares for installation and maintenance |
Ready to start your beekeeping journey? HONESTBEE offers comprehensive wholesale solutions for commercial apiaries and distributors. From complete hive kits to essential tools, we ensure one-stop sourcing with rapid delivery and dedicated support. Contact us today at #ContactForm to secure your supply and grow your business with confidence.
Related Products
- Stainless Steel J Hook Hive Tool for Beekeeping
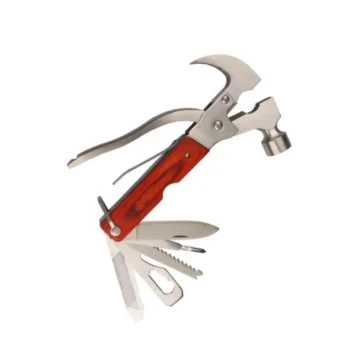
- HONESTBEE 15-in-1 Beekeeper Multi-Tool with Hammer and Pliers for Beekeeping
- HONESTBEE Classic Pry Bar Hive Tool with High Visibility Finish for Beekeeping
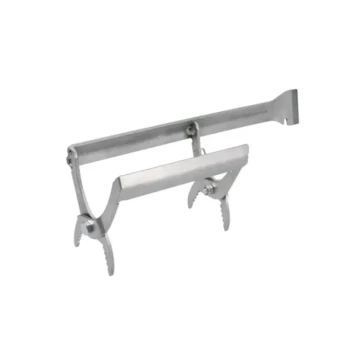
- Multi-Function Plier-Style Frame Grip Hive Tool
- HONESTBEE Professional Mini J-Hook Hive Tool for Beekeeping
People Also Ask
- What specific challenges do beekeeping hive tools address during hive maintenance? Essential Solutions for Apiaries
- What is a J-hook hive tool and why is it favored by some beekeepers? Master Gentle Frame Handling
- What are the features of a J-hook hive tool? Effortlessly Lift Frames with Superior Leverage
- What is the purpose of the J-hook hive tool? Effortlessly Lift Frames with Superior Leverage
- How is a J-hook hive tool designed and what is its primary use? Master Effortless Hive Inspections