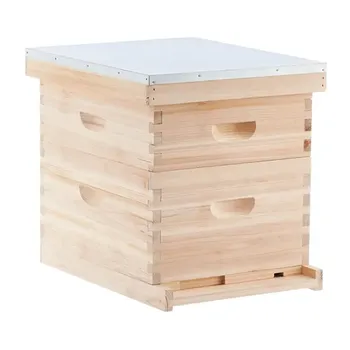
Urban apiaries succeed when hive placement manages bee flight paths, neighbor exposure, and beekeeper access at the same time. Place hives in discreet rooftops, enclosed gardens, or rear-yard locations; use fencing or privacy barriers to lift departing bees above head height; limit most urban sites to two or three colonies; and provide water before introducing bees. Equipment should be compact, weather-resistant, secure against escapes, and practical to transport through tight spaces or into elevated locations.
Urban beekeeping is primarily a risk-management and access problem, not simply a space problem. A small, well-planned apiary with elevated flight paths, reliable water, sound equipment, and rapid swarm control is usually safer and less disruptive than a larger, poorly arranged installation.
Start With the Site, Not the Hive
Choose a discreet, low-conflict location
Rooftops, enclosed gardens, rear yards, and other out-of-sight areas are generally preferable to exposed locations beside public paths or property boundaries.
A site should be away from pedestrian routes, children’s play areas, domestic pet zones, and heavily used neighboring spaces. For rooftops or shared properties, confirm building access, ownership permissions, and any applicable local beekeeping requirements before equipment is delivered.
Protect working clearance around every hive
Each hive should have approximately one metre of clear space around it. This gives the beekeeper room to stand beside the colony, place tools, remove hive bodies, and conduct inspections safely.
Do not optimize the footprint so aggressively that inspections become awkward. Restricted access increases handling errors and makes routine management more disruptive.
Assess elevated sites carefully
Rooftops and balconies can conserve ground space and keep bees away from public thoroughfares. They also expose equipment and operators to high winds, temperature changes, difficult transport routes, and potentially hazardous working conditions.
Before installation, evaluate the structure’s suitability, access route, edge protection, weather exposure, and the practical method for moving hive bodies and honey safely.
Design Flight Paths to Protect Neighbors
Use barriers to force bees upward
At ground level, install high fencing, privacy screens, or dense natural barriers near the hive entrances. These obstacles encourage bees to rise above head height as they leave the apiary.
The barrier should redirect flight rather than obstruct hive ventilation or make colony access difficult. It should also remain stable in local wind conditions.
Direct entrances away from traffic
Hive entrances should face away from pedestrian walkways, neighboring activity, and domestic pet areas. In confined urban sites, vary entrance directions between colonies to reduce congestion and drifting.
Entrance orientation should be considered together with fencing, surrounding buildings, balconies, and likely human movement. A technically correct hive position can still create problems if the resulting flight corridor crosses a doorway or shared path.
Reduce visual and social disruption
Positioning hives away from property boundaries and keeping them in rear-yard or screened areas can reduce neighbor concern. Equipment colors other than bright white may also make the installation less visually prominent.
This does not replace safe flight-path design or neighbor communication. It simply reduces the apiary’s visual impact and helps it fit more discreetly into a developed environment.
Control Water, Density, and Swarming
Provide water before bees arrive
An on-site water source should be established before colonies are introduced. Without a reliable alternative, bees may use swimming pools, garden ponds, outdoor taps, or other nearby water sources.
The water station should remain available throughout the active season and be positioned so bees can use it without creating another nuisance near entrances, paths, or neighboring properties.
Limit colony density
Urban apiaries should generally begin with two or three hives per location. Lower density makes flight-path management, inspections, swarm response, and neighbor relations more manageable.
The correct number also depends on the available forage, working space, surrounding activity, and the beekeeper’s ability to inspect colonies consistently. Adding colonies should follow demonstrated site capacity rather than available floor area alone.
Maintain active swarm controls
Swarm prevention is essential where nearby buildings, gardens, and public spaces leave little room for error. Regular colony inspections and timely management reduce the likelihood that a swarm becomes a public incident.
Reliable swarm collection tools should be kept on-site or immediately accessible. A response plan matters as much as the equipment: operators must be able to identify, collect, and secure a swarm quickly.
Select Equipment for Tight Urban Environments
Use modular, manageable hive components
Standardized, modular wooden hive boxes simplify assembly, replacement, transport, and inventory management. Smaller or manageable components are particularly valuable when moving equipment through narrow access points, elevators, stairwells, balconies, or rooftops.
For distributors and commercial buyers, modularity also supports a broader one-stop product range: compatible boxes, frames, covers, stands, screens, and replacement hardware are easier to source and fulfill consistently.
Specify sound, escape-resistant hive equipment
Urban and rooftop hives must be structurally sound, with no unintended holes, gaps, or leaks that could allow accidental bee escape or water intrusion. Hive tops and entrances should close securely during transport.
Migratory screens or heavy open-mesh linen cloth can be used to secure entrances and hive tops while maintaining ventilation during movement. These components should be checked before every transfer rather than treated as optional accessories.
Choose durable stands and weather-resistant structures
Rooftop installations require hive structures capable of tolerating wind and temperature fluctuations. Durable hive stands should keep boxes stable, elevated from standing water, and accessible for inspections.
The stand and hive assembly must be compatible with the surface and local conditions. Stability is especially important where vibration, wind exposure, or restricted working space could cause equipment movement.
Carry compact protective and inspection tools
Full-coverage protective suits should provide visibility, mobility, and adequate protection during inspections and transport. These features become more important when working on rooftops, carrying heavy components, or operating close to walls and barriers.
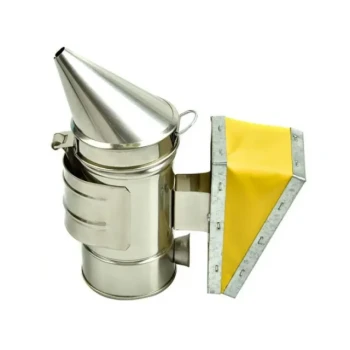
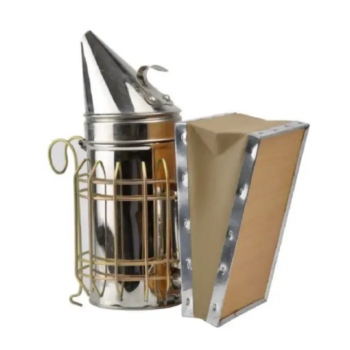
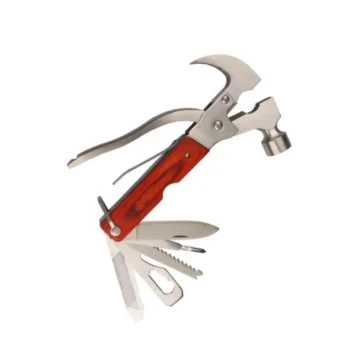
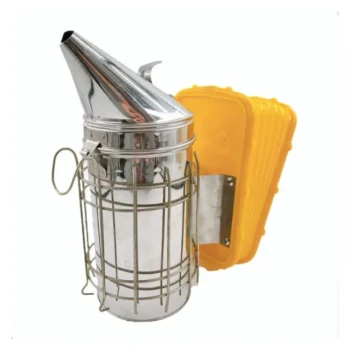
Compact smokers and management tools reduce clutter in confined apiaries. Equipment should be selected as a complete working system rather than as isolated low-cost items that create compatibility or handling problems.
Plan transport as part of the equipment package
Moving full hive bodies and honey frames through urban buildings can be physically demanding. Transport carts with pneumatic tires help cushion vibration and make heavy components easier to move.
For high-rise locations, schedule transport during off-peak elevator hours and coordinate access in advance. Secure the colonies, protect the route, and avoid moving bees through crowded shared spaces whenever possible.
Prepare Before Live Bees Arrive
Assemble equipment during the off-season
Hive boxes, frames, stands, screens, protective clothing, smokers, water containers, carts, and swarm tools should be ordered and assembled before live bee deliveries. Winter preparation reduces installation pressure during the active beekeeping season.
For commercial suppliers, this favors standardized product bundles and dependable fulfillment. Customers benefit when all compatible components arrive together rather than discovering missing hardware after colonies are scheduled.
Time installation with colony development
Nucleus colonies are commonly installed in mid-to-late spring, when early floral resources can support colony growth. This gives colonies time to build comb and store adequate reserves before winter.
The exact timing depends on local climate and forage conditions. The important operational principle is to have the site, equipment, water source, and management plan ready before the bees arrive.
Build an inspection and emergency-access plan
Every hive should be reachable without moving barriers, climbing over equipment, or blocking a public route. The beekeeper should know where tools, protective equipment, water, transport carts, and swarm-collection equipment will be stored.
Access planning is a safety control. If an inspection or swarm response requires excessive setup, necessary action may be delayed.
Understanding the Trade-offs
Rooftops save ground space but increase logistics
Elevated hives can reduce contact with pedestrians and make use of otherwise unused space. However, they create greater demands for structural assessment, weather protection, secure transport, and safe operator access.
A rooftop is not automatically the best site. It is appropriate only when its benefits outweigh the additional handling and safety requirements.
More colonies do not always mean better utilization
Adding hives may appear to improve the return on a small site, but higher density can intensify flight congestion, drifting, inspections, swarm risk, and neighbor exposure.
Starting with two or three colonies provides a more controlled basis for evaluating forage, behavior, access, and community response.
Smaller equipment must remain practical
Compact and modular equipment is easier to transport and store, but excessive miniaturization can reduce working clearance or make inspections inefficient. The objective is not the smallest possible hive system; it is a manageable system that supports normal colony care.
Barriers solve one problem while creating another
Fences and screens can lift flight paths above people, but poorly positioned barriers may restrict access, interfere with ventilation, collect wind loads, or complicate emergency work.
Install barriers only after mapping entrance directions, beekeeper movement, surrounding structures, and prevailing site constraints.
How to Apply This to Your Project
Use the following priorities when designing an urban apiary or specifying equipment for customers:
- If your primary focus is neighbor safety: Select a discreet site away from boundaries and walkways, direct entrances away from people and pets, install high barriers, limit colony density, and provide water before introducing bees.
- If your primary focus is rooftop deployment: Prioritize weather-resistant hive structures, stable stands, escape-proof screens, protective suits, pneumatic transport carts, and a documented access and transport plan.
- If your primary focus is operational efficiency: Use standardized modular components, maintain approximately one metre of hive clearance, pre-assemble equipment during winter, and keep swarm-control tools immediately available.
- If your primary focus is reliable procurement: Build a compatible product package covering hive bodies, frames, covers, stands, screens, protective clothing, smokers, water equipment, carts, and swarm-collection tools, supported by responsive fulfillment and technical guidance.
A successful urban apiary is a deliberately engineered system in which placement, flight-path control, equipment, access, and swarm response work together.
Summary Table:
| Consideration | Strategy / Requirement |
|---|---|
| Site Selection | Discreet locations: rooftops, enclosed gardens, rear yards; away from pedestrian routes and property boundaries. Clear working space of ~1 meter around each hive. |
| Flight Path Management | Use high barriers (fencing, screens) to force bees upward; direct entrances away from human traffic; vary entrance directions to reduce congestion. |
| Water & Density | Provide water before bees arrive; limit urban apiaries to 2-3 hives initially; maintain active swarm controls with regular inspections. |
| Equipment Selection | Modular, manageable hive components; escape-proof structures; durable stands; compact protective tools; transport carts with pneumatic tires. |
| Preparation & Planning | Assemble equipment off-season; time installation with colony development; create inspection and emergency-access plan. |
Ready to establish a thriving urban apiary or supply beekeepers with top-quality equipment? Contact HONESTBEE today for a one-stop sourcing solution tailored to your needs. As a comprehensive wholesale provider, we offer the full spectrum of beekeeping tools, machinery, and equipment—from hive-making machines to honey-filled cultural merchandise—backed by rapid response, expert guidance, and efficient fulfillment. Whether you're a beekeeper, distributor, or B2B reseller, we help you maximize efficiency and profitability. Contact us now to discuss your project and discover how our premium products and dedicated support can elevate your operations.
Related Products
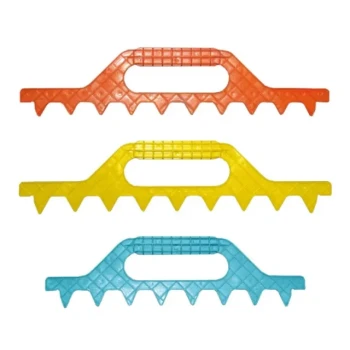
- Ergonomic Plastic Frame Spacer Tool for Rapid Hive Management Beekeeping
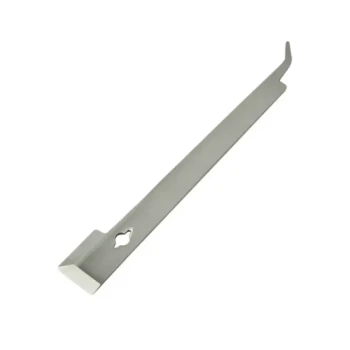
- HONESTBEE Classic Pry Bar Hive Tool with High Visibility Finish for Beekeeping
- Stainless Steel J Hook Hive Tool for Beekeeping
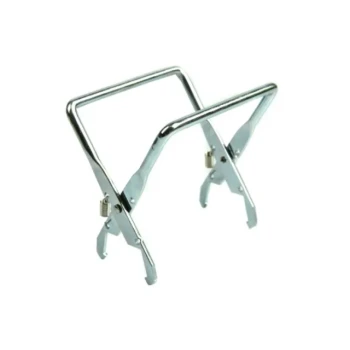
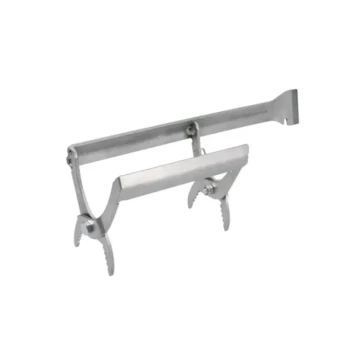
- Durable Galvanized Steel Frame Grip
- Yellow Plastic Bucket Pail Perch for Beekeeping
People Also Ask
- What specific challenges do beekeeping hive tools address during hive maintenance? Essential Solutions for Apiaries
- How do specialized beehive management tools assist in the routine maintenance of bee colonies? Boost Hive Efficiency
- How do specialized beehive management tools support high-purity honey production? Master Monofloral Isolation
- How do traditional harvesting tools like axes and machetes negatively affect bee colonies? Upgrade to Professional Gear
- How do spring inspections for honeybee starvation symptoms guide apiary management? Optimize Colony Survival & Growth