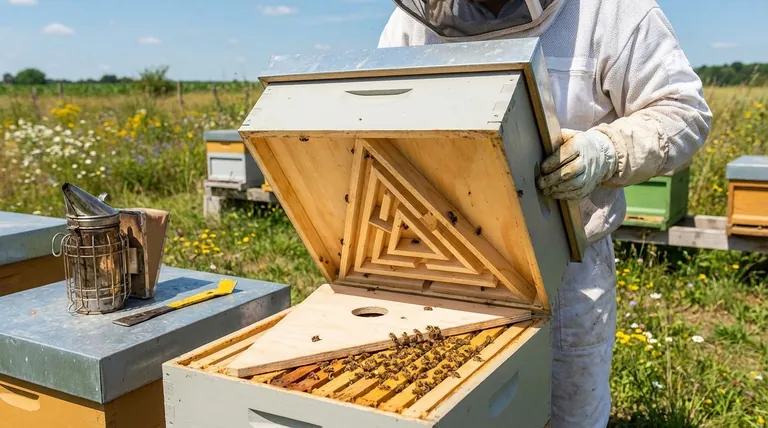
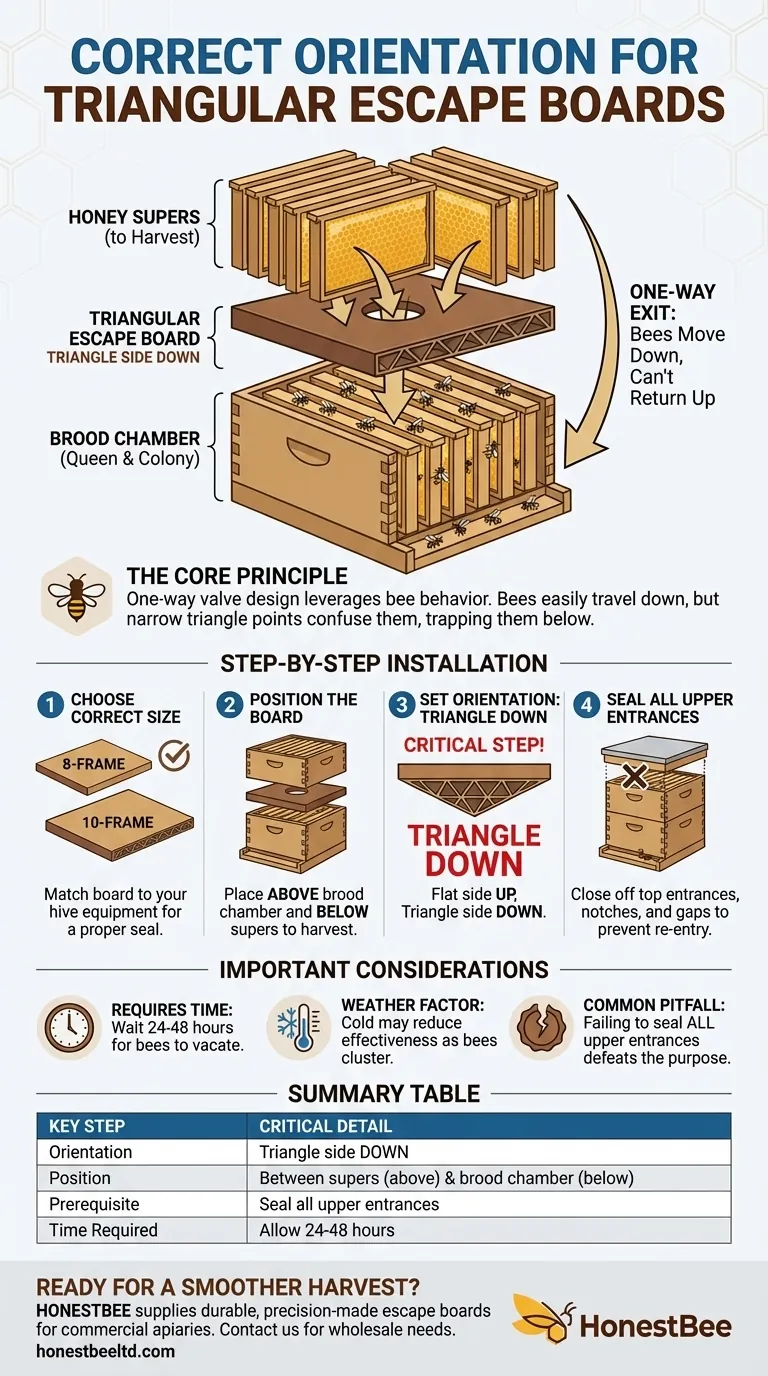
To correctly place a Triangular Escape Board, you must install it with the triangle side facing down towards the brood boxes. This board is inserted between the honey supers you intend to harvest and the main brood chamber below. The design acts as a one-way valve, allowing bees to move down into the brood area but preventing them from traveling back up into the supers.
The Triangular Escape Board is fundamentally a one-way exit for bees. Placing the triangle side down directs traffic away from the honey supers and into the main hive body, ensuring the supers are clear of bees for a stress-free harvest.
The Core Principle: How the One-Way Exit Works
The effectiveness of a Triangular Escape Board comes from understanding its simple yet brilliant design, which leverages natural bee behavior.
The Goal: Clearing Supers for Harvest
The entire purpose of an escape board is to remove the majority of bees from the honey supers. This makes the process of removing heavy, honey-filled frames significantly easier, faster, and less disruptive to the colony.
Leveraging Bee Movement
Bees in the honey supers must periodically travel down to the brood chamber, where the queen lays eggs and the main colony resides. The escape board creates an easy path for this downward journey.
The "Down and Out" Design
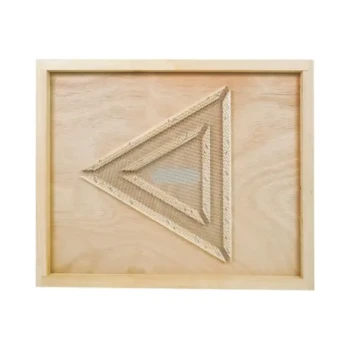
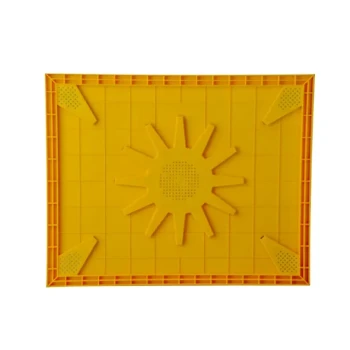
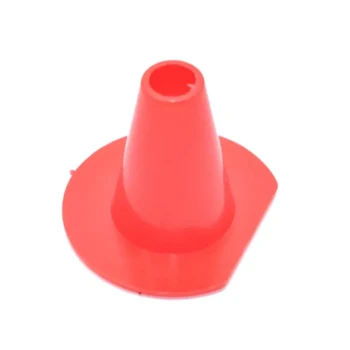
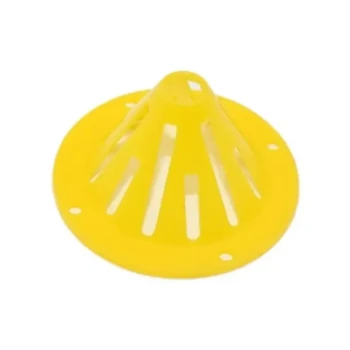
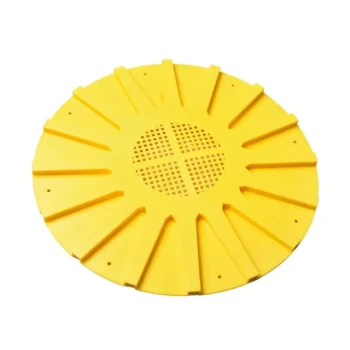
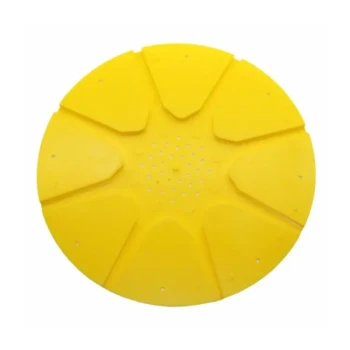
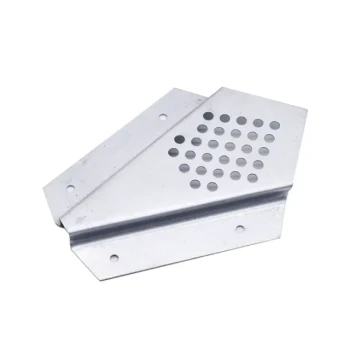
The board has a flat top surface and a triangular structure on the bottom. Bees can easily find the large opening of the triangle on the top side and crawl down through it. However, when they attempt to return, they encounter the narrow, confusing points of the triangle and are unable to find the small exit holes, effectively trapping them in the lower part of the hive.
Step-by-Step Installation for Success
Proper installation is critical. A mistake here can render the tool useless or even trap bees in the wrong place.
1. Choose the Correct Size
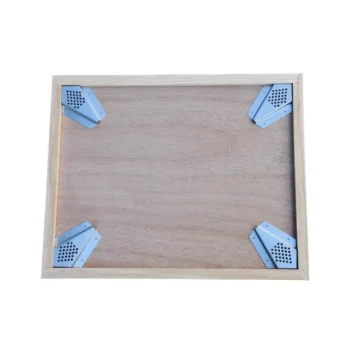
Before you begin, ensure your escape board matches your hive equipment. They are typically made in 8-frame or 10-frame sizes. An incorrectly sized board will not create a proper seal, allowing bees to bypass the escape mechanism.
2. Position the Board
The escape board must be placed above the brood chamber and below the honey supers you plan to harvest. Any supers left below the escape board will not be cleared of bees.
3. Set the Orientation: Triangle Down
This is the most critical step. The side with the attached triangle assembly must face DOWN towards the brood boxes. The flat, smooth side must face UP towards the honey supers.
4. Seal All Upper Entrances
After the board is in place, you must close off any other entrances above the board. This includes top entrances, notched inner covers, or any gaps between boxes. If an upper entrance is left open, bees will simply use it to re-enter the supers, defeating the entire purpose of the escape board.
Understanding the Trade-offs and Common Pitfalls
While highly effective, this method has considerations you must be aware of for a successful outcome.
It Requires Time
This is not an instant solution. You must install the board and wait 24 to 48 hours for the bees to vacate the supers. The exact time can vary based on weather and colony temperament.
Weather Is a Factor
Effectiveness can be reduced in cold weather. If the temperature drops, bees may be reluctant to leave the honey supers and can form a cluster there instead of moving down.
The Most Common Mistake
The number one reason an escape board fails is that the beekeeper forgets to seal all other entrances above it. Bees are resourceful and will quickly find any alternative route back to the honey.
Making the Right Choice for Your Goal
Use these guidelines to determine if and how to use the escape board for your specific needs.
- If your primary focus is a low-stress harvest: The Triangular Escape Board is the ideal tool, but you must plan to install it 24-48 hours before you intend to pull the honey.
- If your primary focus is a fast, same-day harvest: This is not the right tool; consider using a bee brush or a fume board for immediate clearing of frames.
- If you are preparing for your first harvest: Double-check that your escape board size matches your hive boxes and walk around the hive one last time to confirm all upper entrances are sealed after installation.
Properly used, the triangular escape board is one of the most effective and gentle tools for preparing your hive for honey collection.
Summary Table:
| Key Step | Critical Detail |
|---|---|
| Orientation | Triangle side must face DOWN towards brood boxes. |
| Position | Place between honey supers (above) and brood chamber (below). |
| Prerequisite | Seal all upper entrances to prevent bees from returning. |
| Time Required | Allow 24-48 hours for bees to vacate the supers. |
Ready for a Smoother Harvest?
Ensure your beekeeping operation runs smoothly with the right equipment. HONESTBEE supplies durable, precision-made beekeeping supplies and equipment—including reliable escape boards—to commercial apiaries and beekeeping equipment distributors through our wholesale-focused operations.
Contact HONESTBEE today to discuss your wholesale needs and discover how our products can contribute to your success.
Visual Guide
Related Products
- HONESTBEE Wooden Bee Escape Board with Triangle Mesh Design for Beekeeping
- HONESTBEE 4-Way Metal Corner Wooden Bee Escape Board
- Circular Labyrinth Bee Escape for Efficient Hive Management
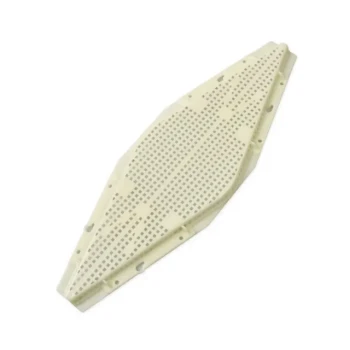
- High-Efficiency Diamond Maze Bee Escape for Clearing Supers
- HONESTBEE Multi Exit Plastic Bee Escape Board for Efficient Honey Harvesting
People Also Ask
- Are bee escape boards customizable? Select the Right Escape for Your Hive and Harvest Goals
- What should be considered when selecting a bee escape board? Ensure a Calm, Efficient Honey Harvest
- What tools and methods are used to clear honey bees from honey supers? Efficient Harvesting for Commercial Beekeepers
- What happens to the bees when a bee escape board is used? A Gentle, Chemical-Free Harvest Method
- How long should you wait after placing a bee escape board before harvesting honey? Clear Your Supers in 24-48 Hours