The procedure relies on temperature management and a specific release agent. To cast a sheet, spray your silicone mold with water to prevent sticking, pour the melted wax onto the bottom half, and immediately press the top half down to distribute the material. This compression fills the honeycomb pattern while pushing out excess wax for a consistent finish.
Because beeswax solidifies rapidly once removed from heat, success requires a prepared workspace and immediate action. You must spray the mold with water before pouring and apply pressure quickly to ensure the sheet is thin, even, and easily removable.
Preparing for a Clean Pour
Protecting Your Workspace
Beeswax is difficult to clean once hardened. Protect your counter by laying down a towel, then cover the entire area—including a "splash zone" boundary—with two to three layers of parchment paper.
Establishing a Workflow
Designate a separate, parchment-covered space adjacent to your mold for cooling finished sheets. Have your materials ready in advance; as soon as the wax liquefies, it must be removed from heat and used immediately.
Safety Precautions
Always wear oven gloves when handling the hot wax container to protect against steam and splashes. If pouring into glass, ensure the vessel is heat-resistant to prevent cracking.
The Casting Process
Priming the Mold
Before handling the wax, spray the silicone mold with water. This acts as a critical release agent, ensuring the beeswax does not stick to the silicone during the cooling phase.
Pouring the Wax
Pour the melted beeswax evenly onto the bottom half of the silicone mold. If your wax contains debris, you may strain it through cheesecloth or a coffee filter during this step.
Compressing the Sheet
Place the top half of the mold onto the hot wax. Use your hand to gently press down, or use a rolling pin to roll across the mold.
Distributing the Material
The goal of pressing is to spread the hot wax to the edges and fill the honeycomb pattern. This pressure helps create a thin, consistent sheet rather than a thick, uneven block.
Recovery and Extraction
Managing Excess
It is normal for wax to squeeze out of the sides or ends of the mold during compression. Collect this excess material; it can be re-melted for subsequent sheets.
Timing the Removal
Allow the wax to cool for approximately 1.5 to 2 minutes. The foundation sheet should be removed from the mold while it is still warm and pliable, not fully brittle.
Common Pitfalls to Avoid
Avoiding "Cold" Pours
Speed is essential. If the wax cools too much before you press the mold halves together, the sheet will be too thick and the honeycomb pattern may not form defined edges.
Handling Imperfections
Do not discard sheets that tear or fail to fill the mold completely. Beeswax is forgiving; simply re-melt the imperfect sheet and attempt the pour again.
Making the Right Choice for Your Goal
To get the best results based on your specific needs, consider these adjustments:
- If your primary focus is consistency: Use a rolling pin rather than hand pressure to ensure the wax thickness is uniform across the entire surface.
- If your primary focus is efficiency: Pre-measure your wax volume to fill the mold just below the rim to minimize the amount of squeeze-out you have to trim and re-melt.
Mastering the balance between heat, speed, and pressure will yield perfect honeycomb foundations every time.
Summary Table:
| Step | Action | Key Tool/Material | Importance |
|---|---|---|---|
| 1. Prep | Protect area and spray mold | Water spray, Parchment paper | Prevents sticking and mess |
| 2. Pour | Apply melted wax to bottom mold | Heat-resistant vessel | Ensures even distribution |
| 3. Press | Compress with top mold/roller | Rolling pin | Creates thin, uniform pattern |
| 4. Cool | Wait 1.5 to 2 minutes | Timer | Allows wax to set while pliable |
| 5. Extract | Remove while warm | Gloves | Prevents brittleness and tearing |
Elevate Your Apiary Production with HONESTBEE
At HONESTBEE, we specialize in empowering commercial apiaries and distributors with professional-grade beekeeping solutions. Whether you are looking for high-precision foundation sheet machinery, honey-filling equipment, or bulk essential consumables, our comprehensive wholesale portfolio is designed to scale your operations efficiently.
Why partner with HONESTBEE?
- Industrial Strength: Durable machinery designed for high-volume beeswax processing.
- Full Spectrum Supply: From specialized hardware to honey-themed cultural merchandise.
- Expert Support: Tailored solutions for global distributors and large-scale beekeepers.
Ready to optimize your honey production? Contact us today to discuss your wholesale needs!
Related Products
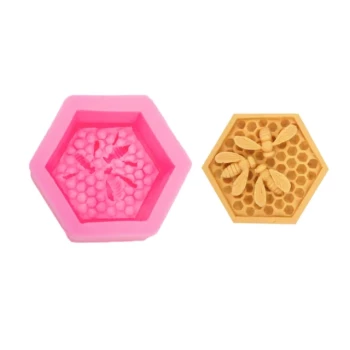
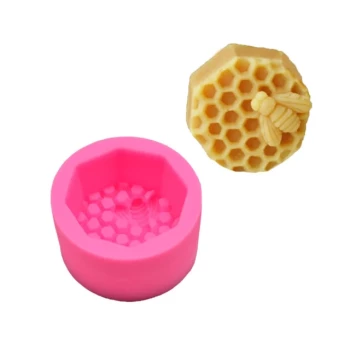
- Colorful Silicone Beeswax Foundation Mold Mould for Beekeeping
- High-Efficiency 20-Cell Silicone Mold for Beeswax Bee Queen Cup Production
- 3D Square Honeycomb Pillar Silicone Candle Molds for Making Beeswax Candles
- 10-Cell Silicone Beeswax Bee Queen Cups Forming Mold
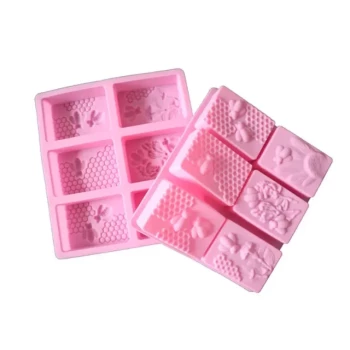
- 6-Cavity Bee Floral Themed Silicone Soap Mold for Handmade Soap Making
People Also Ask
- What is the first tip for pouring beeswax into a silicone mold? Ensure a Perfect Release
- How do you use the Foundation Mold to create beeswax foundation? Master DIY Beekeeping with Precision
- What types of molds can be used for pouring melted beeswax? Choose the Right Mold for a Perfect Release
- How can beeswax value-addition processes be utilized to increase beekeeping revenue? Boost Your Apiary Profitability
- What is the purpose of the Foundation Mold? A Guide to Sustainable, Pure Wax Foundation