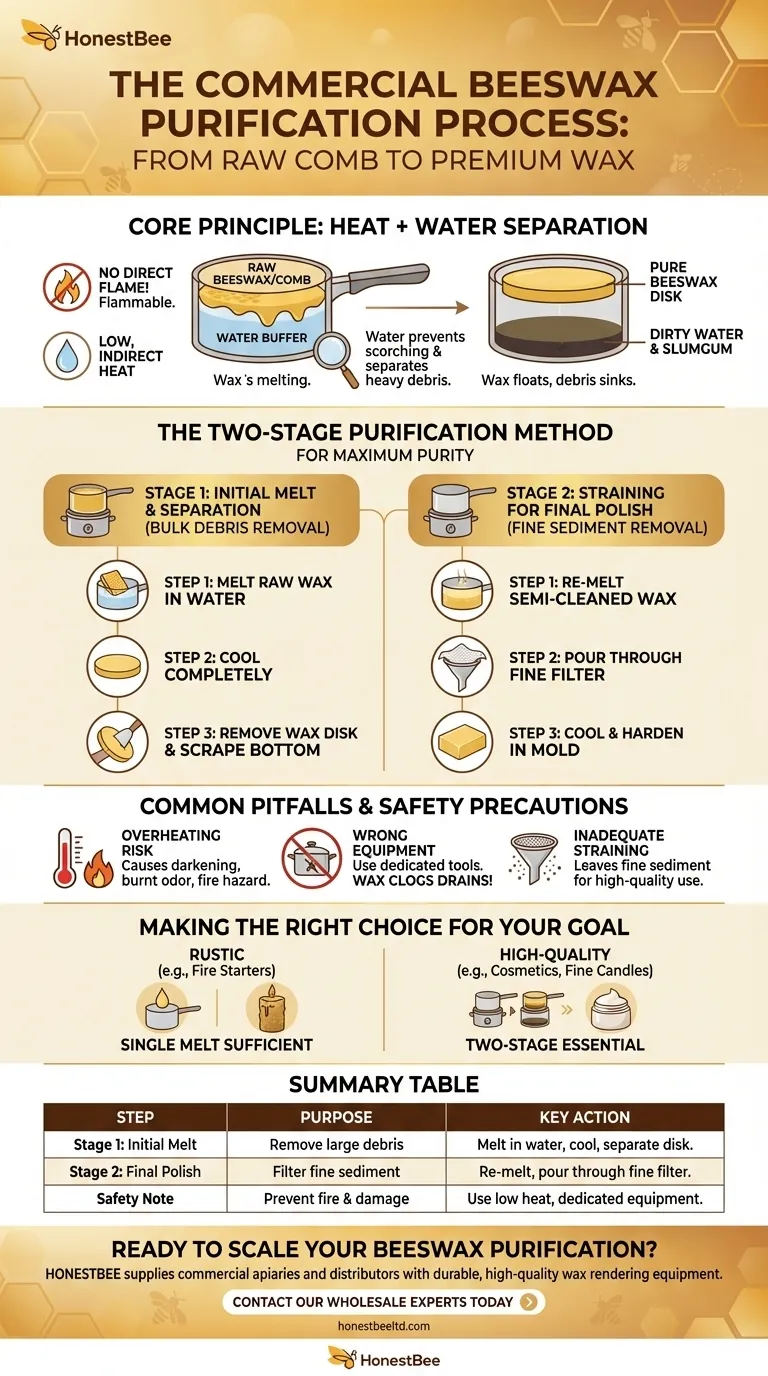
Purifying raw beeswax is a simple rendering process that uses heat and water to separate pure wax from honey, debris, and other hive materials. The fundamental steps involve melting the crude wax in water, allowing it to cool and harden, and then repeating the process with a finer filtration to achieve the desired purity.
The core principle of purifying beeswax is not just melting, but using hot water as a medium. This prevents the wax from scorching and allows heavier debris to sink while the clean, lighter wax floats to the top.

The Two-Stage Purification Method
For the cleanest possible result, a two-stage process is the most effective approach. The first stage removes the bulk of the debris, while the second stage refines the wax for use in cosmetics, candles, or other projects.
Stage 1: The Initial Melt and Separation
This first pass is designed to handle the "slumgum"—the mix of dirt, cocoons, and other large particles found in raw comb.
Start by placing your raw beeswax or comb into a dedicated pot that you do not use for food. Never heat beeswax directly over a flame, as it is flammable and can easily scorch.
Add enough water to the pot so that the wax will be fully floating once melted. This water buffer is critical for preventing the wax from burning on the bottom of the pot.
Heat the mixture gently on low to medium heat until all the wax has melted. Avoid boiling the water, as this can incorporate unwanted water into the final wax block.
Once everything is melted, turn off the heat and allow the pot to cool completely. As it cools, the pure wax will rise to the top and solidify into a hard disk, while the dirty water and heavy debris will remain trapped below.
Stage 2: Straining for a Final Polish
After the initial separation, the wax disk from Stage 1 can be broken out of the pot. Scrape any remaining dark debris from the bottom of the disk.
Now, you will re-melt this semi-cleaned wax. You can use a double boiler for this step or the same pot, ensuring it is clean. This time, no water is necessary unless you want to do another water separation.
Prepare your final mold by lining a container with a filter. Several layers of cheesecloth or a sturdy paper towel work well for this.
Once the wax is fully melted, carefully pour it through your prepared filter into the final mold. This will catch the last of the fine sediment, leaving you with beautifully clean beeswax. Let it cool and harden completely.
Common Pitfalls and Safety Precautions
Achieving pure beeswax is simple, but a few common mistakes can compromise your results or create safety hazards.
The Risk of Overheating
Beeswax is flammable. Overheating it not only poses a fire risk but will also darken the wax and give it a burnt odor, ruining the final product. Always use low, indirect heat and never leave melting wax unattended.
Using the Wrong Equipment
Beeswax is notoriously difficult to clean from pots, utensils, and drains. It is highly recommended to use dedicated equipment solely for wax processing. Never pour leftover wax water down a sink, as it will solidify and cause a severe clog.
Inadequate Straining
A single, coarse straining might be fine for some applications, but it will leave fine particles in the wax. If you see sediment at the bottom of your final block, it means the filtration was not fine enough for a high-purity application.
Making the Right Choice for Your Goal
The level of purification you need depends entirely on the intended use of the beeswax.
- If your primary focus is rustic candles or fire starters: A single melt and separation is often sufficient to remove the largest impurities.
- If your primary focus is cosmetics, food wraps, or high-quality candles: The two-stage process with fine filtering is essential to ensure a pure, clean, and sediment-free final product.
By matching your purification method to your goal, you can efficiently transform raw honeycomb into a valuable and versatile natural material.
Summary Table:
| Step | Purpose | Key Action |
|---|---|---|
| Stage 1: Initial Melt | Remove large debris (slumgum) | Melt wax in water, let cool, and separate the hardened wax disk. |
| Stage 2: Final Polish | Filter fine sediment for high purity | Re-melt the semi-cleaned wax and pour it through a fine filter (e.g., cheesecloth). |
| Safety Note | Prevent fire risk and wax damage | Always use low, indirect heat and dedicated equipment. Never leave melting wax unattended. |
Ready to scale your beeswax purification? HONESTBEE supplies commercial apiaries and beekeeping equipment distributors with the durable, high-quality equipment needed for efficient, large-scale wax rendering. From dedicated melting pots to fine filtration supplies, we provide the reliable tools that support your production goals. Contact our wholesale experts today to discuss your equipment needs and streamline your operation.
Visual Guide
Related Products
- Electric Beeswax Flat Sheet Machine with Operating Tray for Wax Processing
- Fully Automatic Beeswax Embossing Machine Foundation Mill
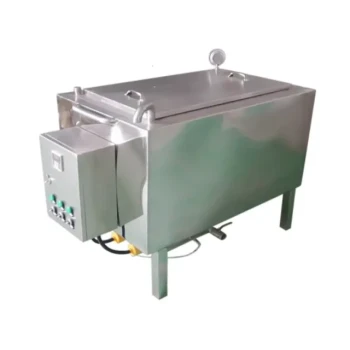
- Electric Commercial Beeswax Melter for Factory Use
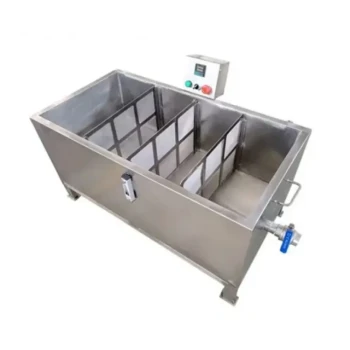
- Steam Beeswax Melter Wax Warmer for Wax Processing
- Beeswax Melter for Candle Making Honey Bee Wax Melter
People Also Ask
- What are the key functions of a beeswax machine? Maximize Apiary Efficiency & Revenue with Professional Equipment
- How does the machine flatten the beeswax? A Guide to Roller and Press Methods
- What types of beeswax foundation sheet machines are available? Find the Right Machine for Your Apiary Scale
- What is the primary function of the double-roller extrusion system? Master Precision Beeswax Foundation Production
- What is the purpose of a beeswax foundation sheet machine? Maximize Hive Health and Honey Production