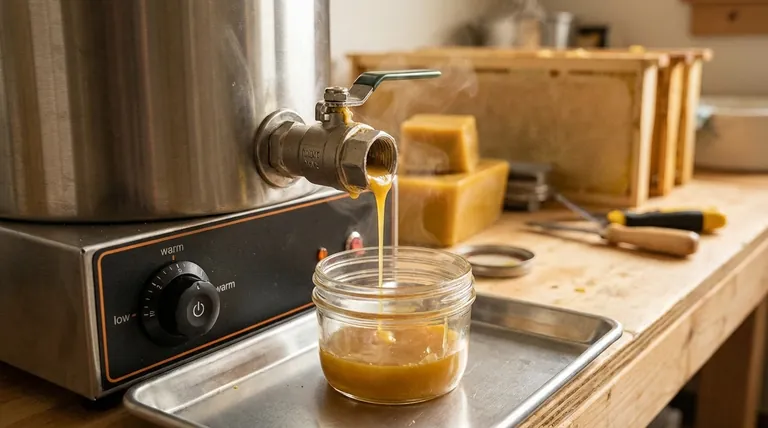
To clear a wax melter valve blocked by cooled wax, you must gently re-melt the blockage. Immediately open the valve, place a container underneath to catch the melted wax, and then turn the melter's dial to a low or "warm" setting. This allows the wax to liquefy and drain as soon as it melts, clearing the obstruction safely.
A blocked valve is not a sign of broken equipment, but a predictable result of wax's thermal properties. The solution lies in applying gentle, controlled heat to reverse the solidification process without damaging the melter or the wax.
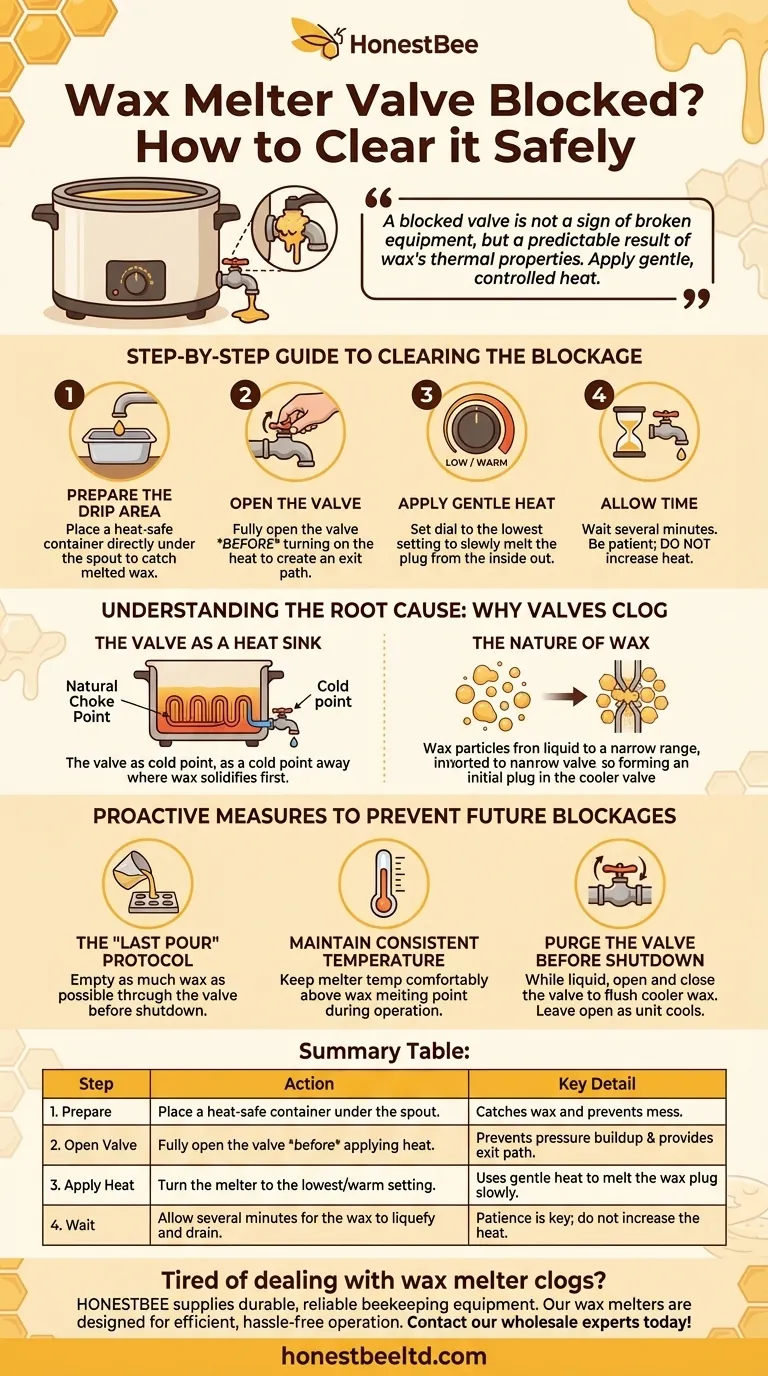
A Step-by-Step Guide to Clearing the Blockage
Follow this precise procedure to resolve the issue without risking damage to your equipment. The key is patience and gentle heat application.
Step 1: Prepare the Drip Area
Before applying any heat, place a heat-safe container directly under the spout. This ensures that as soon as the wax liquefies, it is safely caught and does not create a mess or a hazard.
Step 2: Open the Valve
It is critical to open the valve fully before you turn the heat on. If the valve is closed, pressure could build as the wax melts and expands, or the wax could simply re-solidify once the heat is turned off. Opening it first creates a clear exit path.
Step 3: Apply Gentle Heat
Turn the melter’s dial to its lowest possible heat setting, often labeled "warm." Do not use high heat. The goal is to slowly and gently warm the pot and the valve assembly, allowing the solidified wax plug to melt from the inside out.
Step 4: Allow Time for the Process
This process is not instantaneous. Depending on the size of the blockage and the melter's power, it could take several minutes. Resist the temptation to increase the heat, as this can scorch the wax or create a fire risk.
Understanding the Root Cause: Why Valves Clog
A blockage is a symptom of how wax behaves when it cools. Understanding this helps prevent the problem from recurring.
The Valve as a Heat Sink
The valve and spout assembly are often made of metal and extend away from the primary heating element. This makes the valve a natural "choke point" where heat dissipates faster, causing the wax inside it to cool and solidify first, especially when the melter is turned off or the wax level is low.
The Nature of Wax
Wax transitions from liquid to solid within a relatively narrow temperature range. Even if the wax in the main pot is liquid, the cooler temperature at the valve can be enough to initiate solidification, creating the initial plug that causes a full blockage.
Proactive Measures to Prevent Future Blockages
A few simple adjustments to your workflow can virtually eliminate this problem, saving you time and frustration.
The "Last Pour" Protocol
Before shutting down your melter for the day, try to empty as much wax as possible through the valve. Leaving a significant amount of wax to cool in the pot guarantees that some of it will solidify in the valve mechanism.
Maintain Consistent Temperature
During operation, ensure your melter is set to a temperature that keeps the wax comfortably above its melting point. Avoid letting the temperature drop into the transitional zone where solidification can begin.
Purge the Valve Before Shutdown
As a final step, you can perform a "valve purge." While the wax is still fully liquid, open and close the valve a few times to ensure any cooler, thicker wax is flushed through. For the final shutdown, leave the valve open with a drip container underneath as the unit cools, allowing any remaining wax to drain out.
Making the Right Choice for Your Workflow
By understanding the cause, you can shift from reacting to a problem to proactively managing your equipment.
- If your primary focus is fixing a clog right now: Follow the step-by-step guide precisely—container first, valve open, then apply low heat.
- If your primary focus is preventing future clogs: Adopt a "last pour" protocol to empty the pot and purge the valve before shutting the melter down.
Mastering your equipment is about anticipating its behavior, and in this case, a little heat management goes a long way.
Summary Table:
| Step | Action | Key Detail |
|---|---|---|
| 1. Prepare | Place a heat-safe container under the spout. | Catches wax and prevents mess. |
| 2. Open Valve | Fully open the valve before applying heat. | Prevents pressure buildup and provides an exit path. |
| 3. Apply Heat | Turn the melter to the lowest/warm setting. | Uses gentle heat to melt the wax plug slowly and safely. |
| 4. Wait | Allow several minutes for the wax to liquefy and drain. | Patience is key; do not increase the heat. |
Tired of dealing with wax melter clogs? HONESTBEE supplies durable, reliable beekeeping equipment and supplies to commercial apiaries and distributors. Our wax melters are designed for efficient, hassle-free operation. Let us help you streamline your workflow. Contact our wholesale experts today to discuss your equipment needs!
Visual Guide
Related Products
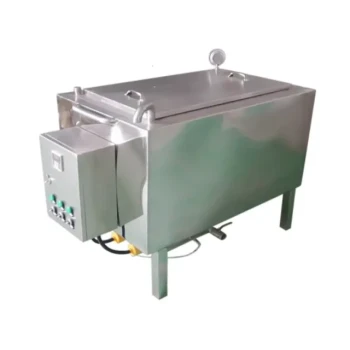
- Professional Stainless Steel Wax Melter for Beekeeping and Crafts
- Steam Beeswax Melter Wax Warmer for Wax Processing
- Beeswax Melter for Candle Making Honey Bee Wax Melter
- Electric Commercial Beeswax Melter for Factory Use
- Solar Beeswax Melter Easy Solar Wax Melter for Beeswax
People Also Ask
- What are the two main types of wax melters available? A Guide to Direct vs. Indirect Heat
- What do you use a wax melter for? From Home Fragrance to Professional Beekeeping
- What is the primary function of solar or steam wax melters in the initial processing of raw beeswax? Maximize Wax Purity
- What key factors should be considered when choosing a wax melter? Master Heat Control and Scale for Your Apiary
- What factors should be considered when choosing a wax melter? Optimize Your Beekeeping Efficiency