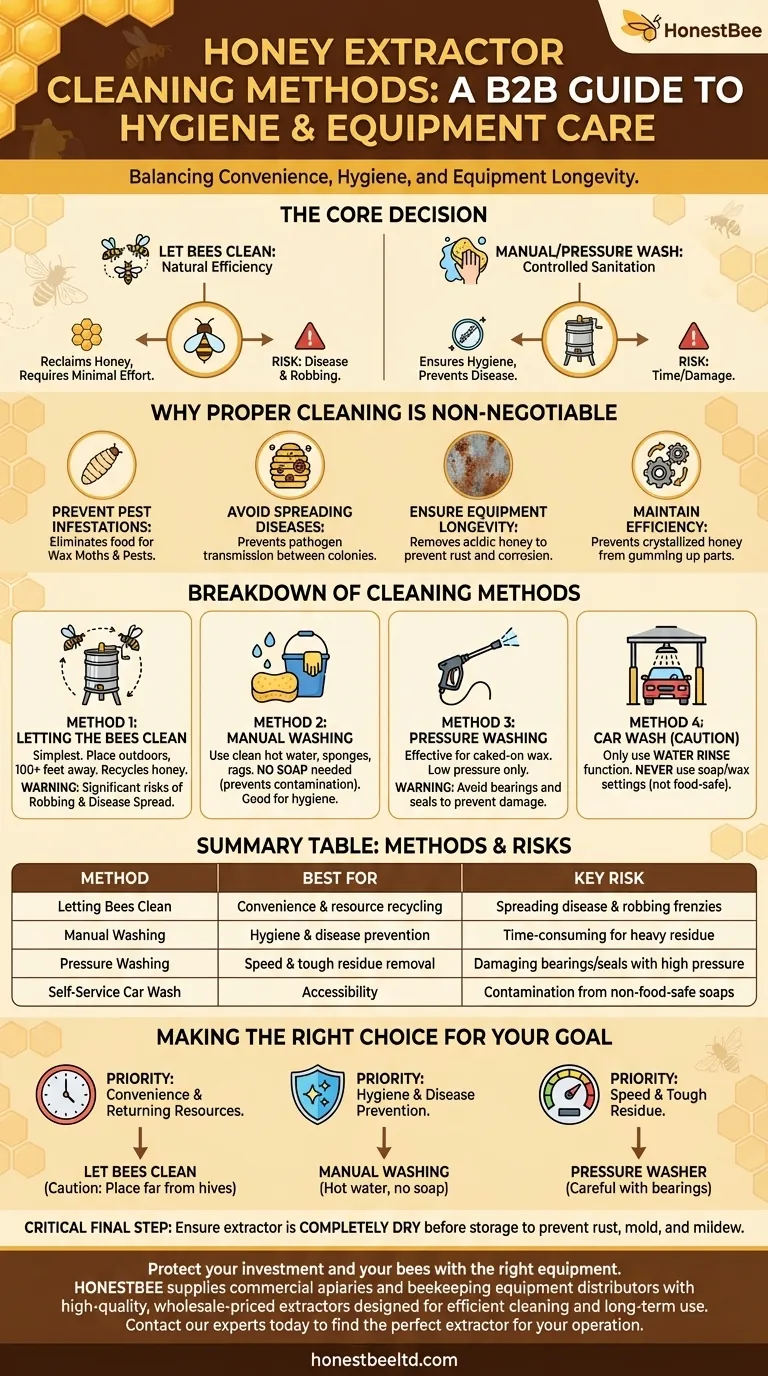
At its core, cleaning a honey extractor involves one of four common methods: letting the bees do the work, washing it manually with water and rags, using a pressure washer for a deeper clean, or taking it to a self-service car wash. The choice depends on your priorities regarding convenience, hygiene, and equipment care.
The central decision in cleaning your extractor is choosing between the natural efficiency of letting bees reclaim the residual honey and the controlled sanitation of manual washing. This choice directly impacts bee health, pest prevention, and the long-term integrity of your equipment.
Why Proper Cleaning is Non-Negotiable
After the hard work of harvesting, it can be tempting to put off cleaning. However, proper maintenance is critical not just for your equipment, but for the health of your bees.
Prevent Pest Infestations
Any remaining honey or wax residue is an open invitation for pests. Wax moths are particularly problematic and can quickly infest and damage stored equipment.
Avoid Spreading Bee Diseases
If one of your colonies has a disease, even one you are unaware of, the residual honey can become a vector. Cleaning thoroughly prevents the risk of spreading pathogens to other colonies during the next harvest.
Ensure Equipment Longevity
Honey is acidic and can be corrosive over time. Leaving a sticky film on your extractor, especially on metal parts and bearings, can lead to rust and degradation, shortening the lifespan of your investment.
Maintain Extractor Efficiency
Dried, crystallized honey and bits of wax can gum up the extractor's moving parts, including the gate and basket mechanisms. A clean extractor is one that operates smoothly and efficiently.
A Breakdown of Cleaning Methods
Each method has distinct advantages and applications. Understanding them allows you to choose the right process for your situation.
Method 1: Letting the Bees Clean It
This is the simplest method. Place the extractor outdoors, at least 100 feet away from your hives, to allow the bees to find it and carry the remaining honey back to their colony.
This approach recycles the honey and requires minimal effort. However, it comes with significant risks if not done carefully.
Method 2: Manual Washing with Water
For this method, you simply use clean water, sponges, and rags to wipe down the interior and exterior of the extractor. A spatula can help scrape off larger wax pieces first.
Soap is not necessary or recommended, as it can be difficult to rinse completely and may contaminate future honey harvests. Hot water can help dissolve stubborn crystallized honey.
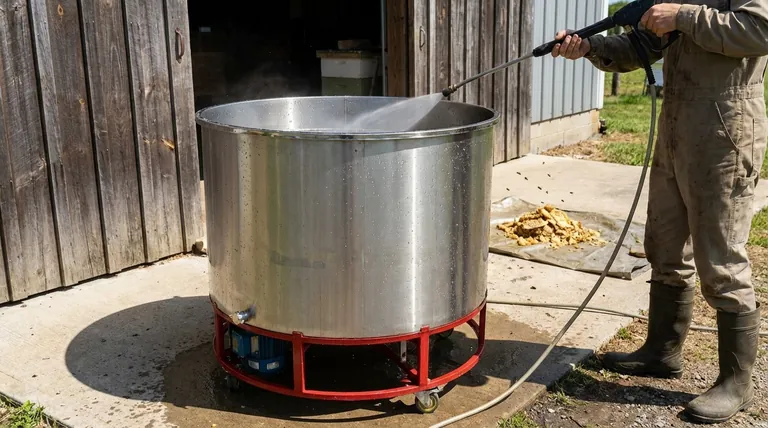
Method 3: Using a Pressure Washer
A small pressure washer is highly effective for removing caked-on honey and wax from the drum and basket. It can quickly clean the extractor with minimal scrubbing.
Use a low-pressure setting and be extremely careful around the bearings, seals, and other moving parts to avoid forcing water into them and causing damage.
Understanding the Trade-offs and Risks
While simple, some cleaning methods carry risks that every beekeeper must consider to protect their bees and equipment.
The Risk of "Bee Cleaning": Robbing and Disease
Placing the extractor too close to your hives can trigger a robbing frenzy, where bees from stronger colonies attack weaker ones.
More importantly, if one colony has a disease like American Foulbrood, this public feeding station becomes a prime location for spreading the infection throughout your apiary.
The Risk of High-Pressure Washing
While effective, a high-pressure stream of water can damage the sensitive parts of your extractor. Forcing water into the gearbox or bearings can wash out grease and lead to premature rust and failure. Always use caution and aim the spray away from mechanical components.
The "Car Wash" Option: A Word of Caution
Taking your extractor to a self-service car wash can work if you only use the water rinse function. Never use the soap or wax settings, as these products are not food-safe and will contaminate your equipment.
Making the Right Choice for Your Goal
After cleaning, the final and most critical step is to ensure the extractor is completely dry before storage. This prevents rust, mold, and mildew, protecting your investment for the next season.
- If your primary focus is convenience and returning resources to the bees: Let your bees clean the extractor, but ensure you place it a safe distance from your hives to prevent robbing.
- If your primary focus is hygiene and disease prevention: Wash the extractor manually with hot water or a low-pressure sprayer to maintain complete control over sanitation.
- If your primary focus is speed and efficiency on tough residue: Use a pressure washer carefully, focusing on the main drum and avoiding the mechanical assemblies.
Properly cleaning and storing your equipment is the final step in a successful honey harvest, safeguarding both your bees and your gear for years to come.
Summary Table:
| Method | Best For | Key Risk |
|---|---|---|
| Letting Bees Clean | Convenience & resource recycling | Spreading disease & robbing frenzies |
| Manual Washing | Hygiene & disease prevention | Time-consuming for heavy residue |
| Pressure Washing | Speed & tough residue removal | Damaging bearings/seals with high pressure |
| Self-Service Car Wash | Accessibility | Contamination from non-food-safe soaps |
Protect your investment and your bees with the right equipment. Proper cleaning starts with a durable, easy-to-maintain honey extractor. HONESTBEE supplies commercial apiaries and beekeeping equipment distributors with high-quality, wholesale-priced extractors designed for efficient cleaning and long-term use. Contact our experts today to find the perfect extractor for your operation and ensure a successful, healthy harvest season after season.
Visual Guide
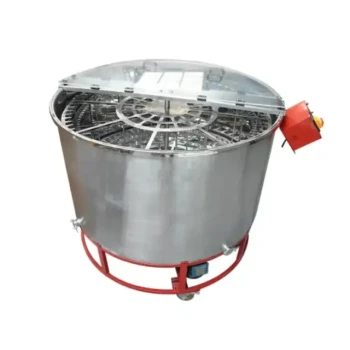
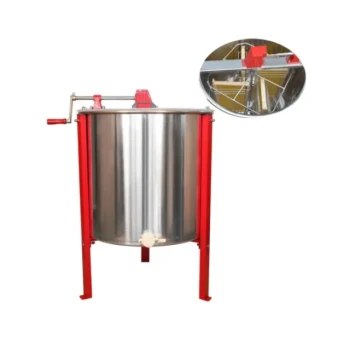
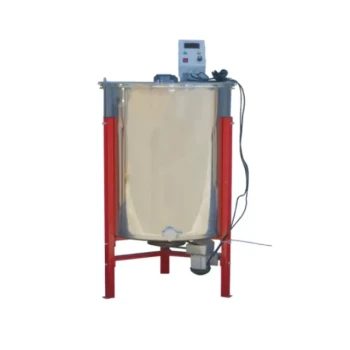
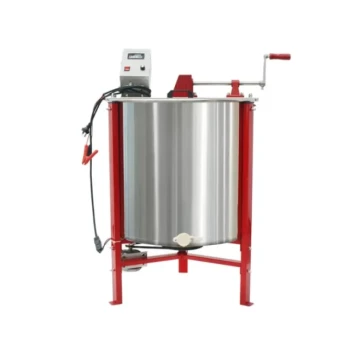
Related Products
- HONESTBEE 72 Frame Industrial Electric Honey Extractor for Beekeeping
- Commercial Electric 12 Frame Honey Extractor Spinner Motorized Honey Extractor
- HONESTBEE 6 Frame Self Reversing Electric Honey Extractor for Beekeeping
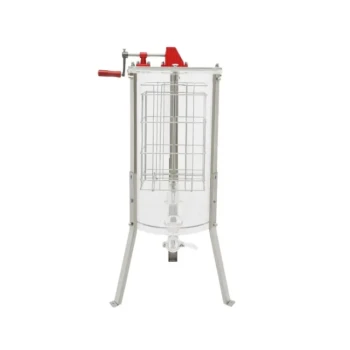
- HONESTBEE 3-Frame Manual Acrylic Honey Extractor
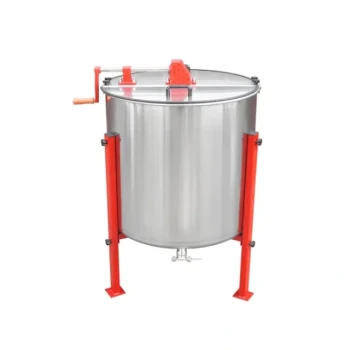
- Stainless Steel Manual 8 Frame Radial Honey Extractor Machine for Beehives
People Also Ask
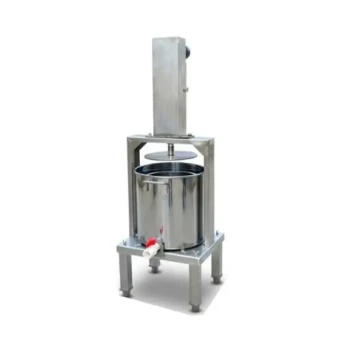
- Is the honey extractor better than the honey press? Choose the Right Tool for Your Apiary's Success
- What is the primary benefit of using a honey extractor compared to older methods? Boost Yield & Save Your Bees' Energy
- Why is physical isolation of honey extractors necessary to manage Small Hive Beetles? Protect Your Honey Quality
- What is the importance of balancing honeycomb frames within a honey extractor? Ensure Stability and Protect Machinery
- What are the main benefits of using a honey extractor? Maximize Yields and Protect Your Honeycomb