To correctly install a ratchet strap for cold weather, you must position the ratchet mechanism on the side of the object, facing downward, not on top. The strap's free end should then run down and under the object before going up and over the top to connect to the ratchet.
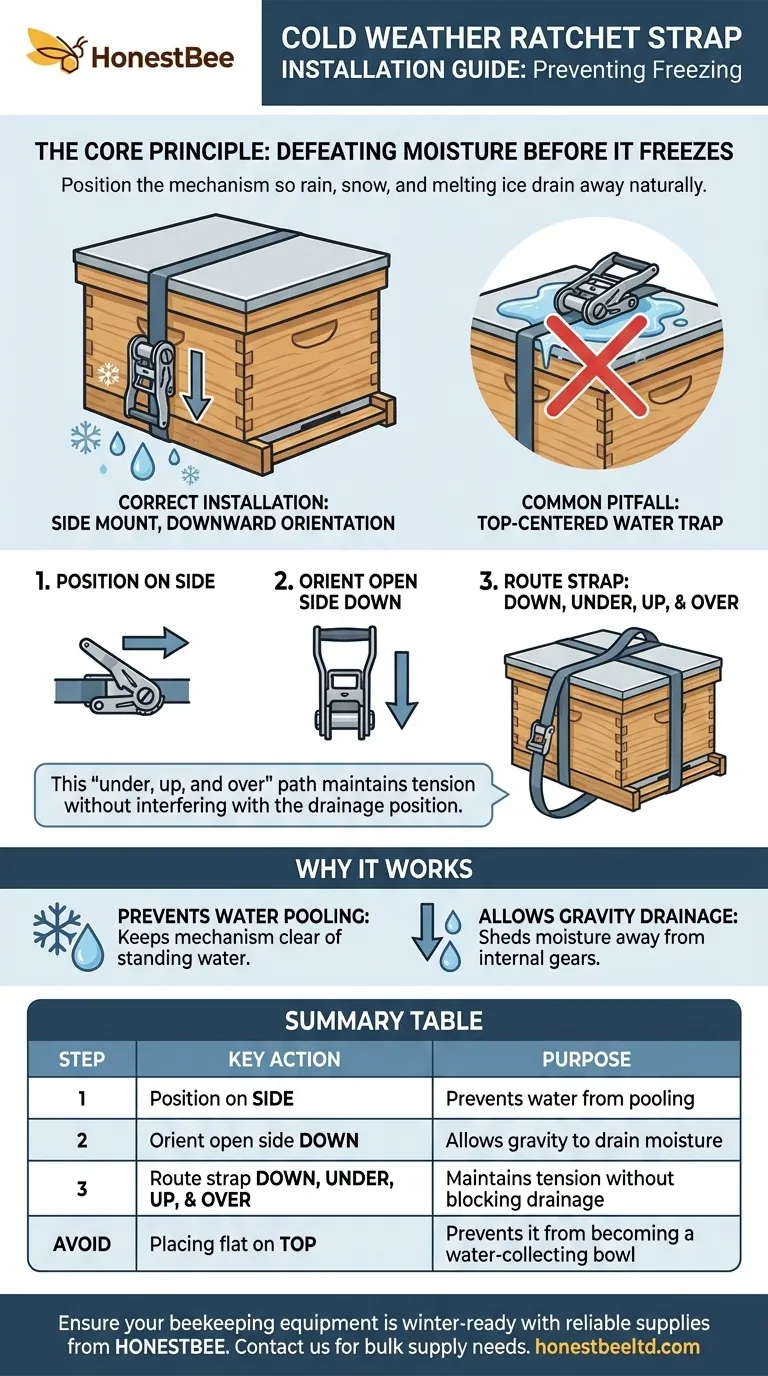
The entire strategy for preventing a frozen ratchet strap comes down to one principle: positioning the mechanism so that rain, snow, and melting ice can drain away naturally instead of pooling and freezing inside the moving parts.

The Core Principle: Defeating Moisture Before It Freezes
In cold and wet conditions, water is the primary enemy of any mechanical device. A standard ratchet strap installation inadvertently creates a perfect trap for moisture.
Positioning the Ratchet Mechanism
The most critical step is to place the ratchet mechanism on the side of the object being secured, such as a beehive, rather than directly on top.
Furthermore, you must orient the mechanism so the open side faces downward. This allows gravity to pull any moisture out and away from the gears and locking pawl before it has a chance to freeze solid.
Think of the top of the ratchet assembly as a small roof. By keeping it on the side and facing down, you ensure water sheds off instead of collecting inside.
Orienting the Strap Itself
The path of the strap also plays a role. The correct cold-weather method is to run the free end of the strap down, under the base, and then up the other side to connect to the ratchet.
This is often the opposite of how other straps, like cam straps, are installed. This "under, up, and over" path helps maintain tension without interfering with the downward-facing drainage position of the ratchet.
Common Pitfalls to Avoid
Understanding what not to do is just as important as knowing the correct procedure. The common installation method is a direct cause of freezing.
The "Top-Centered" Water Trap
Placing the ratchet mechanism flat on the top surface is the most common mistake. In this position, the body of the ratchet acts like a bowl, collecting rain and melting snow.
When the temperature drops, this pooled water freezes into a solid block of ice, seizing the internal gears and making it impossible to release or tighten the strap.
Overlooking Drainage
Simply having the ratchet on the side isn't enough. If it's facing sideways or upward, it can still hold enough water to freeze solid. The downward orientation is non-negotiable for reliable performance in freezing weather.
Applying This to Your Goal
Follow this guidance to ensure your equipment remains functional when you need it most.
- If your primary focus is preventing a completely seized mechanism: Always install the ratchet on the side with the open portion facing the ground.
- If your primary focus is ensuring a secure and stable fit: Use the "under, up, and over" strap path to maintain proper tension with the downward-facing ratchet.
Proper installation transforms your ratchet strap from a potential liability into a reliable tool, no matter the weather.
Summary Table:
| Step | Key Action | Purpose |
|---|---|---|
| 1 | Position ratchet on the side of the object | Prevents water from pooling on top |
| 2 | Orient the open side of the ratchet downward | Allows gravity to drain moisture away |
| 3 | Route the strap down, under, up, and over | Maintains tension without blocking drainage |
| Avoid | Placing the ratchet flat on top | Prevents it from becoming a water-collecting bowl that freezes solid |
Ensure your beekeeping equipment is winter-ready with reliable supplies from HONESTBEE.
Our wholesale-focused operations provide commercial apiaries and distributors with the durable straps and equipment needed to withstand harsh conditions. Don't let frozen straps compromise your season—contact our experts today to discuss your bulk supply needs and secure your operations against the cold.
Visual Guide
Related Products
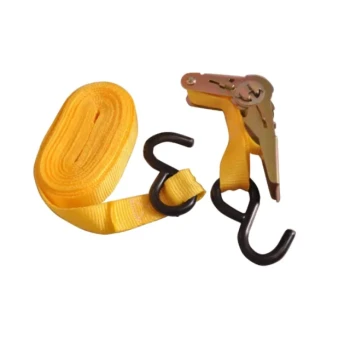
- Versatile Ratchet Hive Strap with S-Hooks for Secure Fastening
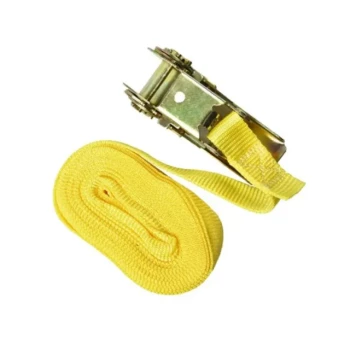
- Endless Loop Ratchet Hive Strap
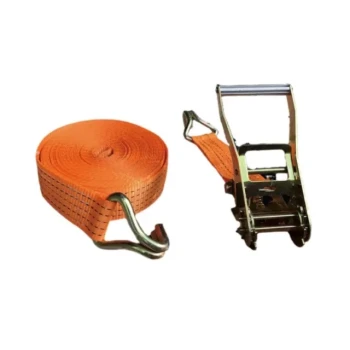
- Heavy Duty Ratchet Hive Strap
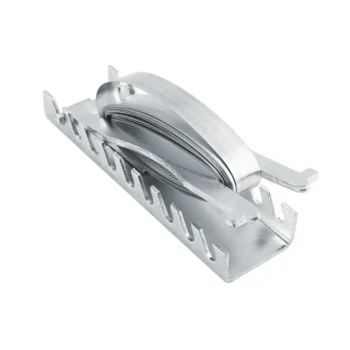
- Professional Galvanized Hive Strap with Secure Locking Buckle for Beekeeping
- High Security Emlock Strap System
People Also Ask
- How do ratchet straps compare to cam buckle straps? Choose the Right Tie-Down for Your Load
- How do you tighten the ratchet strap once it is installed? A Step-by-Step Guide to Secure Cargo
- How is a ratchet strap loosened and removed? Master the 180-Degree Release Technique
- How do ratchet straps work? Master the Mechanism for Maximum Load Security
- How do you operate a ratchet strap to tighten it? Expert Steps for Secure Load Fastening