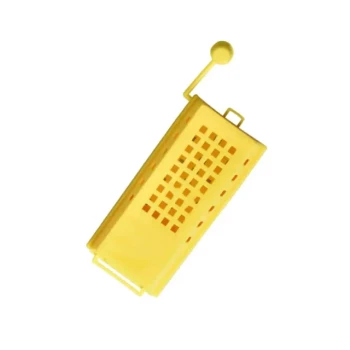
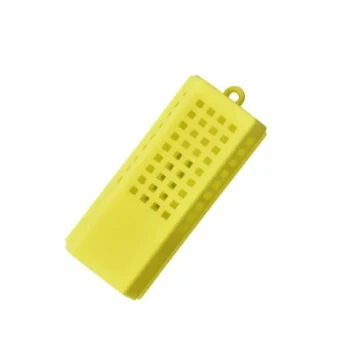
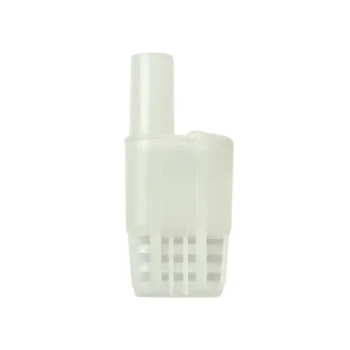
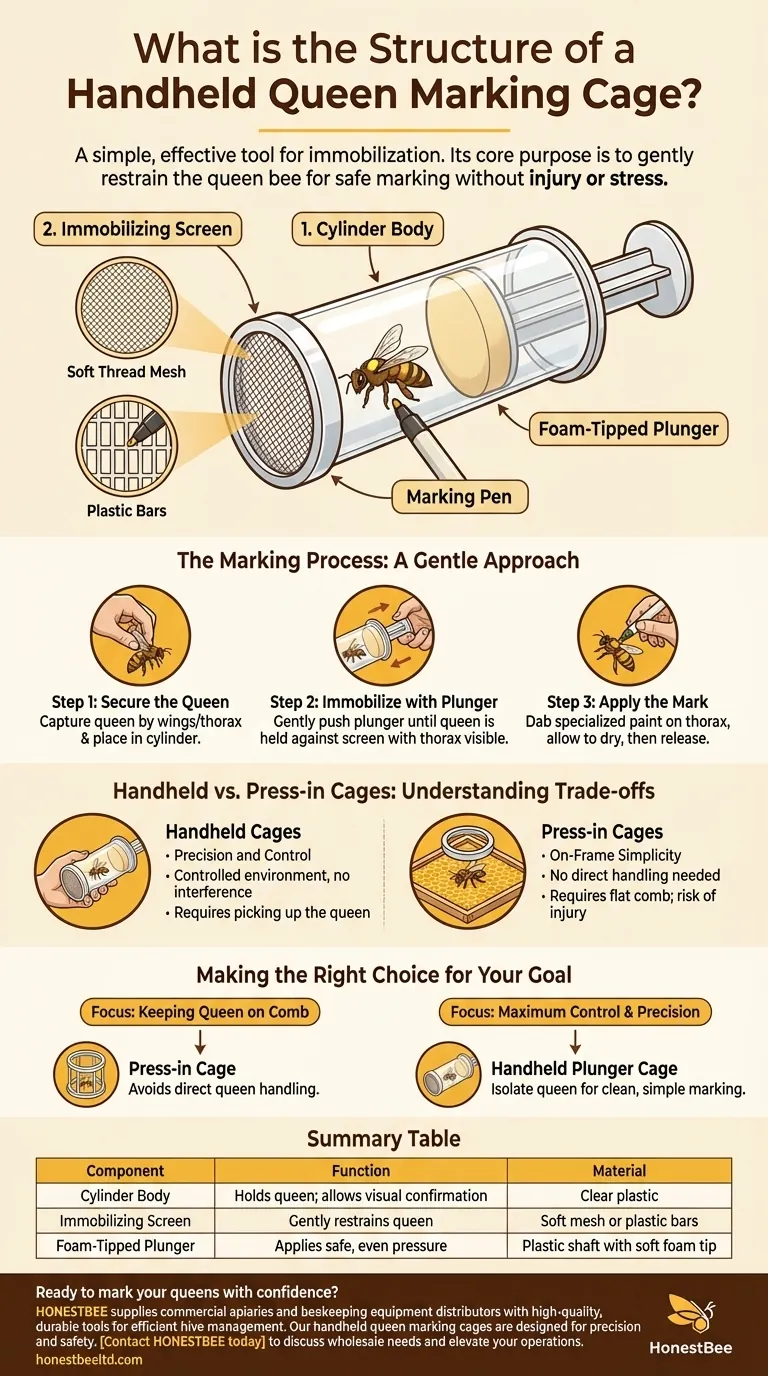
At its core, a handheld queen marking cage is a simple, effective tool for immobilization. It consists of a small cylinder, a screen on one end made of soft mesh or narrow plastic bars, and a plunger with a foam tip. The queen is placed inside the cylinder, and the plunger is gently pushed in to press her securely but harmlessly against the screen, exposing her thorax for marking.
The fundamental purpose of any queen marking cage, regardless of its specific design, is to gently restrain the queen bee. This controlled immobilization allows a beekeeper to apply a paint mark to her thorax safely, without causing injury or stress.

Anatomy of the Handheld Marking Cage
To use the tool effectively, it's essential to understand its three primary components and how they work together to ensure the queen's safety.
The Cylinder Body
The main body is a hollow tube, typically made of clear plastic. This transparency is crucial, as it allows you to watch the queen and ensure she is positioned correctly before you apply any pressure.
The Immobilizing Screen
One end of the cylinder is covered by a screen. This screen serves as the surface against which the queen is held. It comes in two common forms:
- Soft Thread Mesh: A net-like material that is very gentle on the queen.
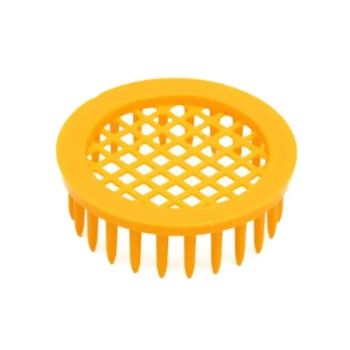
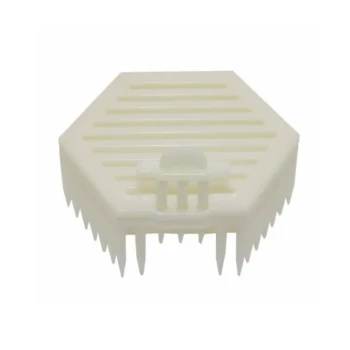
- Plastic Bars: A grid of rigid plastic with gaps large enough for a marking pen to pass through but too small for the queen to escape.
The Foam-Tipped Plunger
This is the moveable part of the device. The plunger slides inside the cylinder, and its soft foam tip is what makes contact with the queen. This design distributes pressure evenly and prevents injury as you gently guide her against the screen.
The Marking Process: A Gentle Approach
Using the cage is a straightforward process focused on calm, deliberate movements. The goal is to minimize stress for both the beekeeper and the queen.
Step 1: Secure the Queen
After locating the queen on a frame, you must capture her. This is often the most intimidating step for new beekeepers. You can gently pick her up by her wings or thorax and drop her into the open end of the marking cage's cylinder.
Step 2: Immobilize with the Plunger
Once the queen is inside, insert the foam-tipped plunger. Slowly and carefully push the plunger forward until the queen is held gently against the screen at the other end. Her thorax—the middle section of her body—should be visible and accessible through the screen.
Step 3: Apply the Mark
With the queen securely held, dab a small spot of specialized queen-marking paint onto her thorax. Allow it a moment to dry before releasing the pressure and letting her walk out of the cage and back onto the frame.
Understanding the Trade-offs: Handheld vs. Press-in Cages
The handheld plunger cage is not the only tool available. Understanding its alternative, the press-in cage, helps you choose the right device for your needs.
Handheld Cages: Precision and Control
The primary advantage of the handheld cage is control. By removing the queen from the busy frame, you can work in a more controlled environment without other bees interfering. However, this requires you to physically pick up the queen, which can be a significant drawback for less confident beekeepers.
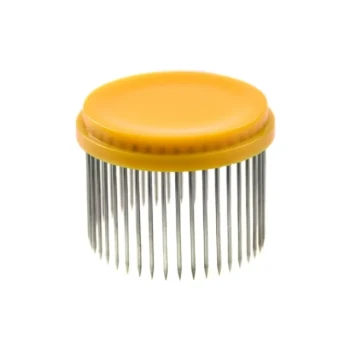
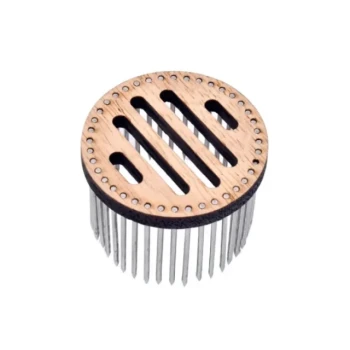
Press-in Cages: On-Frame Simplicity
A press-in cage is a ring with a mesh top and small spikes on the bottom. You place this cage directly over the queen on the comb and press it into the wax. This traps her without you ever having to pick her up. While simpler, it requires a flat area of comb and carries a small risk of injuring the queen or nearby bees if not placed carefully.
Making the Right Choice for Your Goal
Your comfort level and beekeeping goals should guide your choice of tool. Both methods are effective when performed correctly.
- If your primary focus is keeping the queen on the comb: A press-in cage is an excellent choice that avoids the need to handle the queen directly.
- If your primary focus is maximum control and precision: The handheld plunger cage allows you to isolate the queen completely for a clean and simple marking process.
Ultimately, mastering the use of a marking cage transforms a daunting task into a routine part of effective hive management.
Summary Table:
| Component | Function | Material |
|---|---|---|
| Cylinder Body | Holds the queen; allows visual confirmation | Clear plastic |
| Immobilizing Screen | Gently restrains the queen for marking | Soft mesh or plastic bars |
| Foam-Tipped Plunger | Applies safe, even pressure to secure the queen | Plastic shaft with soft foam tip |
Ready to mark your queens with confidence?
HONESTBEE supplies commercial apiaries and beekeeping equipment distributors with the high-quality, durable tools needed for efficient hive management. Our handheld queen marking cages are designed for precision and the safety of your valuable queens.
Contact HONESTBEE today to discuss your wholesale needs and elevate your beekeeping operations.
Visual Guide
Related Products
- One Hand Yellow Queen Marking Catcher Tube Cage Beekeeper Tool Accessory for Queen Bee
- Queen Bee Marking Tube Cage Bottle Catcher Holder with Clear Plastic Plunger Marker
- Plastic Queen Marking Tube Cage with Plunger for Beekeeping
- Plastic Long Marker Device for Catching and Marking Bees Queen Bee Marking Tube and Cage
- Plastic Queen Bee Catcher Marker Tube Holder for Queen Marking Bottle
People Also Ask
- What physical risks are involved in marking a queen bee? Expert Safety Tips for Successful Hive Management
- What equipment is needed to mark a queen bee? A Simple 3-Tool Guide for Every Beekeeper
- What is the significance of using queen marking tools in apiary performance monitoring? Optimize Your Hive Productivity
- What tools are available to assist in safely marking a queen bee? Essential Gear for Professional Beekeepers
- What tools are recommended for marking a Queen bee? Ensure a Safe and Successful Mark