Whether you're crafting candles, cosmetics, or artistic creations, selecting the right mold is crucial for achieving professional results with beeswax. The wrong choice can lead to frustrating adhesion issues, uneven shapes, or even wasted materials. This guide breaks down the science behind mold selection and preparation to help you create flawless beeswax products every time.
Selecting Molds for Beeswax Projects
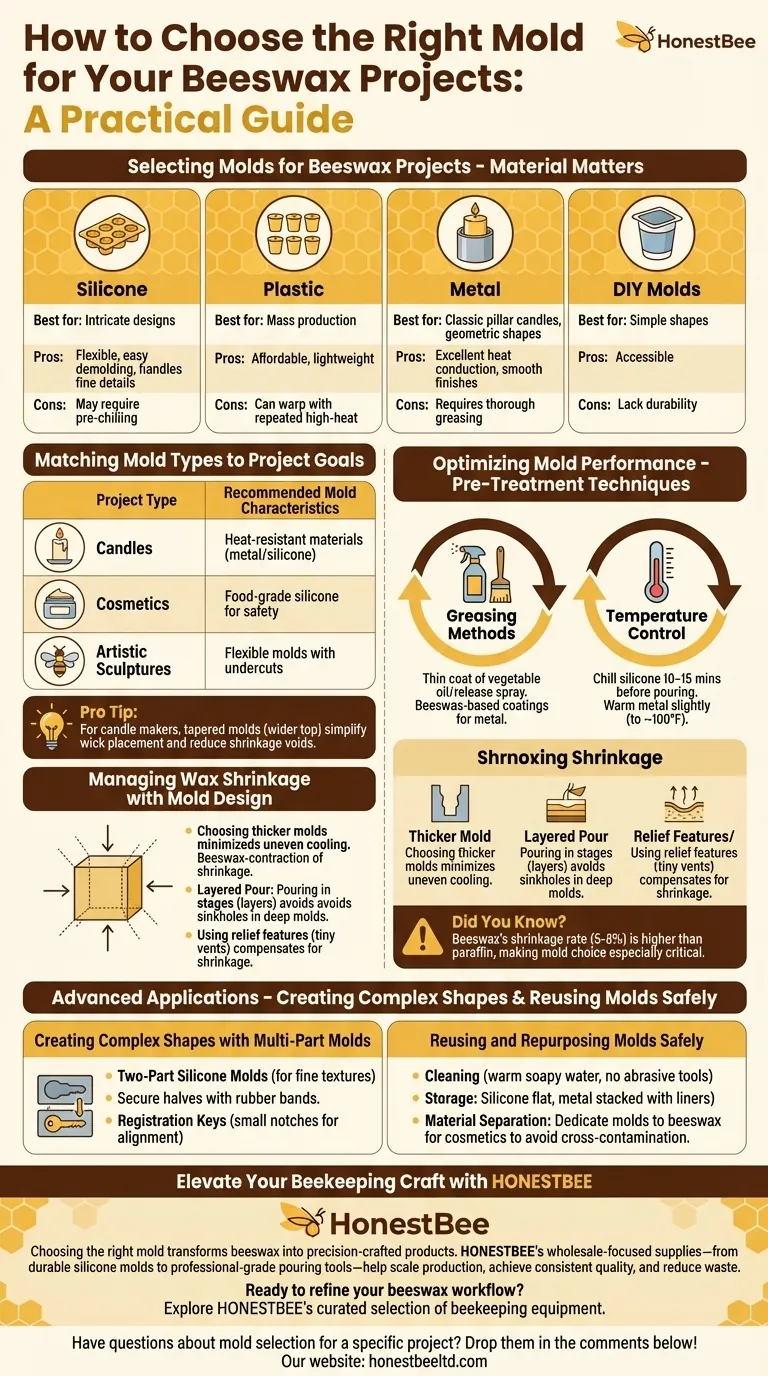
Material Matters: Silicone, Plastic, Metal, and DIY Options
Beeswax behaves differently depending on the mold material. Here’s how common options compare:
-
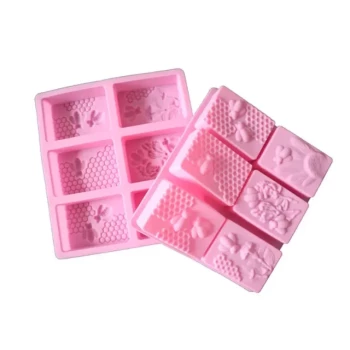
Silicone:
- Best for: Intricate designs (e.g., decorative candles, embeds)
- Pros: Flexible for easy demolding; handles fine details well
- Cons: May require pre-chilling for crisp edges
-
Plastic:
- Best for: Mass production (e.g., uniform votive candles)
- Pros: Affordable and lightweight
- Cons: Can warp with repeated high-heat use
-
Metal:
- Best for: Classic pillar candles or geometric shapes
- Pros: Excellent heat conduction for smooth finishes
- Cons: Requires thorough greasing to prevent sticking
-
DIY Molds:
- Repurposed containers (e.g., yogurt cups) work for simple shapes but lack durability.
Matching Mold Types to Project Goals
| Project Type | Recommended Mold Characteristics |
|---|---|
| Candles | Heat-resistant materials (metal/silicone) |
| Cosmetics (e.g., balms) | Food-grade silicone for safety |
| Artistic Sculptures | Flexible molds with undercuts |
Pro Tip: For candle makers, tapered molds (wider top) simplify wick placement and reduce shrinkage voids.
Optimizing Mold Performance
Pre-Treatment Techniques to Prevent Sticking
Even the best mold can fail without proper preparation:
-
Greasing Methods:
- Use a thin coat of vegetable oil or specialized mold release spray.
- For metal molds, beeswax-based coatings create a natural non-stick layer.
-
Temperature Control:
- Chill silicone molds for 10–15 minutes before pouring to reduce surface adhesion.
- Warm metal molds slightly (to about 100°F) to prevent premature wax hardening.
Managing Wax Shrinkage with Mold Design
Beeswax contracts significantly as it cools (roughly 5–8% volume loss). Mitigate this by:
- Choosing thicker molds: Minimizes uneven cooling.
- Pouring in stages: For deep molds, add wax in layers to avoid sinkholes.
- Using relief features: Some commercial molds include tiny vents to compensate for shrinkage.
Did You Know? Beeswax’s shrinkage rate is higher than paraffin, making mold choice especially critical.
Advanced Applications
Creating Complex Shapes with Multi-Part Molds
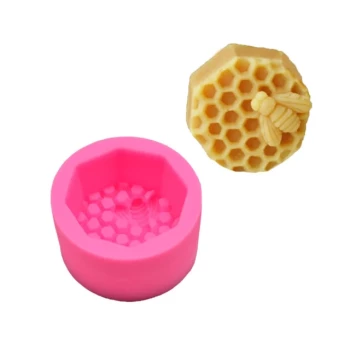
For 3D designs (e.g., figurines or honeycomb replicas):
-
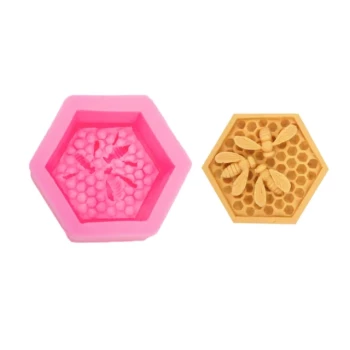
Two-Part Silicone Molds:
- Ideal for capturing fine textures like floral imprints.
- Secure halves with rubber bands during pouring.
-
Registration Keys:
- Small notches in mold edges ensure perfect alignment.
Reusing and Repurposing Molds Safely
Extend mold lifespan with these practices:
- Cleaning: Use warm soapy water—never abrasive tools that scratch surfaces.
- Storage: Keep silicone molds flat to prevent warping; stack metal molds with protective liners.
- Material Separation: Dedicate molds exclusively to beeswax if used for cosmetics to avoid cross-contamination.
Elevate Your Beekeeping Craft with HONESTBEE
Choosing the right mold transforms beeswax from a raw material into precision-crafted products. For beekeepers and distributors looking to scale production, HONESTBEE’s wholesale-focused supplies—from durable silicone molds to professional-grade pouring tools—help you achieve consistent quality while reducing waste.
Ready to refine your beeswax workflow? Explore HONESTBEE’s curated selection of beekeeping equipment designed for commercial efficiency and artisanal excellence.
Have questions about mold selection for a specific project? Drop them in the comments below!
Visual Guide
Related Products
- Colorful Silicone Beeswax Foundation Mold Mould for Beekeeping
- Notebook Style Beeswax Foundation Mould Wax Foundation Mold
- High-Efficiency 20-Cell Silicone Mold for Beeswax Bee Queen Cup Production
- 3D Square Honeycomb Pillar Silicone Candle Molds for Making Beeswax Candles
- 10-Cell Silicone Beeswax Bee Queen Cups Forming Mold
Related Articles
- The Silent Gatekeeper: How Beeswax Foundation Quality Dictates Colony Survival
- The Unseen Architecture: How Wax Foundation Engineers a Hive's Economy
- Why Your Beeswax Foundation Fails: A Guide to Preventing Costly Warping and Breakage
- Chaos and Order: The Strategic Value of Beeswax Foundation
- Beyond the Expiration Date: The Physics of Beeswax Foundation Integrity