Proper nail placement is the prerequisite for a tightly wired frame. To prepare the frame, you must install two 5/8 inch nails on the same vertical side of the frame. Place the first nail in the bottom bar next to the central groove, and the second in the top bar adjacent to the existing assembly nail, ensuring both are only partially driven into the wood.
The objective is to create temporary cleats, not permanent fasteners. You must leave the heads of these nails exposed to provide a secure anchor point for wrapping and tensioning the wire in subsequent steps.
Strategic Placement Points
The Bottom Anchor
Locate the central groove running along the bottom bar of the frame. Position your first 5/8 inch nail into the wood on one side of this groove.
This nail will serve as the bottom termination point for your wire. Ensure it is positioned clearly to the side of the groove to avoid splitting the wood or obstructing the groove itself.
The Top Anchor
Move to the top bar, remaining on the same side of the frame as the bottom nail you just installed. Locate the 1 1/4 inch nail that was previously used to assemble the frame structure.
Drive your second 5/8 inch nail into the top bar, positioning it directly adjacent to that assembly nail. This vertical alignment between the top and bottom nails is essential for a straight wire run.
Common Pitfalls to Avoid
Avoiding Full Penetration
The most critical error during this phase is hammering the nails flush with the wood. These nails function as anchor points for the wire, not structural support for the frame.
You must leave a sufficient portion of the nail shaft exposed. If the nail is driven too deep, you will be unable to wrap the wire around it securely, making it impossible to tension the frame later.
Maintaining Alignment
Ensure that both the top and bottom nails are installed on the same vertical side of the frame. Placing them on opposite sides will create diagonal tension that can warp the frame or complicate the wiring pattern.
Making the Right Choice for Your Goal
Correct preparation now prevents frustration during the wiring process.
- If your primary focus is workflow efficiency: Verify that both nails are on the same side of the frame immediately to prevent having to remove and re-hammer them later.
- If your primary focus is wire tension: Ensure the nails are only partially driven, leaving enough space under the head to wrap the wire multiple times without slipping.
Treat these nails as adjustable tensioning pegs until the wire is fully secured.
Summary Table:
| Component | Nail Type | Placement Location | Driving Depth |
|---|---|---|---|
| Bottom Anchor | 5/8 inch | Bottom bar, adjacent to central groove | Partial (Heads exposed) |
| Top Anchor | 5/8 inch | Top bar, next to the assembly nail | Partial (Heads exposed) |
| Alignment | N/A | Same vertical side of the frame | N/A |
Elevate Your Apiary's Efficiency with HONESTBEE
Precise frame preparation is just the beginning. At HONESTBEE, we empower commercial apiaries and distributors with high-performance beekeeping tools and industrial-grade machinery. From automated hive-making and honey-filling machines to premium consumables and hardware, our comprehensive wholesale portfolio is designed to scale your operations.
Ready to upgrade your beekeeping equipment? Contact HONESTBEE today to discover how our professional solutions can streamline your production and boost your honey yields.
Related Products
- Stainless Steel Bee Hive Frame Wire for Beekeeping
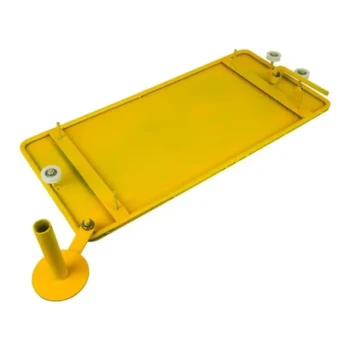
- HONESTBEE Durable Frame Wiring Board with Integrated Tensioner
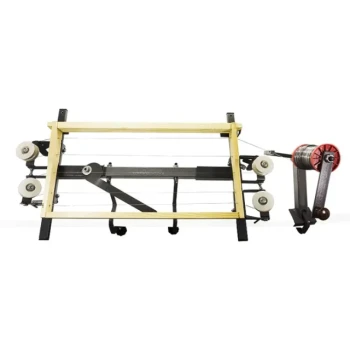
- Professional Bee Frame Wiring Tool with Integrated Tensioning System by HONESTBEE
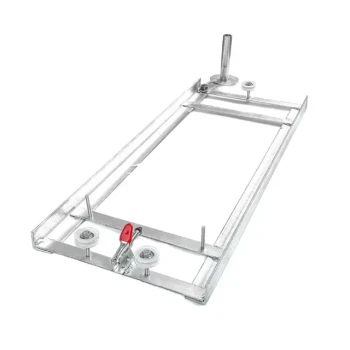
- HONESTBEE Professional Frame Wiring Board and Jig
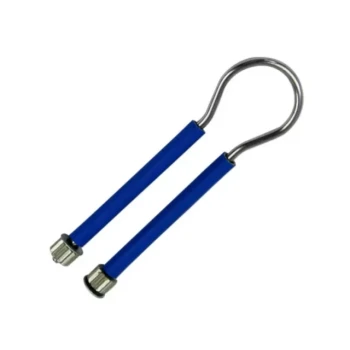
- HONESTBEE Loop Handle Frame Wire Crimper
People Also Ask
- How is proper tension achieved and maintained when wiring beekeeping frames? Master the Art of the Perfect Ping
- What precautions should be taken when wiring beehive frames? Essential Steps for Comb Durability
- What factors determine the amount of wiring needed in beehive frames? Tailor Your Strategy for Your Climate
- How is the wire tightened in a beekeeping frame? Expert Techniques for Durable Hive Frames
- What tools are needed to wire a beehive frame? Essential Equipment for Durable Frame Construction