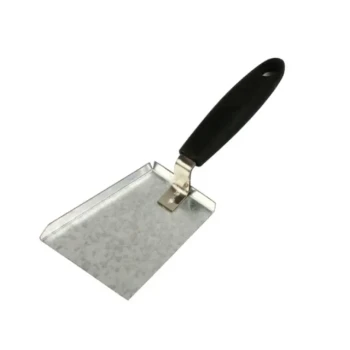
Sublethal pesticide damage during queen-cell development is most often revealed by abnormal development rather than immediate adult-bee mortality. The key warning signs are larvae that die as a black, viscous mass and fully formed dark pupae that fail to emerge. Hive inspection tools help beekeepers detect these defects early, compare affected frames, remove compromised queen cells, and investigate contaminated food stores before the problem spreads through the apiary.
The practical takeaway: Inspect queen-rearing frames and queenless splits regularly for torn-down cells, black larval remains, and dark, un-emerged pupae. Inspection equipment improves detection and handling, but visual symptoms alone cannot prove pesticide exposure; they should trigger a broader diagnostic and management response.
How Sublethal Damage Appears in Queen Cells
Black, viscous larval remains
A developing queen larva that dies and collapses into a black, sticky or viscous mass is a major warning sign of developmental failure.
This appearance indicates that the cell did not progress normally toward pupation. When several cells show the same defect, the pattern is more significant than an isolated failure.
Dark pupae that do not emerge
Another key indicator is a fully formed, dark pupa remaining inside the queen cell without emerging.
The queen may appear to have completed much of her development, yet fail before emergence. Repeated un-emerged pupae across a rearing frame suggest that the problem affected development rather than simply queen-cell construction.
Torn-down or abandoned cells
Bees may tear down queen cells that are damaged, nonviable, or no longer being maintained.
Torn-down cells are not proof of pesticide exposure by themselves. However, when they occur alongside black larval remains or un-emerged pupae, they justify closer inspection of the colony’s food stores, brood frames, and recent management history.
Why Pattern Recognition Matters
One failed cell is not the same as a frame-wide problem
Queen cells can fail for several reasons, including poor nutrition, handling damage, colony stress, disease, or problems with the source queen line.
A repeated pattern across multiple cells, frames, splits, or apiaries is more useful as an early-warning signal than a single abnormal cell.
Queen-cell type affects interpretation
Swarm queen cells are typically built vertically downward along the lower or side edges of combs and may appear in groups. Emergency cells are formed on the face of brood frames after sudden queen loss, while supersedure cells usually occur in smaller numbers near the upper comb face.
Understanding the cell type helps the beekeeper determine whether the colony is swarming, replacing a lost queen, or attempting to supersede an unhealthy queen. It also prevents normal queen-rearing activity from being mistaken for chemical damage.
Cell size and texture provide a quality baseline
Healthy queen cells are commonly evaluated by size and external texture. Larger cells with a heavily sculptured, peanut-shell-like surface generally indicate strong nurse-bee attention and nutrition.
These characteristics do not diagnose pesticide exposure, but they provide a useful baseline. Poorly developed, undersized, damaged, or abandoned cells deserve closer examination before they are used to establish new colonies.
How Hive Inspection Tools Assist Management
Frame handling equipment enables regular checks
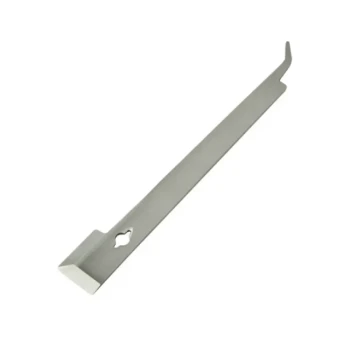
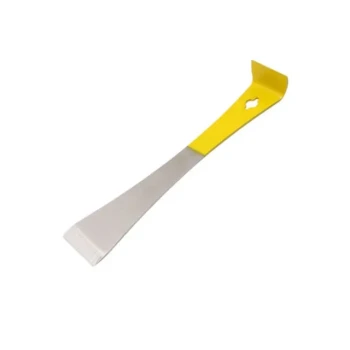
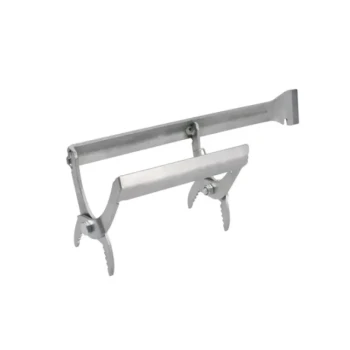
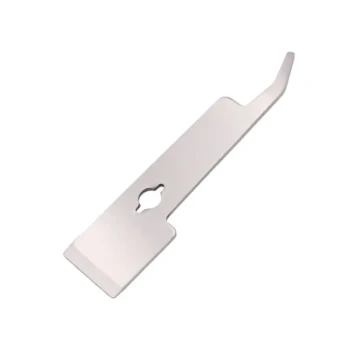
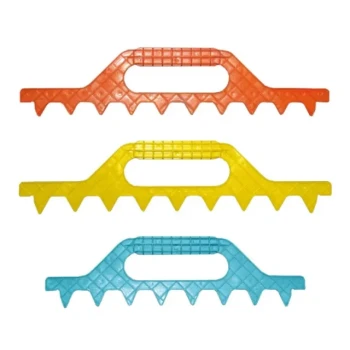
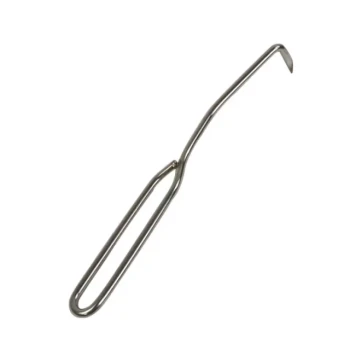
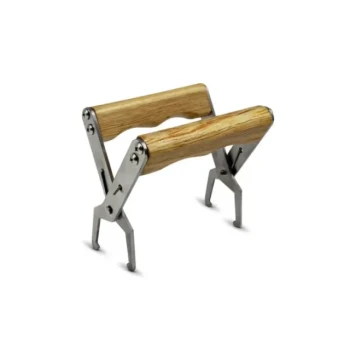
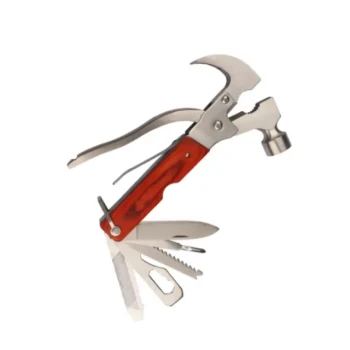
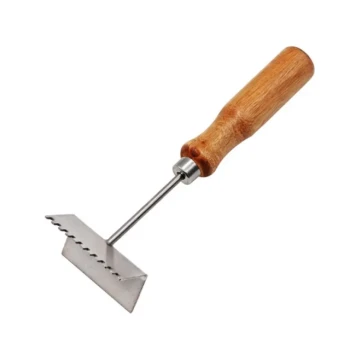
Dedicated hive inspection tools and cell-frame handling equipment allow operators to examine queenless splits, nucleus colonies, and rearing frames without unnecessarily disturbing the colony.
Regular, careful checks make it easier to record which cells are developing normally, which have been torn down, and which contain dead larvae or un-emerged pupae.
Tools support early removal of compromised cells
Once abnormal cells are identified, appropriate frame-handling equipment helps the beekeeper remove failed cells and isolate affected material.
This reduces the risk of using poor-quality queen cells to establish new colonies. It also helps managers avoid propagating a compromised queen line across multiple nucs or production units.
Cell-handling tools protect viable queens
High-grade queen-cell handling equipment is particularly important when separating viable cells from affected ones.
Rough handling can damage developing queens and create defects that resemble developmental failure. Careful manipulation therefore improves the accuracy of the inspection as well as the survival rate of healthy cells.
Scalpels support controlled internal inspection
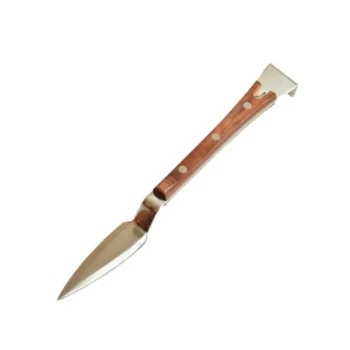
Where an un-emerged queen must be assessed, a queen-rearing scalpel can be used to carefully open the soft wax wall near the base of the cell, above the tougher lower cocoon.
The cell should be opened and resealed with extreme care. This procedure is not a routine response to every suspect cell; it is a targeted inspection method for trained technicians when the value of the information justifies the handling risk.
Inspection records improve apiary-level decisions
Tools are most effective when paired with consistent records. Operators should note the frame, cell type, developmental stage, visual defect, colony, and date of inspection.
For distributors and commercial beekeepers, standardized inspection practices also improve quality control across multiple yards and make it easier to identify recurring problems in feed, equipment, or queen sources.
What to Do When Damage Is Suspected
Examine food stores and recent inputs
Because contaminated pollen can contribute to severe queen-cell developmental failure, abnormal cells should prompt an assessment of the colony’s food stores.
Managers should also review recent pollen, syrup, and other nutritional inputs, as well as the timing of nearby agricultural chemical applications where that information is available.
Isolate affected material
Avoid distributing suspect queen cells, frames, or food stores to additional colonies until the situation has been assessed.
In particular, do not use visibly compromised cells to populate new nucleus colonies or splits. This protects downstream colonies and prevents a localized failure from becoming a network-wide production problem.
Review queen-line performance
If the same defects recur in colonies connected to one breeder or queen line, pause further propagation from that source until the cause is clearer.
Removing compromised queen lines may be appropriate when repeated developmental failure suggests that continuing to distribute them would create avoidable risk.
Consider disease and other causes
Black larval remains and failed emergence are important warning signs, but they are not chemically specific.
The beekeeper should consider viral transmission, including Deformed Wing Virus, as well as nutrition, handling, colony strength, and other stressors. Chemical exposure should be treated as a serious working hypothesis requiring investigation, not as a conclusion based on appearance alone.
Understanding the Trade-offs
Frequent inspections versus colony disturbance
Regular inspection improves the chance of catching failing cells early, but excessive manipulation can stress colonies and damage delicate queen cells.
The objective is a planned inspection schedule with minimal handling, rather than repeated opening without a clear diagnostic purpose.
Detailed examination versus cell survival
Opening a queen cell may provide useful information about an un-emerged queen, but it also introduces a risk of physical damage.
Use scalpels and cell-handling tools only when the inspection question is important and the operator has the required skill to cut and reseal the cell properly.
Fast removal versus incomplete diagnosis
Removing abnormal cells quickly can prevent their use in new colonies, but immediate removal may also eliminate evidence needed to understand the cause.
Before discarding affected material, record its appearance and location. Where practical, preserve relevant information about food stores, frames, and colony history for further assessment.
Visual inspection versus laboratory confirmation
Hive tools can reveal patterns and support rapid management decisions, but they do not identify a specific pesticide or establish causation.
When the financial or genetic stakes are high, visual findings should guide more formal investigation rather than replace it.
Making the Right Choice for Your Goal
Use inspection tools as part of a complete queen-rearing and quality-control system, not as a substitute for diagnosis.
- If your primary focus is early detection: Schedule careful checks of queenless splits and rearing frames, looking specifically for torn-down cells, black viscous larval remains, and dark pupae that have failed to emerge.
- If your primary focus is queen quality: Compare cell size, external texture, developmental stage, and emergence success before distributing cells to nucs or production colonies.
- If your primary focus is apiary protection: Isolate suspect cells and food stores, review possible chemical exposure, and avoid transferring affected material between colonies.
- If your primary focus is commercial supply reliability: Maintain a full set of dependable frame-handling and queen-cell tools, standardized inspection records, and rapid access to replacement equipment and technical support.
- If your primary focus is accurate diagnosis: Treat visual defects as warning signs, then investigate nutrition, disease, handling, queen-line history, and possible pesticide contamination together.
With disciplined inspection, careful cell handling, and timely isolation, beekeepers can turn early queen-cell abnormalities into actionable protection for the wider apiary.
Summary Table:
| Indicator | Description | Action |
|---|---|---|
| Black, viscous larval remains | Larvae die and collapse into black sticky mass | Inspect multiple cells; check for pattern |
| Dark pupae that do not emerge | Fully formed pupae fail to emerge | Note frequency; consider un-emerged pupae |
| Torn-down or abandoned cells | Bees remove nonviable cells | Look for accompanying defects; check food stores |
| Repeated pattern across frames | Multiple cells affected | Triggers broader diagnostic response |
| Cell size and texture | Healthy cells are large with peanut-shell texture | Use as quality baseline; poor cells need scrutiny |
| Inspection tools | Frame handlers, scalpels, records | Enable careful checks and removal of compromised cells |
At HONESTBEE, we offer a full spectrum of beekeeping tools and equipment for commercial apiaries and distributors. From hive tools and cell-handling equipment to complete inspection kits, our products are designed to help you detect and manage queen cell issues efficiently. With our one-stop sourcing, rapid delivery, and expert support, you can ensure the health of your queens and the reliability of your supply. Contact us today to explore our range and benefit from our dedicated service.
Related Products
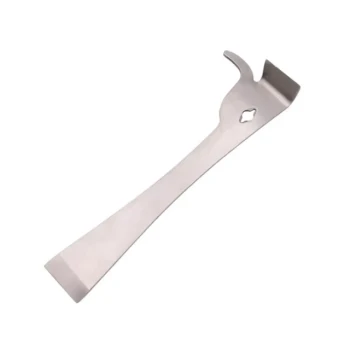
- Professional Multi-Function Stainless Steel Hive Tool
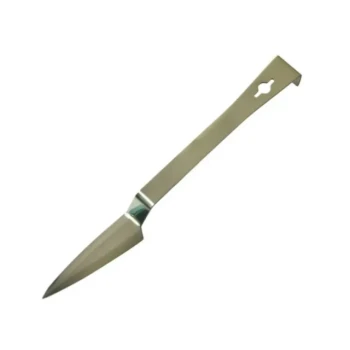
- HONESTBEE Professional Long Handled Hive Tool with Precision Cutting Blade
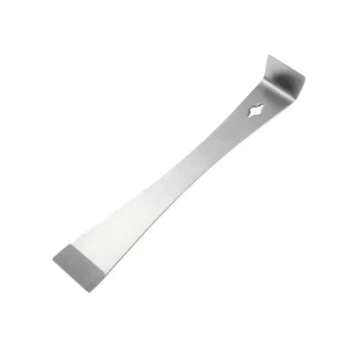
- Professional Stainless Steel Pry-Bar Hive Tool
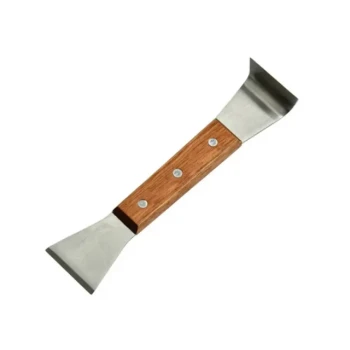
- Professional Dual-End Stainless Steel Hive Tool for Beekeeping
- Stainless Steel J Hook Hive Tool for Beekeeping
People Also Ask
- Why are professional hive tools considered indispensable? Master Beekeeping Maintenance with Precision Leverage
- What is the role of professional hive tools in routine apiary maintenance? Expert Tips for Hive Health and Longevity
- What are the benefits of a multi-functional hive tool? Streamline Your Apiary Workflow with One Tool
- What advantages do multi-functional hive tools offer? Maximize Your Apiary Efficiency and Workflow
- What are the common construction features of hive tools? Key Insights for Superior Beekeeping Efficiency