A queen excluder should be installed only when a colony is strong, populous, and actively gathering resources during a nectar flow. Physically, the device is placed directly on top of the uppermost brood box, sandwiched between the brood chamber and the first honey super.
This timing is critical because the brood boxes must be fully occupied by bees and brood before you attempt to restrict the queen's movement. Installing an excluder on a weak hive can impede growth and reduce honey production.
Core Insight: The queen excluder is a management tool, not a permanent fixture. It relies on the colony having enough "momentum"—population and resource income—to push through the barrier. Installing it too early or on a weak hive effectively caps the colony's growth and can lead to swarming or stunted development.
Timing and Colony Readiness
The Necessity of a Nectar Flow
You should install the excluder only when the nectar flow has begun.
The drive to store nectar motivates the worker bees to squeeze through the grid. Without this strong instinctual drive, bees may view the excluder as a ceiling and refuse to enter the supers above.
Temperature Constraints
Wait until nighttime temperatures consistently stay above 50 degrees Fahrenheit.
The colony cluster expands and contracts based on heat. If an excluder is added while nights are still cold, the cluster may split or retreat, leaving brood above the excluder to chill and die, or isolating the queen below.
Assessing Colony Strength
Never place an excluder on a weak or small hive.
The brood boxes must be full of bees and brood. If the colony has not fully utilized the lower boxes, they are not ready for expansion, and adding an excluder will only act as an unnecessary barrier to their movement.
Step-by-Step Installation Procedure
Confirming the Queen's Location
Before installation, you must verify the queen is in the brood chamber.
If you trap the queen in the honey supers above the excluder, she will lay eggs in your honey frames. If you cannot find her visually, ensure there are fresh eggs in the lower box to confirm her presence.
Physical Placement
Remove any existing honey supers to expose the top of the brood box.
Place the excluder directly on top of the frames. It must lie completely flat and sit tightly against the box edges. Even a small gap can allow the queen to bypass the grid.
The "Baiting" Technique
To encourage bees to move through the excluder, you can swap frames.
Move a few frames of honey or sealed brood from the brood chamber into the honey super (replace the removed bottom frames with foundation). Placing these "bait" frames above the excluder draws worker bees upward to care for the brood or store honey.
Common Pitfalls to Avoid
Managing Brood in Supers
If you install an excluder on a hive that already has brood in the honey supers, you cannot harvest immediately.
You must wait at least 24 days before extracting honey. This duration covers the 21-day worker cycle and the 24-day drone cycle, ensuring all brood trapped above the excluder has hatched and the cells have been backfilled with honey.
Blockage Maintenance
Worker bees naturally build wax (burr comb) on the grid.
Regularly check the excluder during inspections. Excessive wax buildup can prevent workers from passing through, effectively cutting off the honey supers from the rest of the hive.
Making the Right Choice for Your Goal
- If your primary focus is pure honey extraction: Install the excluder to guarantee your honey frames remain free of eggs, larvae, and cocoons.
- If your primary focus is maximum population growth: Delay or skip the excluder to allow the queen unrestricted space to lay, accepting that some brood may end up in upper boxes.
Use the excluder to shape the colony's architecture, but always prioritize the strength of the hive over the convenience of the harvest.
Summary Table:
| Factor | Ideal Condition for Installation |
|---|---|
| Colony Strength | Brood boxes must be fully occupied by bees and brood |
| Resource Status | During an active nectar flow |
| Temperature | Nighttime temperatures consistently above 50°F (10°C) |
| Queen Location | Must be confirmed in the lower brood chamber |
| Hardware Fit | Must lie completely flat with no gaps at box edges |
Boost Your Apiary Efficiency with HONESTBEE
Maximize your honey production and streamline your hive management with high-quality equipment. HONESTBEE specializes in serving commercial apiaries and distributors with a robust wholesale catalog. From precision-engineered queen excluders and specialized hardware to advanced honey-filling machines and hive-making machinery, we provide the tools you need to scale your operations.
Whether you are stocking essentials for your distribution network or upgrading your commercial honey house, our comprehensive portfolio of beekeeping tools and industry consumables delivers unparalleled value.
Ready to elevate your beekeeping business?
Contact us today to discuss wholesale solutions!
Related Products
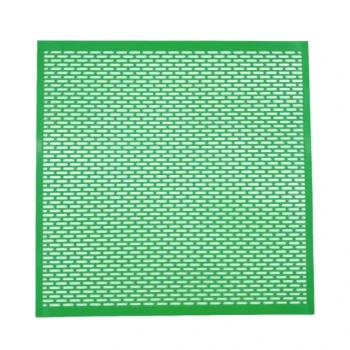
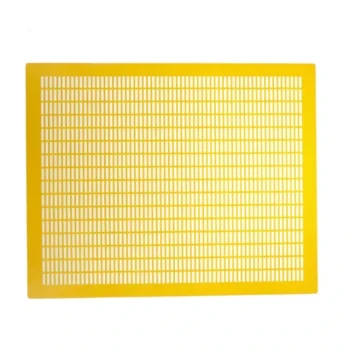
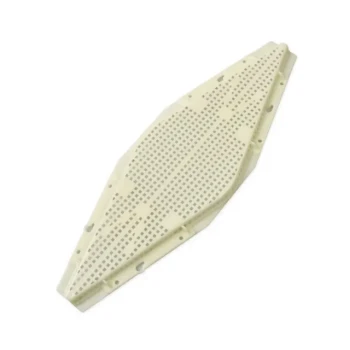
- High Performance Plastic Queen Excluder for Beekeeping and Apiary Management
- Professional Plastic Queen Excluder for Modern Beekeeping
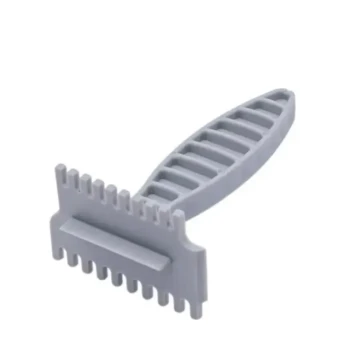
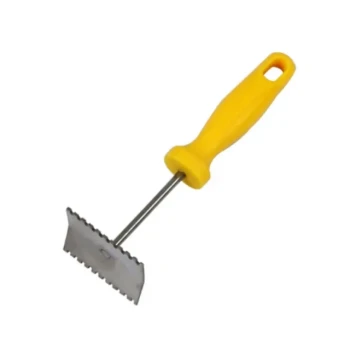
- Lightweight Durable Plastic Queen Excluder Scraper for Beekeeping
- Metal Queen Bee Excluder for Beekeeping
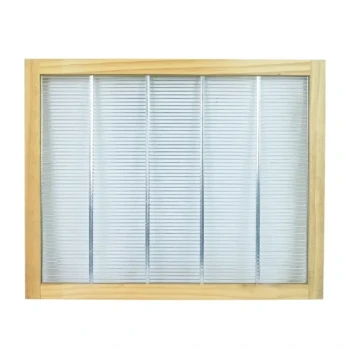
- Premium Wood Framed Metal Wire Queen Bee Excluder
People Also Ask
- What are the characteristics of a plastic queen excluder? Key Benefits for Cost-Effective Beekeeping
- What are the advantages and disadvantages of plastic queen excluders? Find the Right Fit for Your Apiary
- What types of queen excluders are available for beekeepers? Choose the Right Tool for Your Hive
- What are the advantages of plastic queen excluders? Lightweight, low-cost, and pest-resistant.
- What is the function of a Queen excluder in experiments? Achieving Precise Age Control for Honeybee Larvae