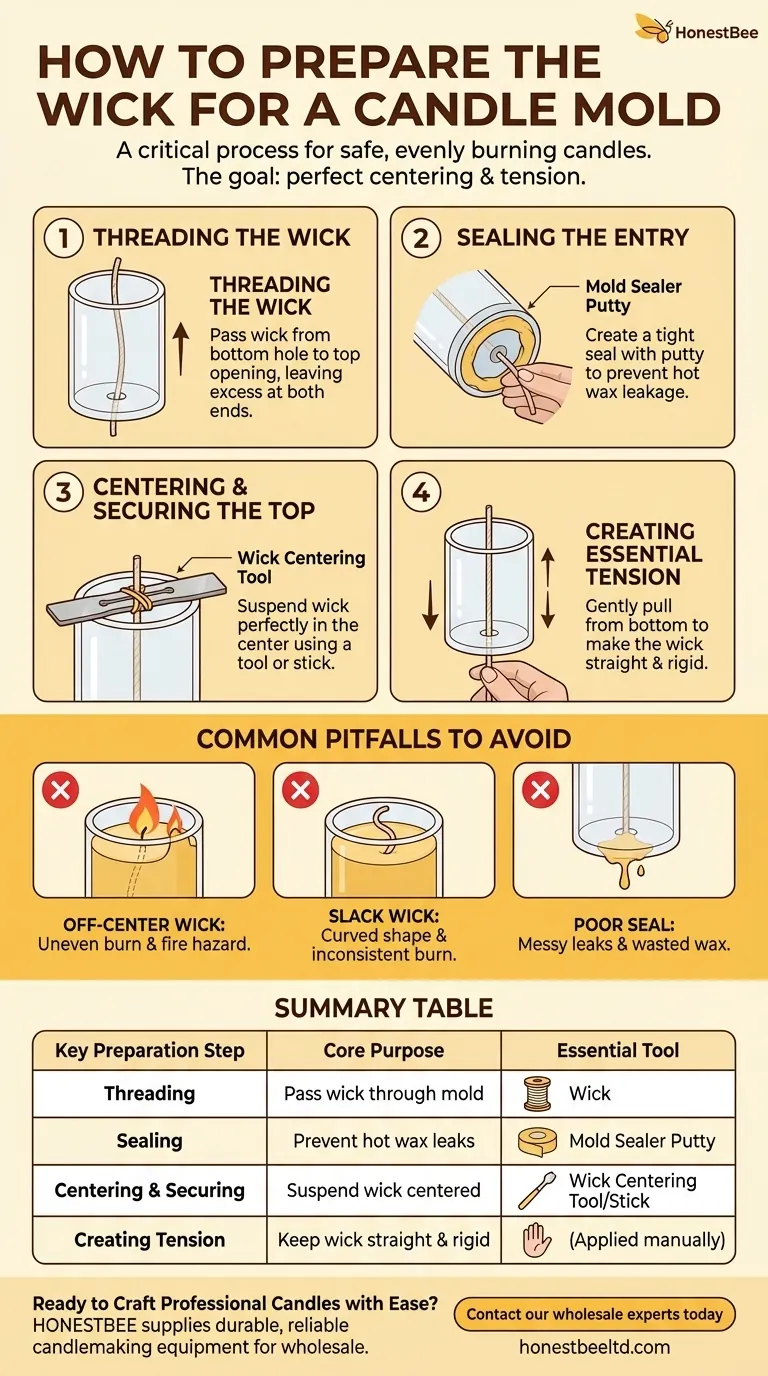
Preparing a candle wick for a mold is a critical process that goes beyond simply placing a string in wax. It involves threading the wick through the mold, sealing the entry point to prevent leaks, and securing it under tension to ensure it remains perfectly straight and centered as the wax cools and solidifies.
The ultimate goal is not just to position the wick, but to guarantee it stays perfectly centered and taut throughout the entire pouring and cooling process. This precision is the foundation for creating a safe, evenly burning candle.

The Foundational Steps for Wick Preparation
Successfully wicking a mold requires a methodical approach. Each step builds upon the last to ensure the final candle functions correctly and looks professional.
Step 1: Threading the Wick
First, you must thread the wick through the designated hole in the mold. For most pillar and novelty molds, this hole is at the bottom, which will become the top of the finished candle.
Gently push the wick through this small hole and pull it all the way through the larger opening at the top, leaving several inches of excess wick at both ends.
Step 2: Sealing the Entry Point
The small hole where the wick enters the mold is a potential point for wax leakage. You must create a tight seal before pouring.
Use a small amount of mold sealer putty, pressing it firmly around the wick on the outside of the mold. This prevents hot wax from seeping out, ensuring a clean process and a flawless candle top.
Step 3: Centering and Securing the Top
With the bottom sealed, turn your attention to the large opening. The goal is to suspend the wick so it hangs perfectly in the center of the mold cavity.
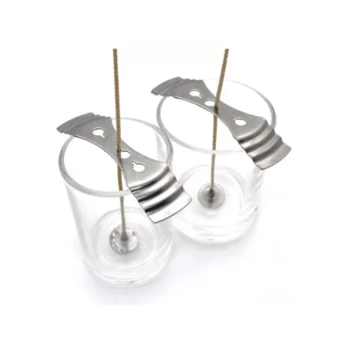
A wick centering tool, popsicle stick, or even a pencil can be laid across the opening. Wrap the excess wick around the stick and pull it taut before securing it. A rubber band or a simple knot can hold it in place.
Step 4: Creating Essential Tension
The final, crucial step is to create tension. After securing the wick to the stick at the top, gently pull the wick from the bottom (sealed end) to make it perfectly straight and rigid within the mold.
This tension is vital. It prevents the wick from slumping, bending, or moving off-center when the hot wax is poured in.
Common Pitfalls to Avoid
Mistakes made during wick preparation are the most common source of poor candle performance. Understanding these pitfalls is key to avoiding them.
The Risk of an Off-Center Wick
If the wick is not perfectly centered, the candle will burn unevenly. One side will melt much faster, causing the flame to get too close to the edge, which can lead to wax spilling over and creating a fire hazard.
The Problem with a Slack Wick
A wick without proper tension will not stay straight. When you pour the hot wax, the force of the liquid can easily push a slack wick into a curved or "S" shape. This results in an inconsistent burn and can cause the wick to drown in its own melt pool.
The Consequence of a Poor Seal
Failing to properly seal the wick hole is a simple but costly mistake. It leads to a messy workspace as hot wax leaks out. This not only wastes wax but can also compromise the smooth finish of your candle.
How to Apply This to Your Project
Your specific goal will determine which aspect of wick preparation deserves the most focus.
- If your primary focus is a safe, even burn: Your absolute priority is ensuring the wick is perfectly centered and held taut before you pour.
- If your primary focus is a clean, professional finish: Meticulously sealing the wick hole with mold sealer putty is the most critical step to prevent leaks and blemishes.
- If your primary focus is efficiency: Prepare your tools—the mold sealer, wick, and centering stick—before you begin melting your wax to ensure a smooth, uninterrupted workflow.
Proper wick preparation is the single most important factor in transforming raw materials into a beautiful and reliable finished candle.
Summary Table:
| Key Preparation Step | Core Purpose | Essential Tool |
|---|---|---|
| Threading the Wick | To pass the wick through the mold's bottom hole. | Wick |
| Sealing the Entry Point | To prevent hot wax from leaking out of the mold. | Mold Sealer Putty |
| Centering & Securing the Top | To suspend the wick perfectly in the center of the mold. | Wick Centering Tool or Popsicle Stick |
| Creating Tension | To keep the wick straight and rigid during wax pouring. | (Applied manually) |
Ready to Craft Professional Candles with Ease?
Achieving a perfectly centered wick is fundamental to creating safe, high-quality candles that burn evenly. For commercial apiaries and beekeeping equipment distributors looking to produce superior candles or expand their product lines, having the right supplies is crucial.
HONESTBEE supplies the durable, reliable beekeeping and candlemaking equipment you need to scale your operations efficiently through our wholesale-focused model. Let us help you build a better product.
Contact our wholesale experts today to discuss your supply needs and elevate your candlemaking process!
Visual Guide
Related Products
- Silver Metal Candle Wick Tabs Sustainer Base for Candle Making
- Metal Wick Holder Centering Devices for DIY Candle Making Candle Wick Holder
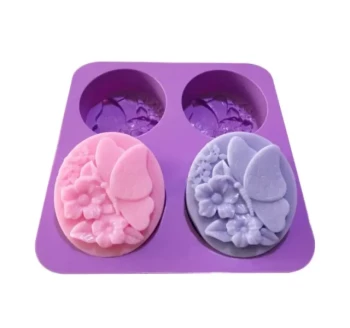
- 3D Beehive Silicone Skep Wax Candle Molds for Candles
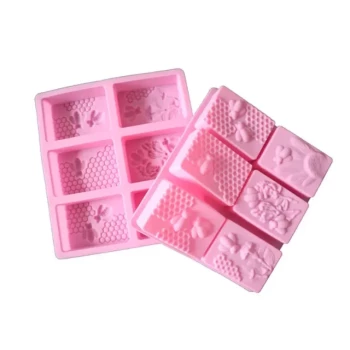
- Honeycomb Hexagonal Pillar Silicone Candle Mold for Candle Making
- Round Honeycomb Pillar Silicone Candle Molds for Candles
People Also Ask
- Which lighting tools are most effective for igniting a bee smoker? Pro Tips for Rapid Ignition
- What are the common wick sizes for beeswax candles? A Guide to a Perfect Burn
- What is the function of using white sticky boards in beehives? Essential Mite Survey Tools for Hive Health
- What is the role of a sintered glass crucible in determining honey's insoluble matter? Precision Filtration Explained
- How can a propane torch be used to clean a bee smoker? Reclaim Your Equipment with High-Heat Cleaning Techniques