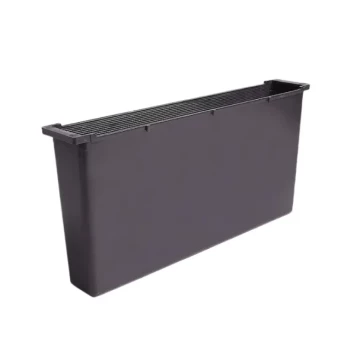
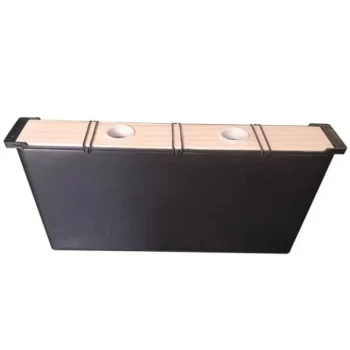
To assemble the feeder correctly, you must build three sides of the frame before inserting the internal components. Begin by attaching one long side to the two exterior short ends (drilling pilot holes if using screws). Once this "U" shape is formed, slide the interior wall into the wide dado and the plywood floor into the narrow dado, finally capturing them by attaching the second long side.
Core Takeaway: Success relies on sliding the internal components into their grooves (dados) before closing the box. Attempting to build the full exterior frame first will make it impossible to insert the floor or interior wall without disassembly.
Building the Primary Frame
Creating the Foundation
Start by selecting one long side and the two exterior short ends. You are essentially building a three-sided box or a "U" shape to start.
Preparing for Fasteners
If you intend to use screws to secure these pieces, you must drill pilot holes first. This is critical to prevent the wood from splitting near the edges.
Initial Assembly
Attach the single long side to the two short ends. Ensure the corners are flush and square before tightening your fasteners.
Installing Internal Components
Positioning the Interior Wall
Locate the wide dado (groove) cut into the assembled long side. Slide the interior wall component into this groove.
Inserting the Floor
Next, identify the narrow dado designed to hold the base. Slide the plywood floor into this groove. It should sit securely below the interior wall.
Closing and Securing the Box
Locking in the Components
Take the second long side and align it with the open side of your assembly. Fit it into place so that the interior wall and plywood floor slide into the matching dados on this new side.
Final Fastening
Secure the second long side to the short ends. This "sandwiches" the internal components, locking them in place permanently.
Securing the Floor
To prevent the floor from shifting, turn the feeder over to access the underside. Drive two small finish nails through the bottom, placing one into the middle of each long side.
Common Pitfalls to Avoid
Misidentifying the Grooves
A common error is confusing the dados. Ensure the interior wall goes into the wide dado and the floor goes into the narrow dado. Reversing this will prevent the components from fitting or create a loose, ineffective seal.
Skipping the Floor Tacks
It is easy to forget the final step of tacking the floor from the bottom. Without these finish nails, the plywood floor may shift or rattle, potentially compromising the structural integrity of the feeder over time.
Ensuring a Durable Assembly
To ensure your hive-top feeder lasts through multiple seasons, follow these guidelines based on your specific focus:
- If your primary focus is structural integrity: Ensure you drill pilot holes for every screw to prevent hairline cracks that could weaken the box or cause leaks.
- If your primary focus is ease of assembly: Dry-fit (assemble without fasteners) the second long side first to ensure the interior wall and floor slide smoothly into the dados before applying final pressure.
Follow this sequence precisely to create a tight, secure feeder for your hive.
Summary Table:
| Assembly Step | Component | Action Required |
|---|---|---|
| 1. Foundation | 1 Long Side + 2 Short Ends | Form a 'U' shape and drill pilot holes |
| 2. Walls | Interior Wall | Slide into the wide dado groove |
| 3. Base | Plywood Floor | Slide into the narrow dado groove |
| 4. Closure | 2nd Long Side | Attach to lock internal components in place |
| 5. Security | Bottom Surface | Drive two finish nails into the floor to prevent shifting |
Maximize Your Apiary Efficiency with HONESTBEE
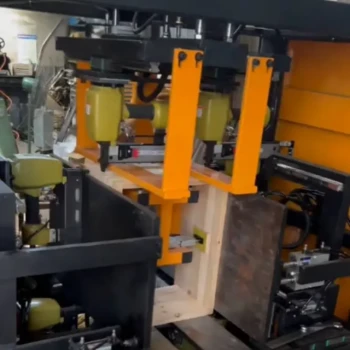
Building a productive commercial apiary requires more than just the right assembly sequence—it requires durable, high-quality equipment. At HONESTBEE, we specialize in supporting commercial apiaries and distributors with a comprehensive wholesale portfolio. From specialized hive-making and honey-filling machines to professional-grade beekeeping tools and essential consumables, we provide everything you need to scale your operations.
Ready to upgrade your equipment or stock your distribution business?
Contact Us Today to discover how our premium hardware and honey-themed merchandise can drive your success.
Related Products
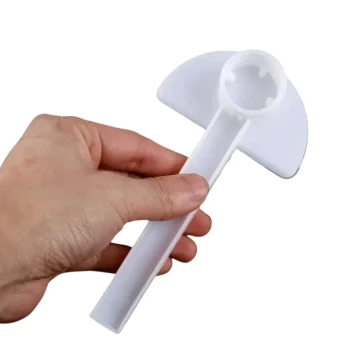
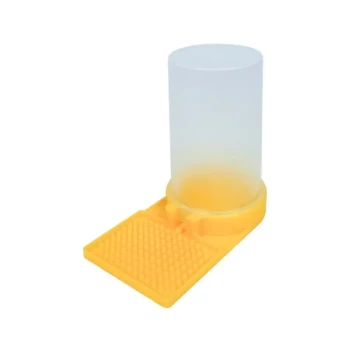
- HONESTBEE Professional Hive Top Bee Feeder Feeding Solution
- Professional Hive Top Bee Feeder for Beekeeping
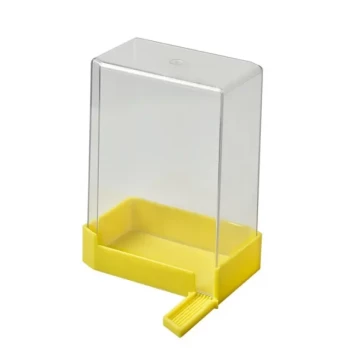
- HONESTBEE Square Top Hive Bee Feeder Top Bee Feeder
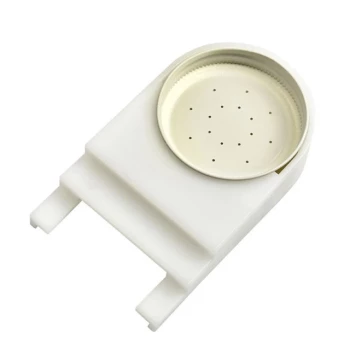
- HONESTBEE Round Hive Top Bee Feeder for Syrup
- Rapid Bee Feeder White Plastic 2L Round Top Feeder for 8 or 10-Frame Bee Hives
People Also Ask
- Do I need an inner cover with a hive top feeder? Optimize Your Hive Setup for Healthy Bees
- What are the different types of top feeders for bees? Choosing the Best Feeder for Your Apiary
- How does a hive top feeder work? Optimize Your Apiary's Nutrition and Security
- What is a hive top feeder, and how does it work? A Complete Guide to Efficient In-Hive Feeding
- What are the characteristics, advantages, and disadvantages of hive top feeders? Optimize Your High-Volume Feeding